Gardening
3 Tests to See If Old Seeds Are Still Good
Try these different tests to see if old seeds are still viable.

Most homesteaders have a good supply of old seeds that they have held on to for some reason or another.
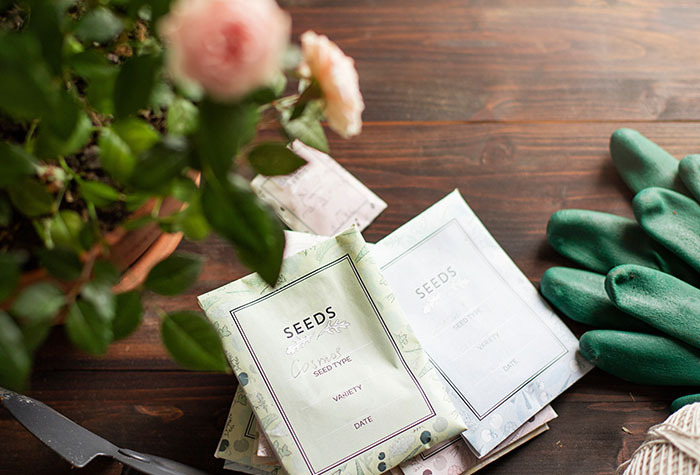
While you can hang on to old seeds for some time, they do have a shelf life. Hence the reason seed packets usually have dated information on them.
But this date information isn’t the same as expiration dates or sell-by dates you see on fresh food products.
What is printed on seed packets tends to be a “packed for” date. This date indicates when the seeds were packed, but it does not represent when they were harvested.
Some seed packets have a “sow by” date, which indicates when they are likely to germinate.
As you look at these different dates on your old seed packets, you are probably wondering if you can still use them or if you need to toss them.
Keep reading for the various ways you can test old seeds to see if they are worth planting.

How Long Seeds Typically Last
There are different factors that affect the shelf life of seeds, such as storage conditions and types.
For the most part, all seeds are “good” for one to two years. However, that doesn’t mean you should throw them away after two years.
When I say “good,” I mean of the best quality.
After a couple of years, old seeds won’t germinate as well as they would have earlier.
That is, unless they are carefully stored.
Cornell Small Farms Program explains, “Many seeds will maintain great germination for three years even in your kitchen cupboard, though there are exceptions. Stored well, some can last centuries.”
How to Extend the Longevity
If you want to hold on to your old seeds past their “sow by” dates, then you want to store them well.
This means storing them in the right conditions. The right conditions for seed storage are cool and dry, like a basement.
A common recommendation is to store them in a moisture-proof container in a freezer.
Or you can build your own doomsday seed vault.
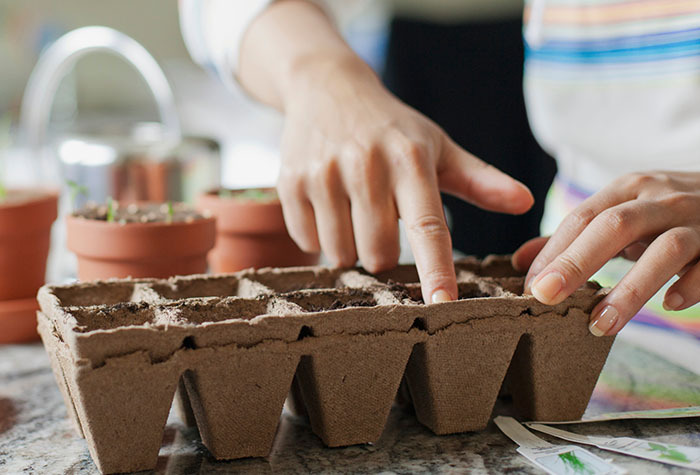
How to Test Old Seeds
Now that you know how long seeds should last and how to extend their longevity, what should you do about the old seeds you already have?
It’d be a shame to throw them away when they can still germinate and put food on your table.
[Related Read: Why You Need Seeds]
There are a few different ways you can test whether they will still germinate.
Germinating Test
The go-to test for old seeds is the paper towel test.
- Place 10 seeds on a wet paper towel.
- Roll them up inside the wet paper towel.
- Place the rolled-up, seed-filled wet paper towel in a Ziploc bag.
- Let sit for a few days (3-5 days).
- After tthey have been in the Ziploc bag for a few days, check to see how many have germinated.
- Did less than half of the seeds germinate? If so, the germination rate is under 50%, and it is time to toss them. But if you have a higher percentage of germination, you may want to plant them. The percentage rate will fairly represent how well they will do in your garden.
Float Test
For a quicker test, try to see if the seeds will float.
- Place the old seeds in a container of water.
- Allow them to remain in the water for 15 minutes.
- If they sink, they are still viable. If they float, they should be discarded.
Floating suggests they likely will not sprout.
Garden in a Glove Test
This final test for old seeds is great for gardeners with young children.
Here are instructions from the Museum of Science and Industry in Chicago.
Materials
- Plastic glove
- Permanent marker
- Five types of seeds
- Cotton balls
- Water
- Pipe cleaner
Instructions
- Use a marker to write the name of the seeds on each of the glove’s fingers. Write one seed type per finger.
- Dip the cotton balls in water and wring them out. The cotton balls should be slightly damp.
- Put two or three seeds of the same type into each cotton ball.
- Place a cotton ball inside each finger of the glove. You may need to use a pencil to push the cotton ball all the way to the tip of the glove’s finger. Make sure the type of seed matches the label written on the finger.
- Blow a small amount of air into the plastic glove and close it with a pipe cleaner.
- Tape or hang the glove in a warm place, like a sunny window. Keep an eye on the them over the next few days – you should start to notice something interesting! (If you don’t, the they are no longer viable.)