


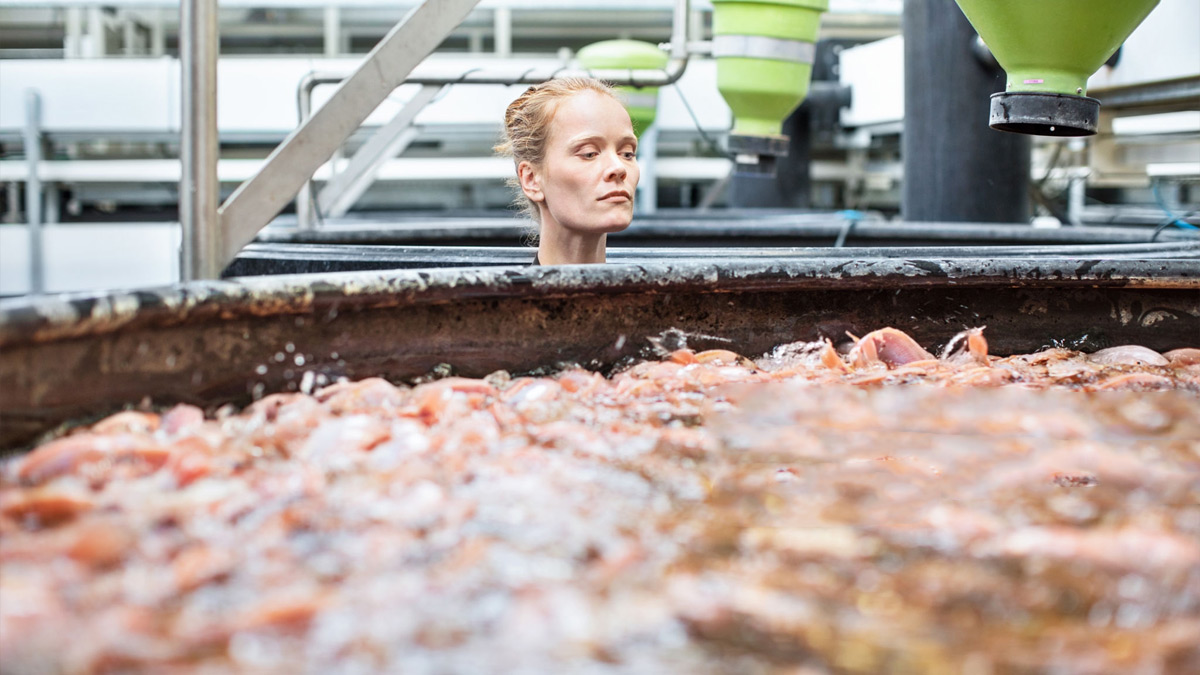
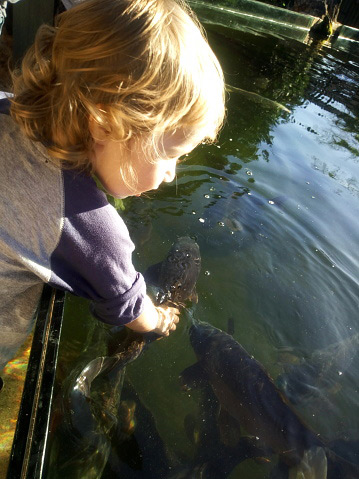
Fish farming is an old agricultural method that modern homesteaders can use today. A great source of continuous protein, freshwater fish farms allow anyone to grow a different variety of fish that can be used for personal consumption.
The first thing you are going to want to do is to determine if you wish to have a ‘fish farm’ in a natural pond setting or if a tank set up would work better for your situation. Today we are going to discuss building a pond, and we will discuss the requirements for a tank set up in a subsequent article.
Make sure you know your local rules when it comes to digging a pond. Some locations have very strict rules, and failure to follow the rules or obtain the proper permits can cause you endless headaches and heartaches.
Decide which fish is right for your location
Your environment is going to dictate which type of fish is going to work the best for you. Obviously growing fish that need cool water like trout is not going to work well in hot areas, and growing fish that need warm water is not going to work well in northern climates without additional infrastructure.
Warm water fish commonly farmed include Tilapia, catfish and carp. Cool water fish include Perch, Trout, Bass and Salmon. Each of these species has pros and cons as well as specific requirements that we don’t have the space to get into here.
Select a suitable location
When building a fish farm in your backyard or on your property, it will need to be positioned in an appropriate place to ensure the best growth and health of the fish. Some key things to remember when finding a suitable location is:
- The ground level should be low and flat (however earthmoving and excavation work can help to level the ground easily).
- The pond should be positioned in a place where it can easily collect natural rainwater or runoff. This helps to keep the water fresh and from becoming stale which can harm the health of your fish.
- Will there a barrier between the pond and children? You don’t want to position your fish farm close to your home as it does pose a drowning hazard for young children.
- If the area is exposed to extreme heat or cold, you need to make sure the area that you’re going to dig can be dug between 8-12ft to ensure the fish can find enough shelter during these extreme temperature changes. A pond that is shaded by trees is also ideal however you run the risk of digging into large root systems.
In taking these things into consideration you’ll be able to determine a good location that is suitable for your pond to be positioned.
Plan for digging your pond
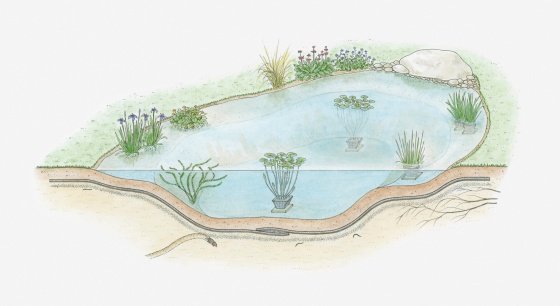
Once you have selected a spot, consider the tools you will need for digging. Before you start digging, mark the outline of your pond. You may use ropes, garden hoses, or extension cords to mark the area. You can adjust the shape and size of your pond until you are happy with the shape and size. Your final layout should include plenty of plants and surrounding areas around your pond. If you plan to dig a large pond, you may need to rent a bobcat.
Before you start to dig make sure you contact your local authorities first to make sure that there no utilities such as electric lines, gas pipes, and water or sewage/septic lines buried underground where you plan to dig.
Determine if you will need a pond liner or to have clay brought in to line your pond.
- Dampen a handful of soil with water. Use only enough water to dampen the sample (do not saturate it).
- Squeeze the sample tightly in your hand.
- Open your hand:
- If the sample keeps its shape, it is probably good enough for building a pond (sufficient clay present).
- If the sample collapses and does not keep its shape, it is probably not good enough for building a pond (too much sand present)
Tips for digging your pond
Depending on the size of your fish farm pond, you will either need:
- A large shovel, a lot of energy and a lot of time to commit to the hard work or;
- A bobcat or excavator that can handle digging up the area and the size of the pond.
Unless you have a team of strong-backed people willing to work for free, digging your pond with a Bobcat or other excavator is the best way to get the job done quickly.
Here are our some tips and process for digging a fish pond with an excavator.
- Avoid digging at the top of the hole on a downward slope. This can cause your machinery to tip forward with the weight.
- When digging the hole, dig at depths of 16 inches at a time on the outer edges and place the dirt in a pile out of the way—at the back or side of the pond.
- When you’ve reached the center, start to dig deeper as this will help to create an even slope in your fish pond if you ever need to walk in it for some reason. It will also help you drive the excavator in and out of the pond easier.
- Continue to stop and measure the depth of the pond to make sure it’s the right level of deepness that you’re hoping to achieve.
- Take care when digging. If you rush the digging process you may find that your pond won’t be even.
- To make the edges look more defined when complete, dig around the outer edge with a shovel to level it better.
In taking these tips into consideration you will be able to dig your fish pond more successfully without too much trouble.
Linning the hole
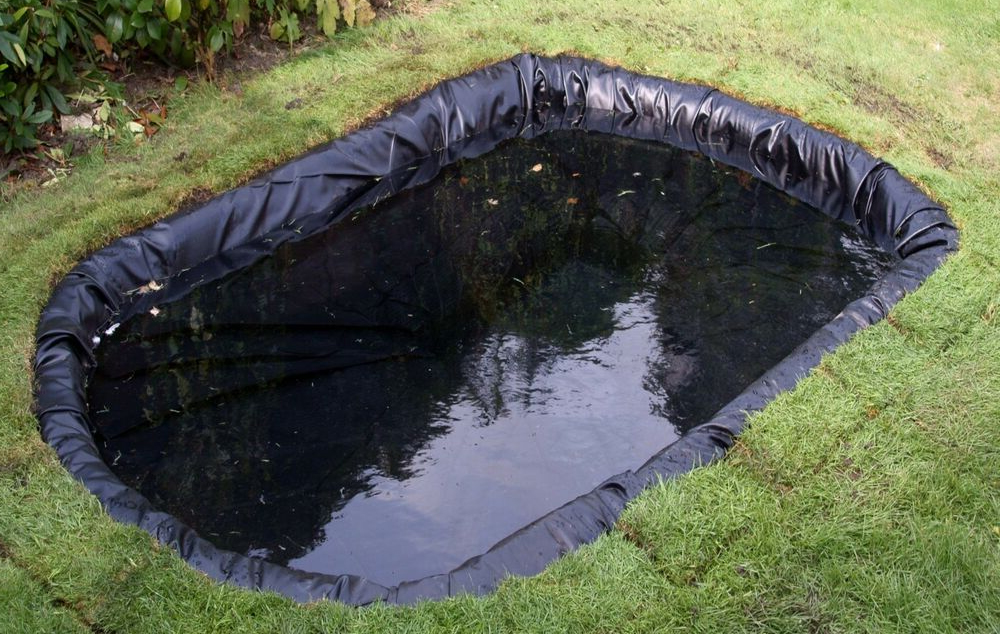
If your soil has enough clay or you are bringing in clay you can skip adding a liner to your pond. Otherwise, this is a very important step so you don’t lose water from your pond.
The tarp or liner you choose needs to be compatible with fish ponds to reduce poisoning from any chemical residue left on other types of tarps from the treatment process. Before you lay your large tarp down however you will first need to add a layer of sand across the surface area of the hole ready for the tarp to reduce tears. You can use a rake to level out the sand.
Once this is done it’s a good idea to place some geotextile fabric to help protect the rubber liner or tarp from being damaged.
When placing your rubber liner or tarp into the base of the pond it’s a good idea to unfold it from the center. Depending on how large your hole is you may need a few large pieces of tarp to ensure the entire area is covered successfully.
Filling your pond
To ensure the liner stays in place when the pond is being filled you can place a decent sized stone in the center. This helps to prevent the tarp lifting and floating while minimal water is in the pond.
Filling up your pond may take a while depending on the size. It’s a good idea to let the water run into it from the side as this will also help the tarp to conform slowly to the weight of the water. You should also place some stones around the outer edge of the tarp to help prevent it from falling in as the weight of the water increases.
Once the pond is full, the weight of the water will help to keep it in place. Then you can then set up your pump system for either a waterfall, fountain or other means of oxygenating the water for your fish.
If the species of fish you have chosen do not have high requirements for oxygenated water then you can provide them with oxygen by placing a running hose in the pond 2-3 times a week for 15-30 minute intervals.
Final step
Once any additional infrastructure (such as fences) has been placed and edge plantings are complete it is best to give your pond a chance to settle in before adding fish. This gives you time to determine the typical temperature of your pond, it’s ph and to see if it is holding water as planned. Even a slow leak has the potential to cause problems down the road.
Once your pond has settled it will finally be time to add your fish and enjoy your beautiful new pond.
Get access to premium content and more!

