

Hugelkultur is a gardening technique that has been used for many years in Germany and has been more recently popularized by permaculturalist Sepp Holzer. It is a process for creating a new garden. Pile up some logs and smaller branches, cover it with leaves, sod, compost, grass clippings, seaweed, aged manure, straw, green leaves, and soil. The result is a raised bed without walls, that looks like a small hill.
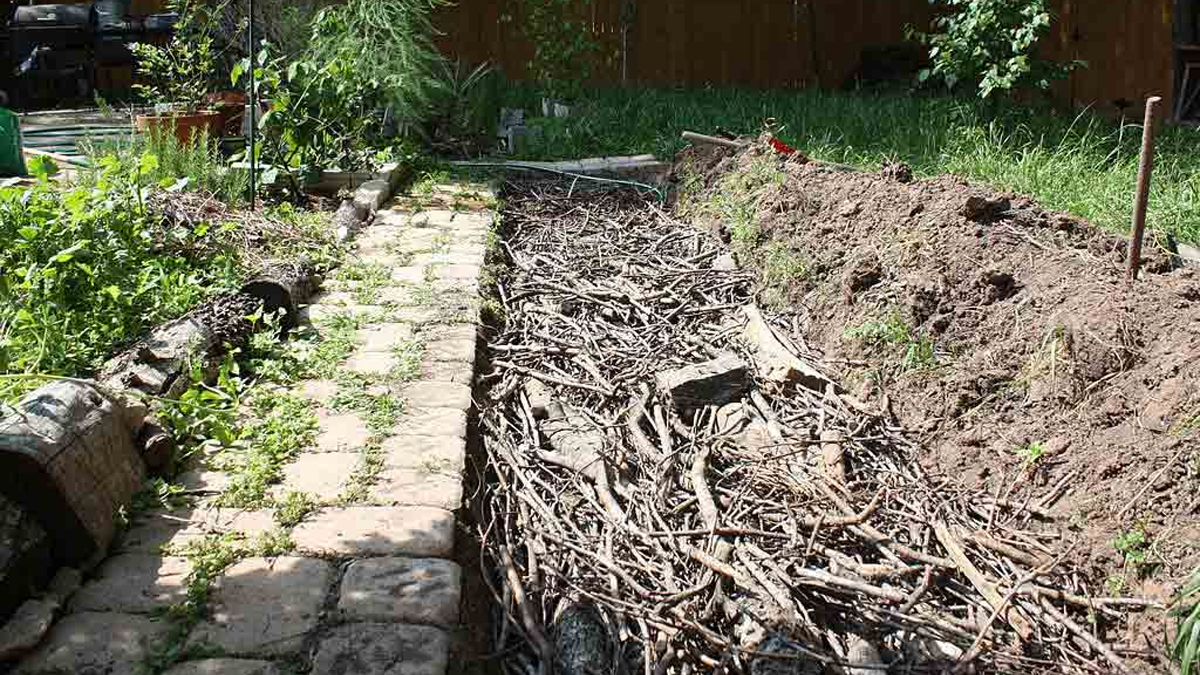
There are many variations on the theme. A hugelkultur garden can also be made by first digging a trench and placing everything in the trench. This will still produce a raised bed, but it will be shorter than the traditional six foot tall design.
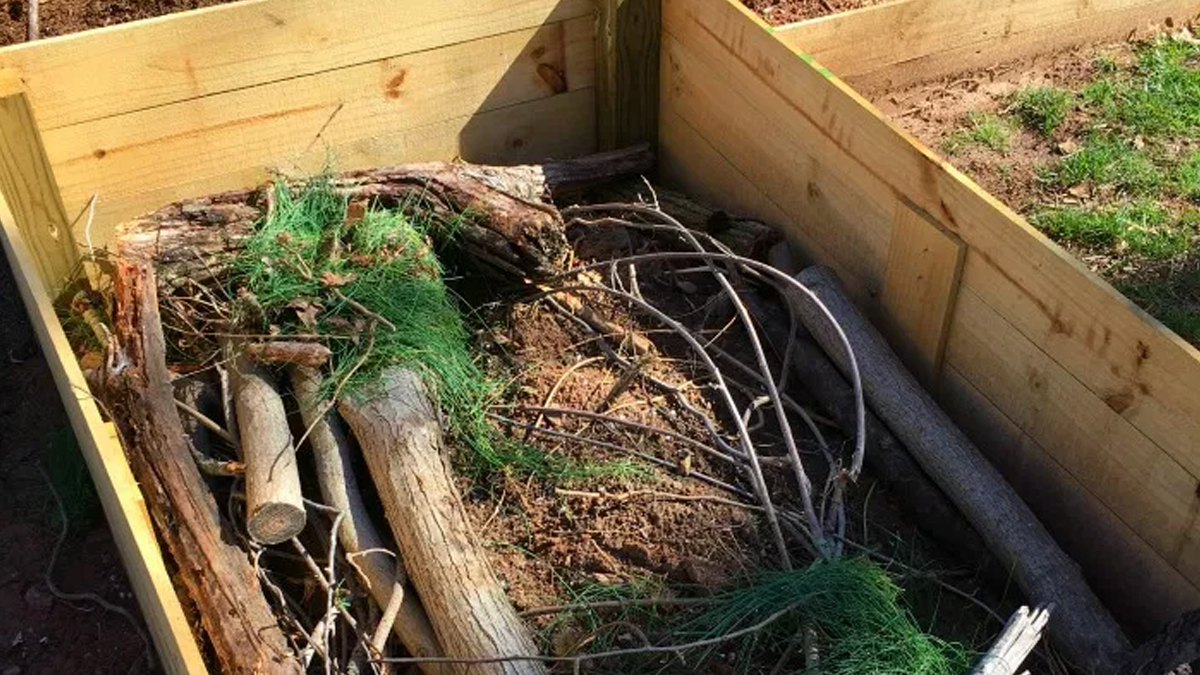
Raised bed enthusiasts have claimed the idea and modified it to suit their purpose. After building walls for a raised bed, they fill the bottom with logs and twigs, before adding the usual raised bed mix. This design is called a hugelkultur raised bed.
Over time, the pile shrinks as the organic matter slowly decomposes. Every five years or so it is rebuilt.
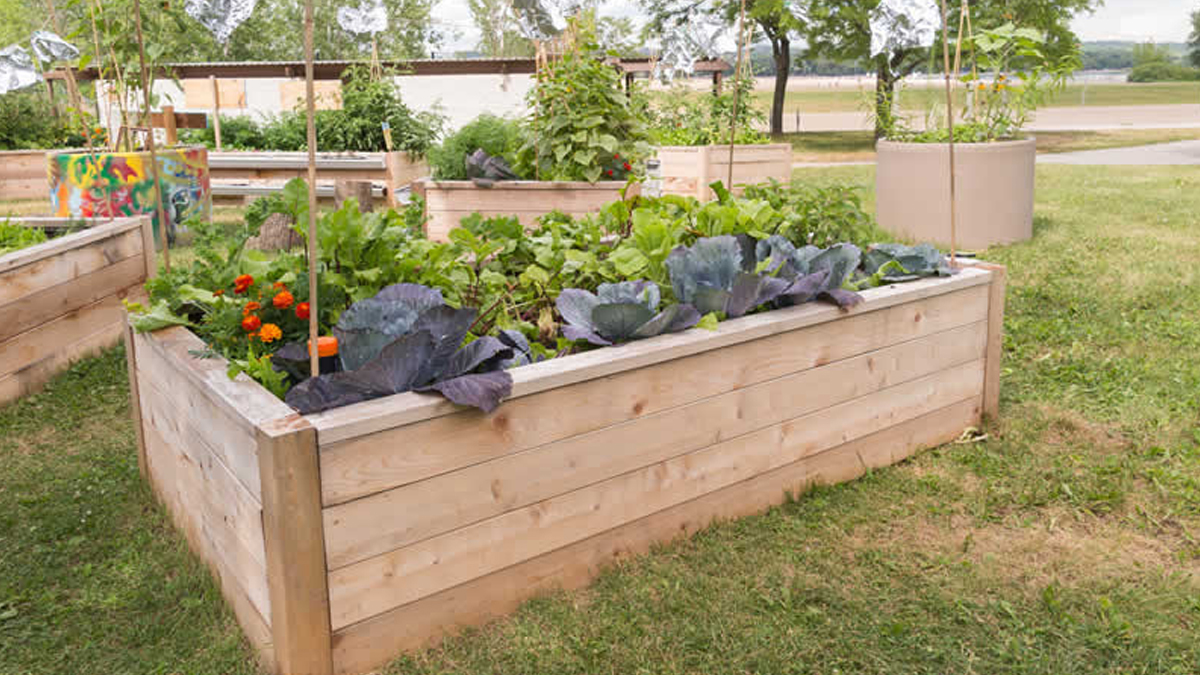
Personally we are fans of using the idea in raised garden beds. Finding enough dirt to fill a tall raised bed can be difficult, but throwing in the logs, branches and other organic material sure helps take up space.
No matter which style you decide to use the layering technique is the same.
How to build a raised Hugelkultur garden bed
The thing to remember is not to get too carried away with the amount of wood you add to a bed. You need a minimum of 6″ of soil on top, with 8-10″ being better especially if you are intending to grow root crops. So the taller your bed is, the larger the logs you can use as your base layer, but they should never be taller than half the height of your bed.
Don’t use allelopathic or rot-resistant woods like cedar, black walnut, and black locust. Softwoods like pine are ok, as are hardwoods like oak, maple, sweetgum, apple. Logs that are already starting to break down and get spongy are ideal for this project.
Layers in your bed:
- Bottom layer: logs and thick twigs
- Next layer: a thick pile of dead leaves. You can also use dry straw
- Middle layer: lawn clippings, green leaves
- Penultimate layer: mature compost
- Top layer: topsoil
You’ll want to pack the wood as tightly as possible. For this reason it’s typically easiest to work with a variety of sizes and start with the largest pieces on the bottom.
Once you have the wood packed in tightly you will want to give it a good watering before you add the next layer. This allows the wood to soak up the moisture (some people soak the wood they intend to use in a trough prior to placing it in the bed and then skip watering it.) and release it slowly. Just keep in mind your new garden plants will not have the root system to reach that far down for quite some time, so you will still need to irrigate, preferably with drip irrigation set up that is on a timer that will start your watering just before dawn.
Additional tips
The decomposition going on in the heart of the mound will raise the soil’s temperature, thus giving you a longer growing season! This means that not only can you start seeds earlier, but you’ll likely be able to keep harvesting food for a good few weeks later than the average gardener.
Should you decide to plant early/harvest late, be sure to give your plants a bit of additional help by covering seedlings with cloches, water-walls, burlap to protect them from late frosts in the spring or early frosts in the fall.
You can also extend your growing season by using raised beds with hoop houses, but that is an article for another day.
Get access to premium content and more!

