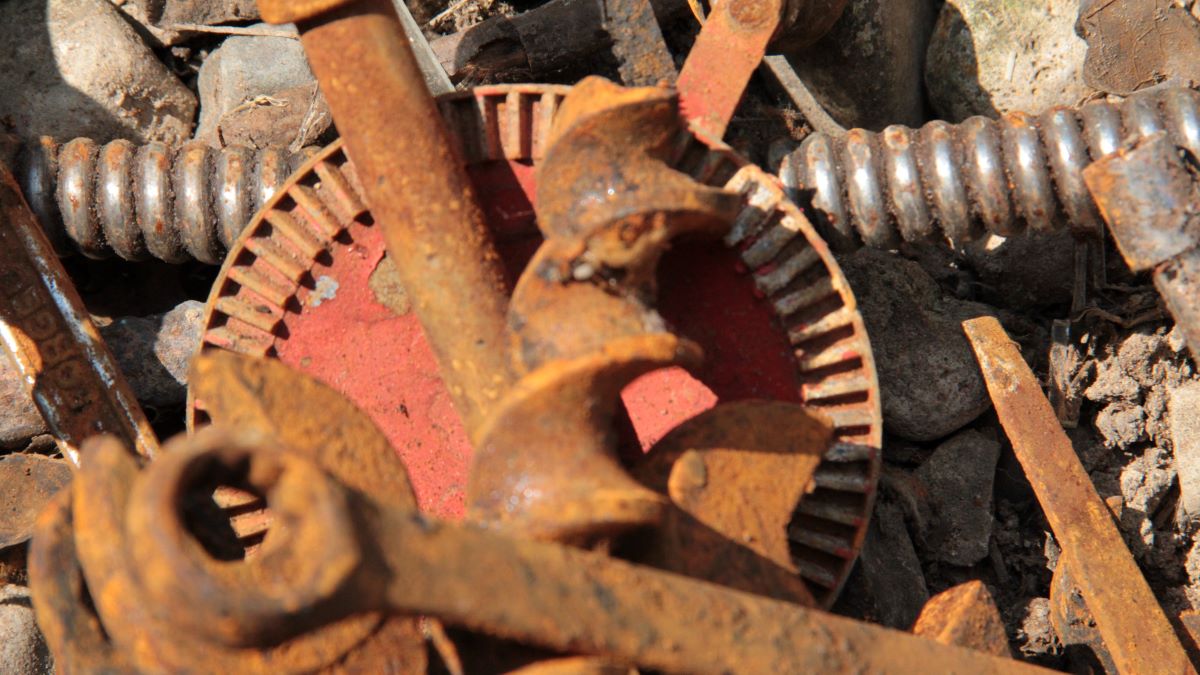
We’ve all seen it: rusty tools wasting away in the garage—even in the trash…
It’s a tragedy!
If you’re the thrifty type who gets a thrill out of resurrecting used items, then we’ve got the perfect winter project for you: Build your own electrolysis machine!
With just a few extra parts and some know-how, you can create an electro-charged water bath that strips the deepest rust off tools, kitchenware, and car parts.
Best of all, it’s easy. Trust us…we’ll show you how to make an electrolysis machine IN JUST 6 STEPS.
How It Works

Before you start working on this project, here’s a two-sentence primer on how electrolysis works:
At the chemical level, electrolysis removes iron oxide—also known as rust—by way of an electrical charge transmitted through liquid. Ions are exchanged and iron oxide peels right off.
In plain English: the combo of liquid and electricity turns rust into powder without damaging the metal.
RELATED READ: “Don’t Waste Your Money! 6 Items You Should Be Buying at the Thrift Store.”
Strip Rust! How to Make an Electrolysis Machine.
Most of the items you need for a home electrolysis machine are probably around your house already. For the stuff that isn’t (copper wire and rebar, for example), you can pick it up at any hardware store.
ITEMS NEEDED
- Container – A plastic or glass container big enough to hold your items. Plastic buckets and wash bins work great.
- Power Source – This could be a battery charger, like the kind you use to jump your car. We’ve also seen electrolysis machines that use a DC-output laptop charger (AC adaptor). A power source of about 12 volts is best. Be careful using these!
- Powder: A box of baking soda or powdered washing detergent.
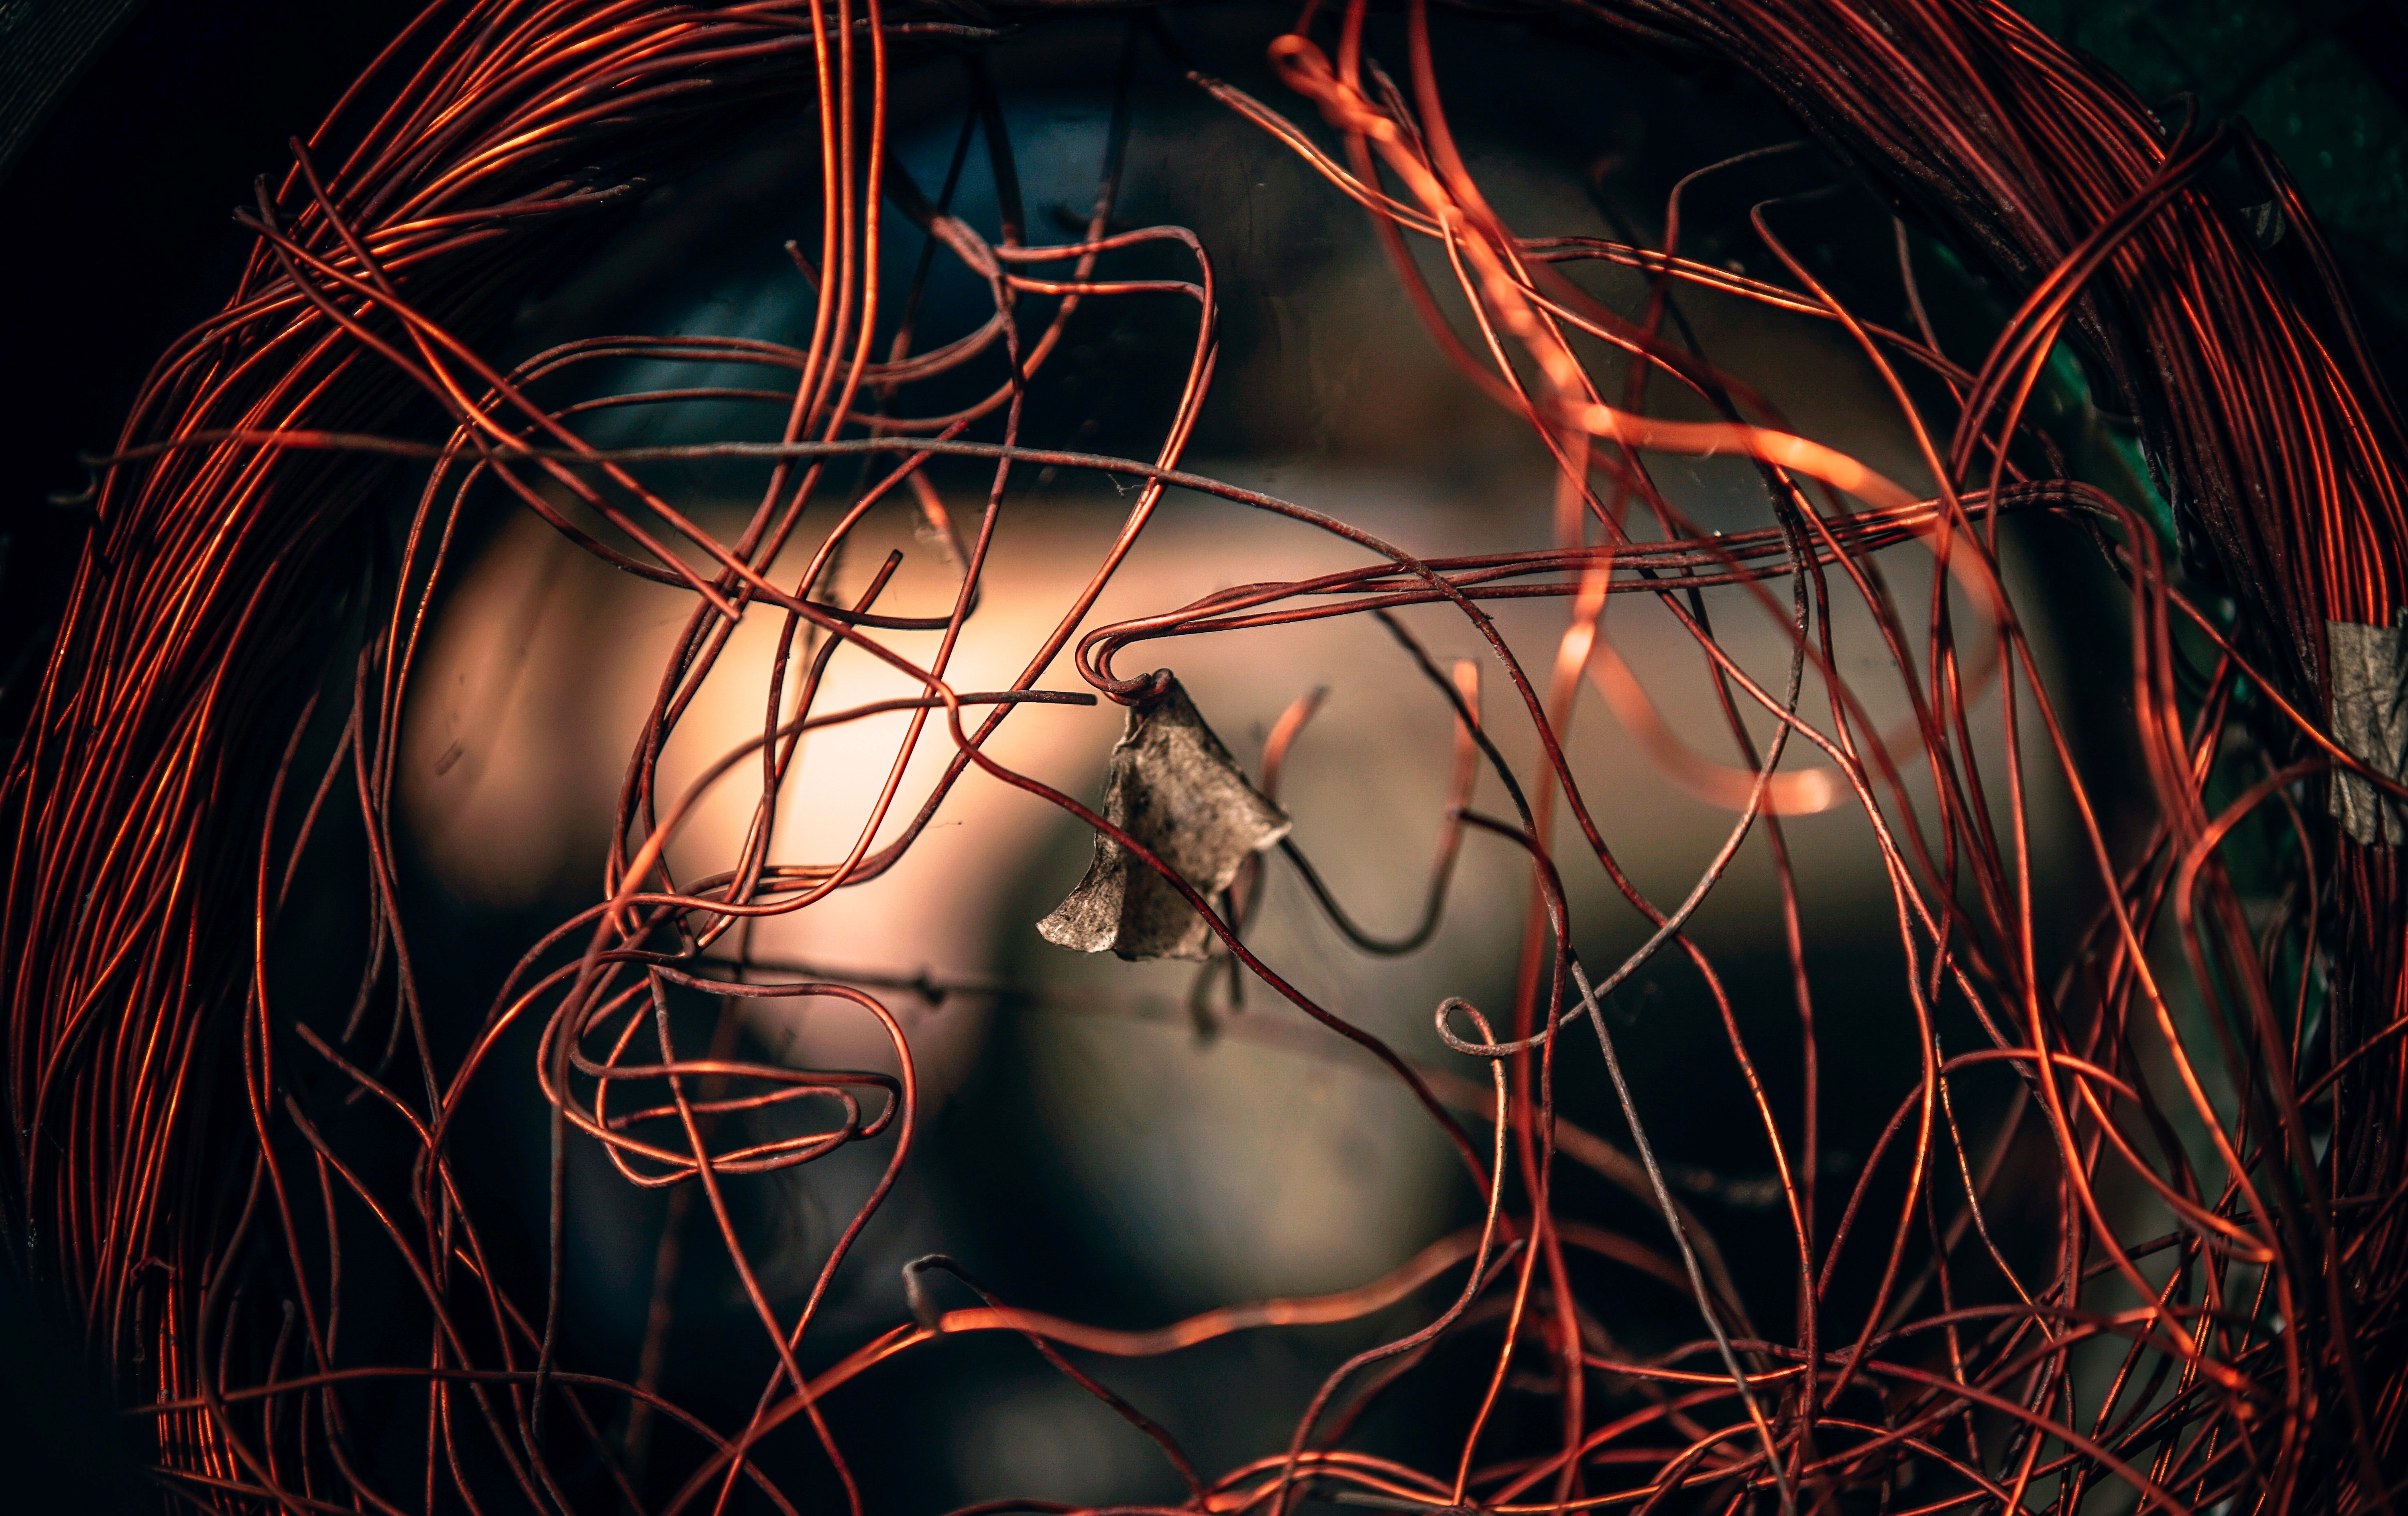
- Wire: Short strands of copper (or aluminum) wire to tie your items together.
- Water: Enough water to completely immerse your rusted items.
- Metal Bar: A bent piece of steel or iron, uncoated (like rebar).
- Safety Equipment: Remember, you’re working with water and electricity. Exercise caution! At very least, come with latex gloves and protective goggles at the ready.
RELATED READ: How to Restore and Season Cast–Iron Cookware
INSTRUCTIONS
- Fill the container until the proper level is reached and then mix in the powder (1/3 cup powder to five gallons water).
- Take the wire and wrap it around the metal items to be cleaned. Use the wires to tie the items together. Some people tie the free end of each wire to a board, mounted over the container.
- Place the bent metal into the container so it is free standing. DO NOT allow it to touch the rusted items.
- Connect the battery charger. Attach the negative (-) (black) end of the charger to the wires holding the rusted items. Attach the positive end (+) (red) to the bent metal bar. Turn on the charger.
- Now wait! If everything is set up properly, bubbles will form around the rusted items. Over time, rust will begin to flake off and the water will become thick and amber colored. Depending on the size and condition of the items you’re cleaning, this process can take anywhere from an hour to days. Just eyeball it—you’ll know when it’s ready. Once the process is complete, unplug the charger, remove the ends, and carefully take out your items.
- Give the items a good brushing and you’re done! They should be good as new.
This isn’t the only method of how to make an electrolysis tank. For another great option (that requires a little more skill and work), check out this awesome YouTube video from WOOD Magazine.
Image Credits:
“rusty tools” by 19secondslow is licensed under CC BY 2.0. To view a copy of this license, visit https://creativecommons.org/licenses/by/2.0/?ref=openverse&atype=rich
Get access to premium content and more!