Are you considering switching from the municipal water supply to water collection?
It’s understandable.
According to the EPA, “The average family spends more than $1,000 per year in water costs.”
Of this $1,000 we spend per year on water, only a small percentage of it is used for drinking.
According to Rural Sprout, “Between 33% to 50% of domestic water use is applied to lawns and gardens each year.”
What other type of free water is perfectly safe for lawns and gardens? Rainwater!
Installing your own water collection system can save you a significant amount of money each year.
That’s not the only reason to install a water collection system.
It’s no secret that even municipal water systems struggle to keep water clean and safe for drinking in the United States.
There have even been computer hacking attacks on public water systems in recent years.
By installing your own water collection system, you ensure your family will have access to your water supply.
And if you learn how to filter and purify water, you ensure your family will always have access to clean, safe drinking water.
Here’s another reason why you need to install a water collection system – it’s not as expensive as you think!
How to Use Rainwater
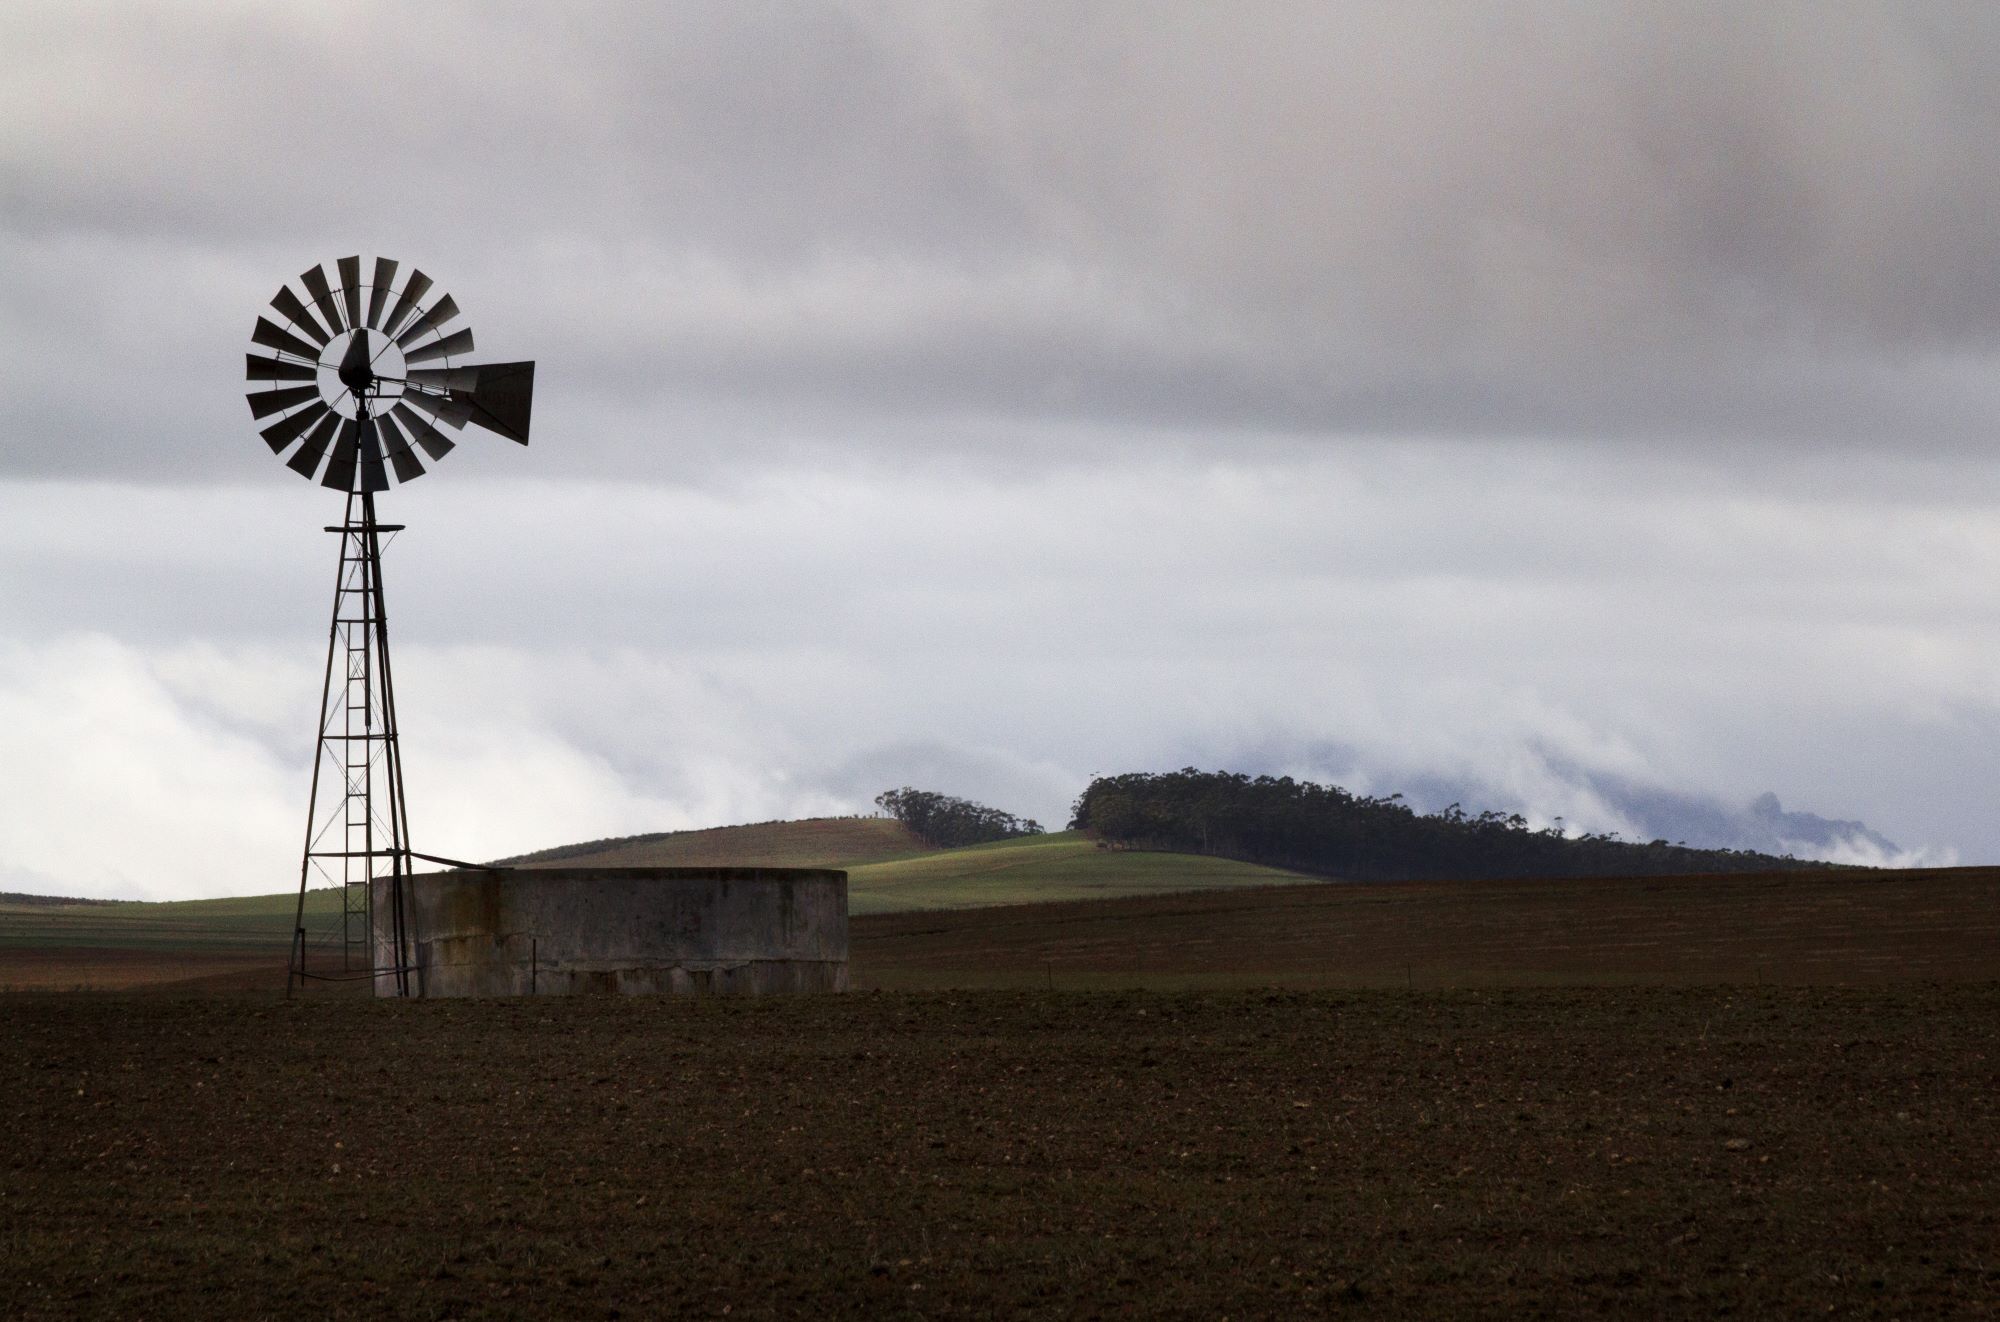
Rainwater is a free resource that is greatly beneficial to the homestead.
While it needs to be filtered before human consumption, there are still many ways it can be used around the homestead.
Here are a few examples.
- Watering the lawn
- Washing cars
- Doing laundry
- Cleaning outdoor spaces
- Adding to toilet tanks for flushing
- Filling a pool
- Bathing your animals
Related Read: Grey Water Guide to a Nearly Endless Water Supply
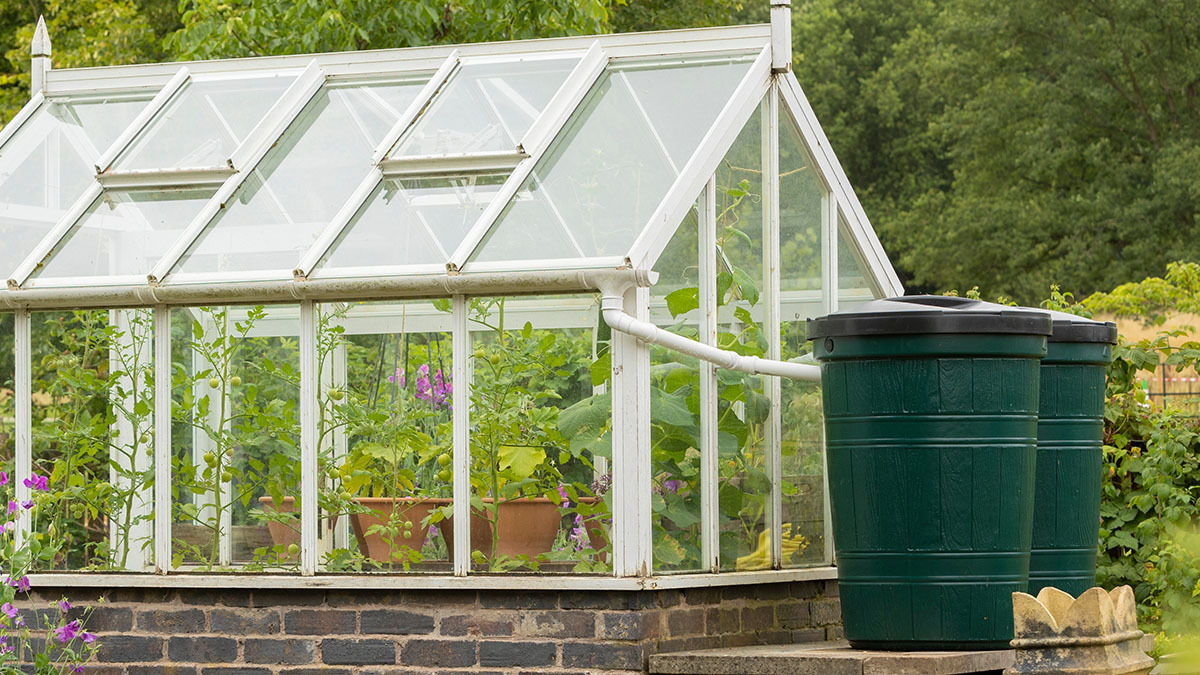
The Range of Costs for Water Collection Systems
Many people hesitate to install a water collection system because they think it will be too expensive.
This is understandable because some of the higher-end water collection systems are pricey.
According to Angie’s List, “The average cost for homeowners is between $120 and $21,000.”
That’s a pretty significant jump in price.
Essentially, how much you pay for a water collection system comes down to the size and how it is built.
For example, a garbage can-sized barrel water collection system will be much less expensive than a large cistern-sized water collection system.
It will cost more to buy a pre-made system or have one installed by professionals than if you do it yourself.
If you want a complete off-grid water collection system with filtration capabilities, you are looking at spending up to $22,000.
Related Read: How to Get Water from Your Well When the Grid is Down
What to Know Before You Build a Rainwater Collection System
It’s important to understand that you can collect rainwater without spending a fortune.
It really is a matter of preference.
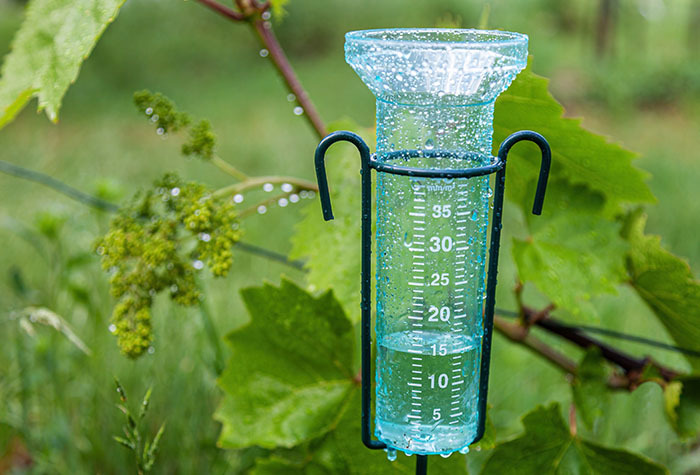
You need to have an idea about how much rainwater you can collect before you start the process of installing a water collection system.
The rule of thumb for determining how much water you can collect is to multiply your roof size by an inch of rainfall.
1 inch of rainfall over a 1,000-square-foot roof equates to around 623 gallons of water.
Use this formula to calculate how much water you may collect:
1” of rainfall x 1 square foot = 0.623 gallons
You won’t collect a total of 100%, but you will collect around 75%.
With that being said, it is also important to check the regulations where you live.
While rainwater collection is legal in all 50 states, states such as Colorado limit the number of barrels (or gallons) you are allowed to collect.
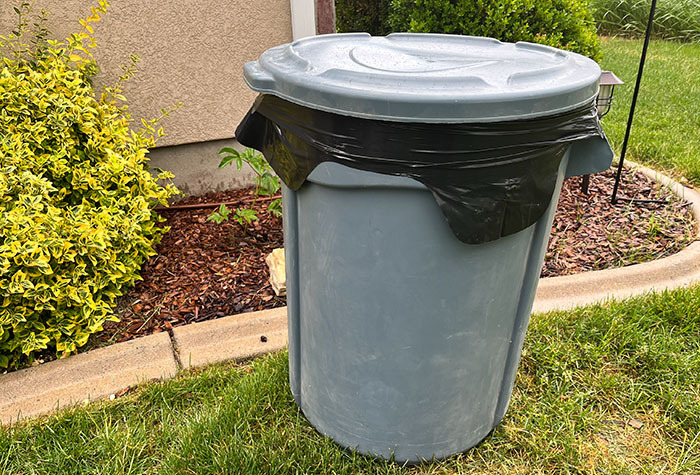
How to Build Your Own DIY Rainwater Collection System
Building and installing a water collection system is easier and cheaper than you think.
You can find tons of examples online, but here is an example of how to turn a garbage can into a rain barrel from Better Homes and Gardens.
Materials
- 1 plastic outdoor garbage can with lid (the larger it is, the more water you can collect)
- 1 brass spigot
- 1 tube of watertight sealant
- 1 roll of Teflon tape
- 1 threaded pipe union fitting (or 2 rubber washers, 2 metal washers, and 1 nut)
- Power drill and bit
- Box cutter or utility knife
- Landscaping fabric or fine mesh screen
Instructions
- Drill a hole a few inches above the bottom of your trash can. This is where you’ll insert your spigot. Use a drill bit that’s a little smaller than or the same size as the spigot.
- Place a metal washer onto the threaded end of the spigot, then put a snugly fitting rubber washer over the threads to help hold the washer in place and prevent leakage.
- Apply waterproof sealant over your rubber washer and insert the spigot into the hole on the outside wall of your barrel.
- Allow the sealant to dry, then run a rubber washer, followed by a metal washer onto the threads of the spigot inside the barrel. Secure the spigot in place inside your barrel with a nut.
- Carefully cut a hole in the lid of your rain barrel. This hole should sit under your home’s downspout, so the water runs right into the barrel.
- Drill a couple of holes near the very top of your rain barrel. These holes will allow water to overflow if necessary.
- Cut a piece of landscaping fabric or screen to sit over the top, with at least a couple of inches hanging over the side. Then, put the lid over the top of it to secure it in place, trimming away excess screen or fabric. This will create a barrier that prevents mosquitoes and debris from getting into your rain barrel water.
- Position your DIY rain barrel directly underneath a downspout where it will be most convenient for you to access the spigot. Set your rain barrel up on a sturdy platform, such as a low stack of bricks or cinder blocks.
Related Read: Emergency Water Storage
How to Filter Rainwater
Should you face an emergency and need clean drinking water, you can turn to your rainwater collection.
However, you will need to filter and purify it.
The easiest technique for purifying water is boiling it for at least 30 minutes to ensure organisms and bacteria are killed.
For additional filtration, pour the boiled water through a coffee filter before use.
Get access to premium content and more!