

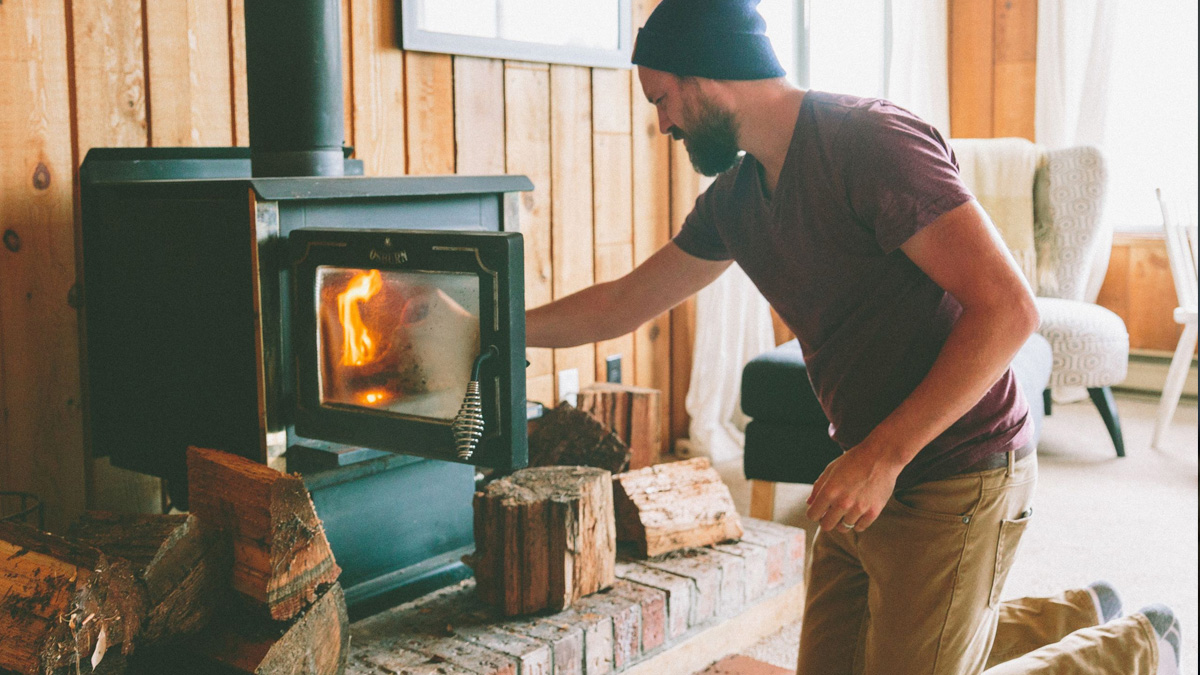
A woodstove for heating your home during the winter can do double duty for making you meals as well, even if it isn’t a cookstove. The heat of a woodstove can cook yummy baked potatoes and apples, savory soups and stews, roast chicken or beef, and many other dishes.
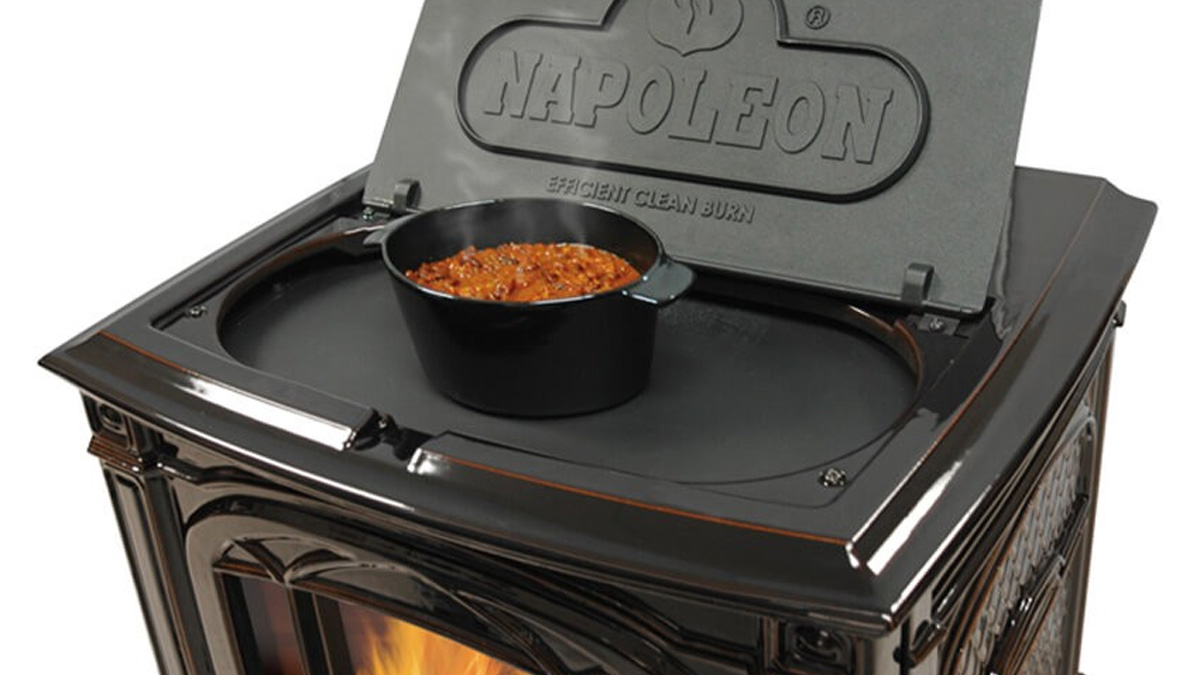
Though you can adapt almost any pots and pans to woodstove cooking, you’ll save yourself trouble and ensure better results if you invest in a cast iron Dutch oven with a lid and a cast iron trivet. The Dutch oven heats evenly and stays hot for a long time, which is perfect for roasting meat or stewing moist dishes. The trivet allows you to regulate the amount of heat the Dutch oven receives. Aluminum foil, a wooden spoon, a set of tongs, a fireplace shovel, and some potholders will round out your woodstove cooking supplies.
Cooking inside the firebox
Start a fire in your stove and let it burn for an hour or more before you begin cooking. This allows the stove to heat up and creates a good bed of coals if you’re going to be cooking in the stove. Once the stove is hot, you only need to keep a low, steady fire going to cook almost anything.
Bake potatoes, sweet potatoes, onions, or apples inside the stove. Wrap each fruit or vegetable individually in two layers of aluminum foil. This helps to keep the food from burning. Push the fire to one side of the stove box and lay the food on the coals. Use the fireplace shovel to pile more coals on top. Close the stove door and bake for half an hour, then use the tongs to turn each foil packet over and cook for another 30 minutes. If one part of the firebox feels hotter than the other, you can switch the packets around to different positions.
You can also get out your campfire pie irons and use those to cook up a meal. Just be sure you have a good-sized non-flammable surface in front of the open stove door to catch any sparks.
Pretty much anything you can cook, bake or roast over an open campfire you can do in the woodstove firebox.
Stovetop cooking
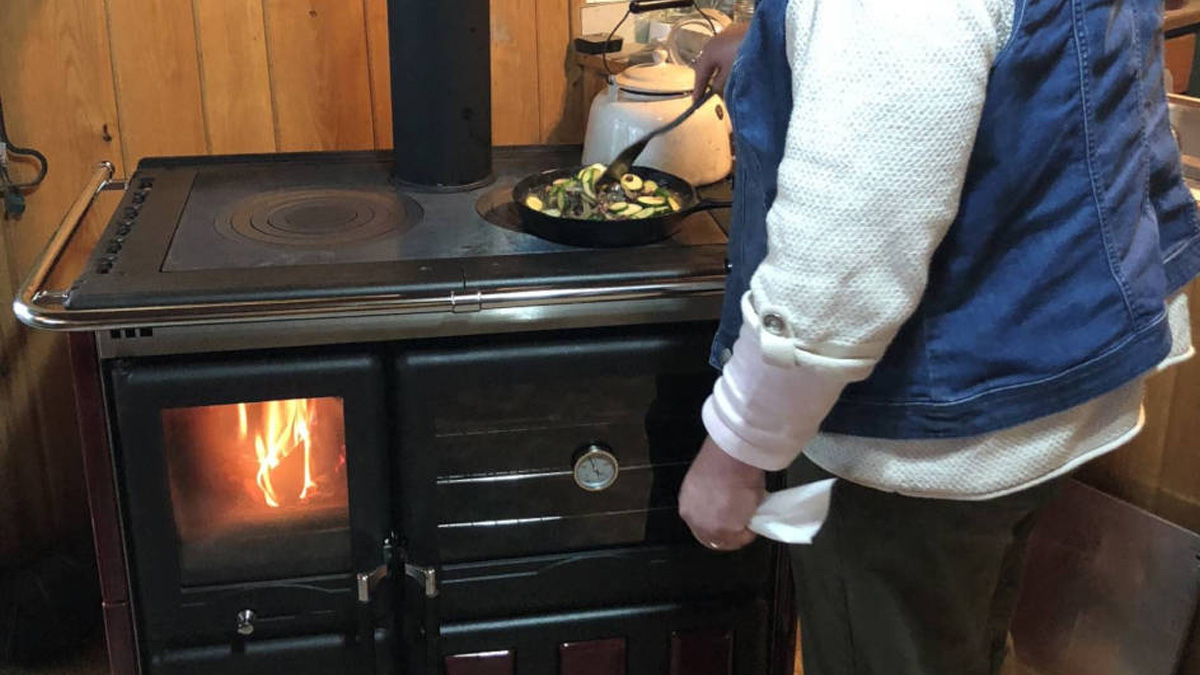
The Dutch oven acts like a slow cooker on top of the stove to cook soups, stews, casseroles, and roasts. The tight-fitting lid keeps juices in and ensures moist, flavorful meat. The trivet allows you to regulate the heat so the bottom of the pot doesn’t burn.
Start by putting all your ingredients in the Dutch oven. Place the oven, uncovered, on top of the hot woodstove. In ten minutes or less, the ingredients should start to bubble. Set the trivet on the stove and move the oven onto the trivet. Put the lid on the oven and allow to cook as you would a slow cooker.
You can leave soups and stews all day. A roast with vegetables takes three to four hours. Check the food every hour or so to make sure nothing is sticking, and that the food is still hot. If your fire dies down and the food in the Dutch oven starts to cool, set the pot back on the stove top and build up the fire again. Move the Dutch oven to the trivet when everything heats up again.
You can adapt almost any slow cooker recipe to woodstove cooking, since the combination of Dutch oven and trivet produces slow, even heat. You can also reheat liquids such as soup or stew, or boil water for tea or coffee by placing the pot directly on top of the hot stove.
Stovetop baking
Yes, you can back on top of your woodstove although it can take a bit of experimenting to get the perfect pizza, cinnamon rolls or biscuits to turn out.
An oven cooks by surrounding food on all sides with a steady, low heat. You can use this information to create an oven on top of your wood heat stove.
All you need is a trivet that will elevate the food (working like the rack in a conventional oven). The trivet will keep the food from coming into direct contact with the surface of the stove so that it doesn’t overheat or burn. Cover the trivet with a pot that is big enough to turn upside down over the food to create the walls of the oven and hold in the heat.
The top of a clay roaster works well as the cover, but any lid or inverted pot will work provided it is completely in contact with the stovetop.
Timing is the experimental part of the baking process and it requires you are attentive to prevent burning. Especially the first few times you bake a particular item as there can be a lot of variables. The size of the fire, type of wood burned, as well as the location of your “oven” on the stovetop can all contribute to there being a variety of baking times. But the results are well worth the time.
Master the art of woodstove cooking and baking and you may find your kitchen stove sits idle most of the winter, and power outages won’t leave you without a hot meal.
Get access to premium content and more!

