

Sharp knives cut easily. There’s no resistance and little chance of slipping. A dull knife requires more pressure to make a cut. More pressure increases the chance of the knife suddenly slipping and slicing you instead. Plus cuts from a sharp knife actually heal faster than a dull one.
The ability to sharpen your knife to a razor’s edge is an essential skill for anyone that routinely uses a knife, from the professional chef to the hobbyist bushcrafter.
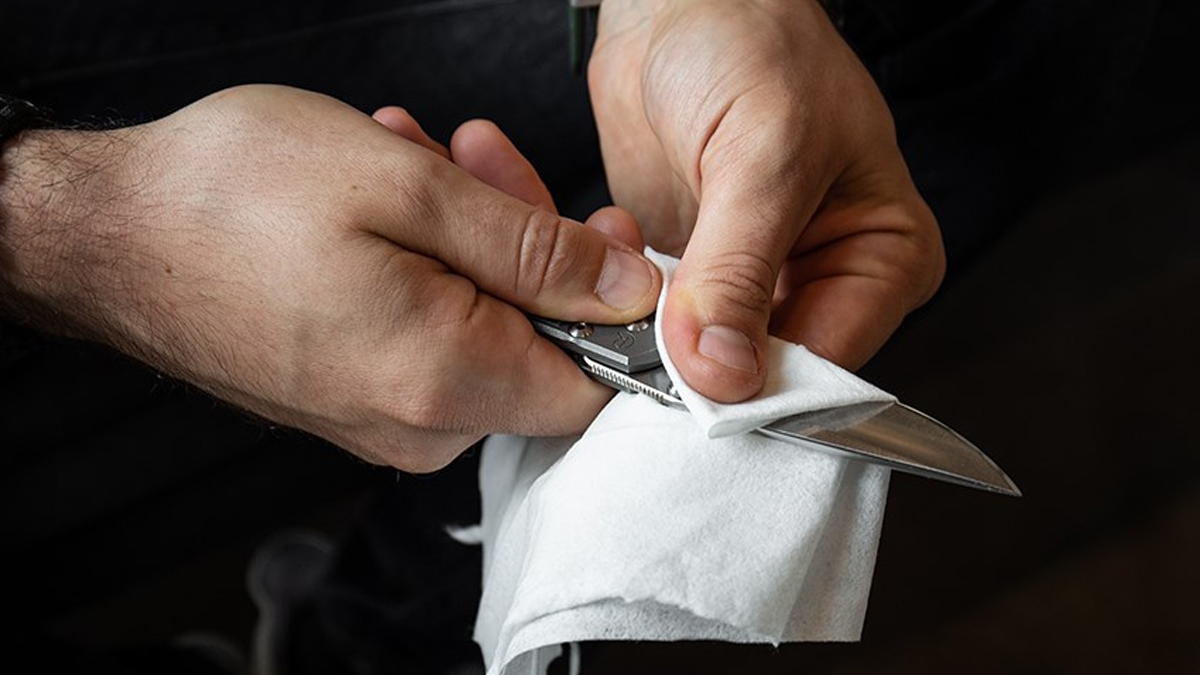
Step 1: Clean your blade
If your knife has seen some heavy use, particularly with woods or materials that can ‘stain’ the blade or leave deposits on the surface, then it’s probably a good idea to clean them from the blade before beginning to sharpen it. Depending on what it is you’re trying to remove it could prevent the blade from properly contacting with the sharpening stone, it could prevent the blade from cutting through material effectively or just carry on corroding into the steel.
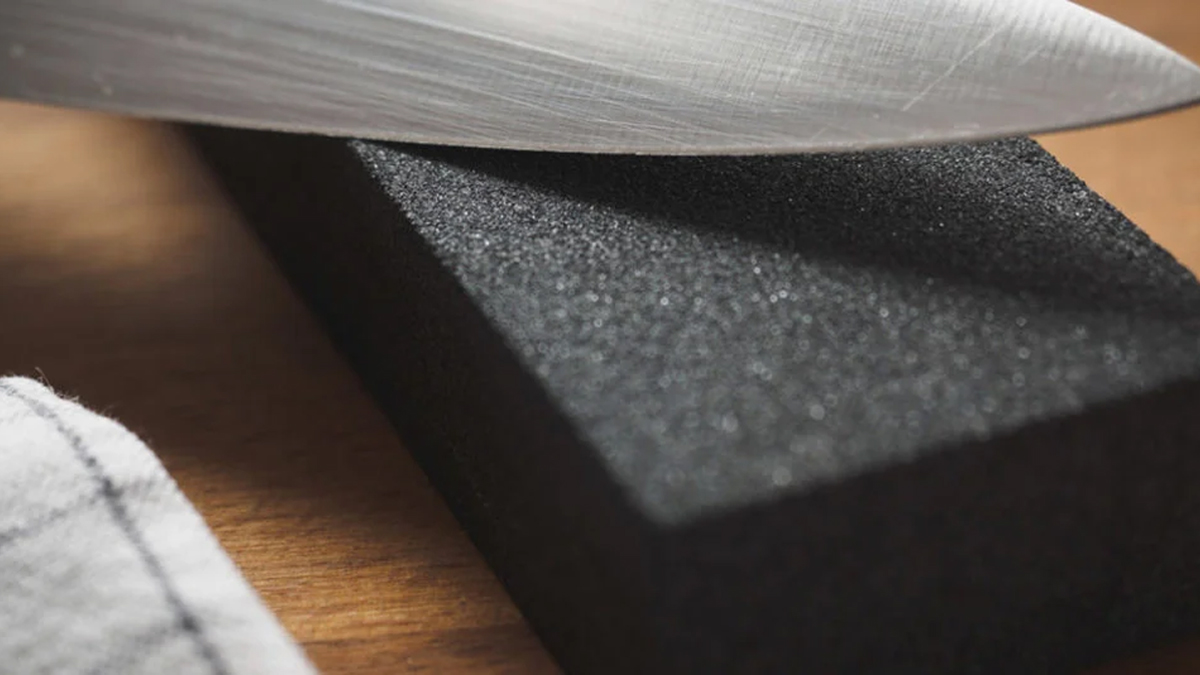
There are several ways you can clean the blade, but either an abrasive block or an abrasive paper will work just fine. Just be careful to not be too enthusiastic with your actions as you could end up dulling the edge of the blade or cutting yourself through a bit of careless finger placement.
Step 2: Sharpening Stones
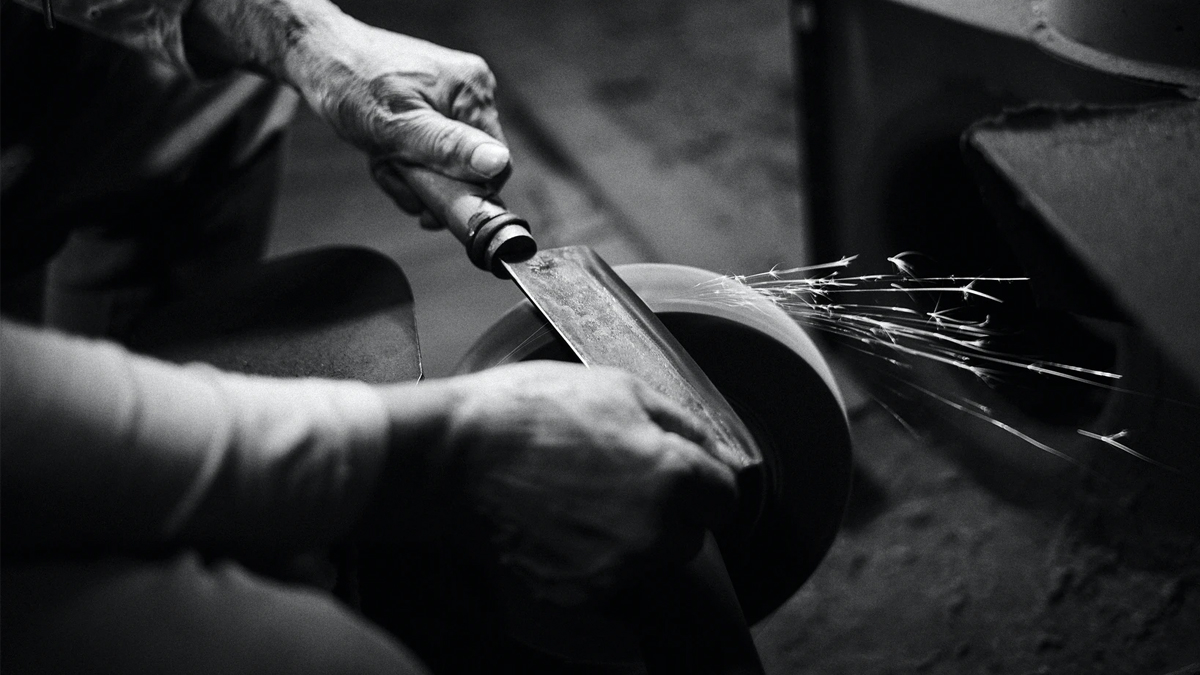
Any sharpening of a blade involves removing material until you have achieved the desired angle. The way you remove that material matters when it comes to cutting effectiveness, and there are a number of ways to achieve the desired level of sharpness.
All ‘sharpening stones’ (including stones plucked from a riverbed or shore) are an abrasive, and harder than the steel/metal of the knife or axe. By moving the blade across the stone you grind away material from the blade – although you may also remove material from the stone as well. Some stones require the use of a fluid or lubricant, normally water or some kind of oil, to aid the process. Some stones (increasingly difficult/expensive to obtain) are made from naturally-occurring material, others from a composite of materials, some artificial and some naturally-sourced.
Most stones are graded by ‘grit’, with a number denoting the grit. The smaller the number the more coarse the stone (and the more aggressively it will remove the material from the blade) – usually starting at about 250 for knife sharpening and moving on up to around 3-5000 or even higher.
The aim is to move from a coarse grit (small number) to a fine grit (large number) with several steps between. As you progress through the steps you remove some of the scratches/scoring made by the step before and create a uniform cutting edge.
Types of Sharpening Stones:
There are several commonly available sharpening stones, and hundreds of commercial products making use of these types of stone within their designs.

Whetstones (Oil Stones) – can be made from natural stone (usually Novaculite, AKA Arkansasa Oilstone) or synthetically using an abrasive such as silicon carbide or aluminium oxide. The synthetic variety are often sold as double sided, with a finer grit on one side and a coarser grit on the other. They are relatively cheap and robust, although heavy. They do not necessarily NEED the use of a lubricant (I use 3-in-1 oil) but this does help with the movement of the blade across the stone and remove swarf (material removed from the blade that may prevent the blade touching the stone evenly or even blocking the ‘pores’ of the stone that have the abrasive effect).

Japanese Water Stones – these are mostly made as synthetic product using naturally-occurring stone and are seen by many as being the ‘ultimate’ way of sharpening a blade. There is certainly a strong cultural association with these Japanese stones, and there is a whole world of nagura, Shapton, Debado and Ao Toishithat you could dive into if you so wished. The grit sizes range from around 400 up to 12000 which takes you well into ‘polishing’ territory. These stones tend to be quite heavy but robust, and most require immersion in water prior to use (using water as a lubricant – never use oil on a water stone).

Diamond Stones – diamond has been used industrially for sharpening and cutting applications for a long time now, making use of the hardness of diamond and the relatively low cost of it in granule form. It is usually a coating on top of a steel plate, often with a plastic or resin surround – they often look a little like a cheese grater. These ‘stones’ can be used to sharpen a blade directly or even used to ‘true’ a sharpening stone – i.e. make it back into a flat surface, removing the depression often formed by repeated grinding and sharpening. They do not require the use of lubricant and have a long service life.

Abrasive Paper – high-quality abrasive and polishing papers, often bonded onto glass or flat wood. This is the method associated with the term ‘scary sharp‘ and is inexpensive and simple to master. It works best with blades that have a ‘flat’ bevel and where the whole blade can be run across the surface. It works very well with woodworking tools (chisels etc) but can be modified for use with an axe or knife.

Sharpening Tools – these sharpening kits and items are often one of the above types of stone set into a jig or pre-defined shape. The best types are ones that can accommodate various angles and knife shapes and use good materials – but there are several terrible sharpening kits on the market – beware and read several independent reviews before purchasing if you can..

Sharpening Stone Technique
Fortunately, despite the slightly confusing array of sharpening stones available on the market, the technique for actually sharpening a knife on a stone is fairly simple and common to most types of stone. The key points are:
- Ensure that whatever you do to one side you do to the other – ideally in alternating strokes
- Be consistent with your angles, pressure and movements to avoid imbalanced blade shapes
- Be conscious of where the cutting edge of the blade is relative to your hands and body etc
Sharpening Strokes
- Position yourself so you can stay comfortably in that position for a while, and place the stone on a flat, stable surface. When in the woods/field it can be tricky to find such a surface – tree stumps, logs, rocks, equipment cases and even the bonnet of a Land Rover have all been used by me in the past. The key is stability, flatness and a comfortable working height.
- Start with the ‘coarse’ grit of whatever stone system you are using and place the blade edge on the surface of the stone so that the very edge is touching the stone. You will need to know what kind of blade ‘grind’ you knife has in order to decide where that final flat surface you need to lay on the stone actually is. A simple test is to see if there is a shadow or ‘gap’ between the metal of the blade and the surface of the stone – if there’s a gap you need to tile the blade a little further. The angle is key, as too shallow an angle will remove material in the wrong place, and too steep an angle will actually make the knife blunter.
- Move the blade across the stone as if you are trying to take a slice off the top of the stone itself. Start at one end of the stone, aiming to finish at the other end of the stone having moved the entire length of the blade over the stone in a single pass. This will require care and practice to ensure you maintain the angle of the blade throughout the stroke length – most outdoor-oriented knives have a curve at one end of the blade, requiring the user to lift the handle of the knife to maintain the angle.
- After completing the stroke you can repeat, or turn the knife and perform the same action on the other side of the blade. When sharpening a knife on a stone all actions have to be repeated for the opposing side. Most people end up with a sharpening ‘pattern’ – mine is outlined below.

Push or Pull?
Get access to premium content and more!

