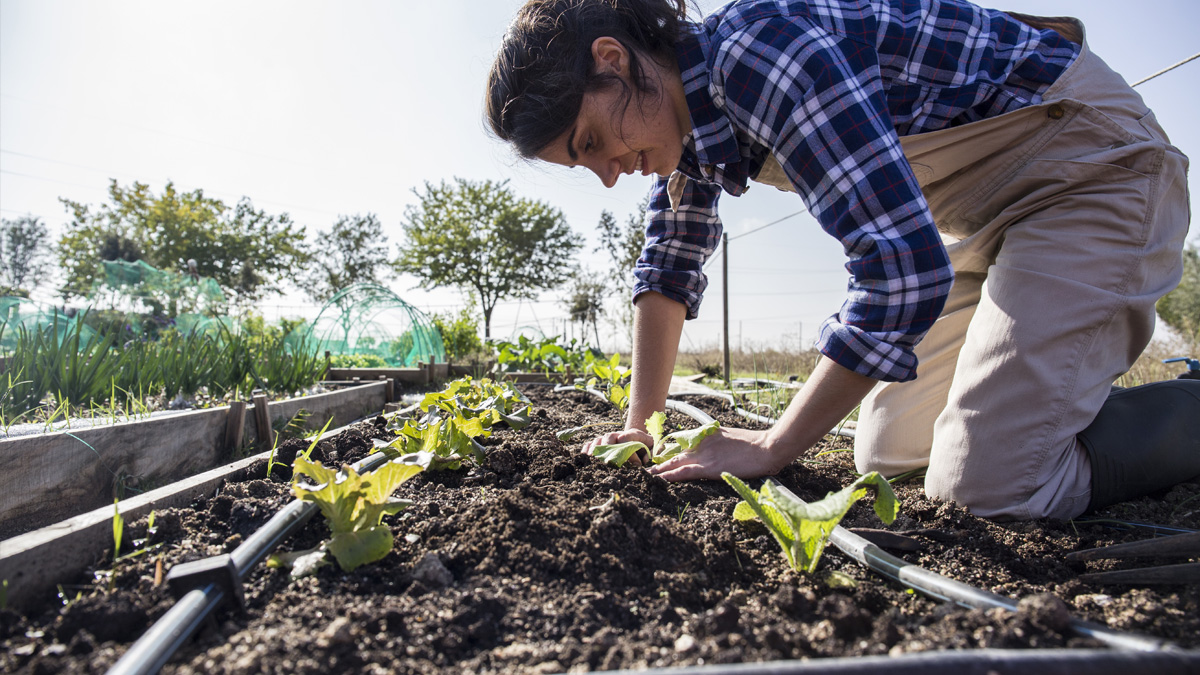
Water is essential – especially if you are a homesteader. It’s necessary for drinking, cooking, and sanitation, as well as for farm animals, livestock, and gardens. All of which are vital components of a homestead.
However, we can’t always trust the public water system. If you have access to it, do you want to run the risk of it failing or being hacked? Probably not.
If you live in a more rural area, you may not have access to public water.
Whatever your situation, digging a well is not only needed, but also essential to homesteading. This way you ensure your family has access to water even in desperate times.
If you plan on digging a well in the near future, there are several things to consider before you start the project.
Identify Your Purpose
As you research digging a well, start by identifying your purpose.
Do you want to dig a well that will be your property’s main water source? Or are you looking to dig a well that will provide water for your farmland and landscaping?
These are different needs, which require different types of wells.
Digging a well for landscaping can be a do-it-yourself project because it is water that will not be used for humans or animals.
If you are digging a well as a water source for your household and animals, it is wise to work with licensed professionals to ensure the water quality from the well is safe for consumption.
Know the Rules

People have been digging wells since ancient times.
However, this does not mean you can just grab a shovel and start digging until you reach water.
Due to safety issues and utilities, most states and jurisdictions have regulations regarding digging a well on personal property.
For instance, in some states, you are required to have a permit if you are drilling to a certain level, such as 200 feet.
In other places, you may be required to have the well professionally drilled.
Before you begin digging a well, research the following:
- Does your city have regulations about water wells?
- How deep will your well need to be to get to the healthiest water?
- How wide can the well be?
- How far does the well need to be from structures?
- How far is the well required to be from sewer pipes or septic lines?
- What kind of structural components does it need to meet safety codes?
- Are there underground utility lines you need to be aware of?
- Do you need a permit? What permission is needed?
Make Sure You Know Where to Dig a Well
After you understand the local requirements for digging a well, it is time to consider where to start digging.
Where you dig is critical. You must dig your well in the right location, or you risk not getting water, having enough water, or unsafe water.
The first thing you want to find out is if any other wells have been built nearby. If so, it will affect how much water is available.
You will also need to consider the topography of your property. For example, are there aquifers or rock formations hidden below the surface?
You also need to know which areas to avoid. For instance, you want to avoid digging a well close to septic tanks, sewers, muddy areas, or anywhere with waste matter. This is because potential contaminants can make their way through the soil into the well.
Be Safe
Most people fail to understand just how deep they will need to dig a well. And that’s when safety becomes an issue.
It is common to have to go 100 feet or more when digging a well in many places. This ensures you find water and that it is safe from contamination, such as fertilizers.
You cannot dig a well of this depth independently. The further down you go, the more unsafe it becomes.
When digging a well, structural integrity is essential. Hence the need to work with professionals or consult with a professional engineer about how to dig your well safely.
The Basics of Digging a Well & What You Need
The easiest and safest way to dig a well is to hire professionals to do it for you.
However, if you are intent on digging a well yourself, you can order a DIY well kit or individual parts as needed.
Supply List
- Pneumatic drill set
- Air compressor
- 1.5 X the amount of air hose as the depth of your well (i.e., 100-feet-deep well requires 150 feet of hose)
- Threaded air hose connectors
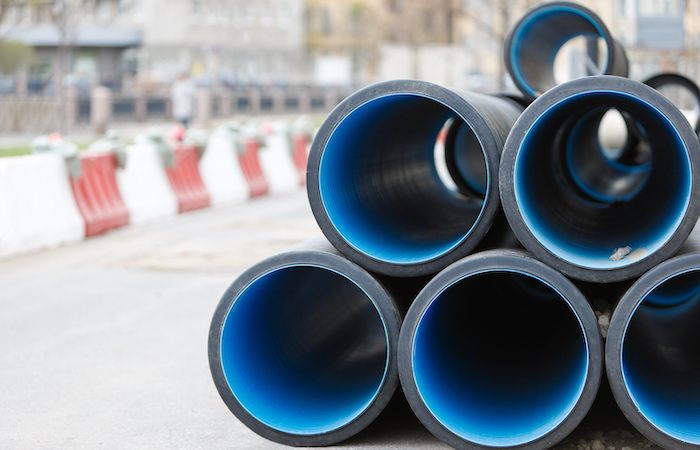
- 1.5 X the depth of your well of 1″ PVC pipe to act as your permanent well tube
- 300 feet of rope (possibly more depending on the depth of the well)
- 700 pounds of small gravel
- About 5 feet of 8″ PVC and 10 feet of 2″ PVC
- About 80 pounds of concrete mix
- Open 55-gallon drum
Here are the basic steps for digging a well from A&T Well and Pump:
- Using an auger or post-hole digger, dig down about 5 feet and cut the 8″ PVC pipe to fit the hole with 4 inches sticking up from the ground. Next, drill a 2″ hole into the side of the exposed pipe and insert the 2″ PVC.
- Dig a shallow settling pond 10 feet away from the well that’s at least 4 feet wide and run an eight-inch ditch connecting the pond to your well and run the 2″ PVC pipe into the ditch and cover it with dirt. This pipe’s job is to transfer clean water from the pipe into the drill hole.
- Place the drum at the edge of the settling pond and face it toward the well. As the drum catches water from the well, it will empty into the pond and flow back in.
- Attach PVC pipe to the drill and secure it to prevent leaks. And run the other end of the pipe into the 55-gallon drum. This creates a space where mud and water can empty out.
Now you are ready to drill the well. This process may take several hours or even a few weeks, depending on variables, such as the type of soil and the type of tools or help you are using.
- Fill your well hole with water and turn on the drill before placing it into the hole. Then, move the drill up, down, and horizontally to help break up the soil.
- When you need to add more pipe, remove the running drill from out of the water, then turn the pressure off. Add more pipe, and continue to drill downward.
- Once you get the appropriate depth, case off the well by lowering in SDR 35 pipe until it’s the full depth of the well plus 3 feet above ground. You’ll keep it in place with concrete and pea gravel to prevent runoff from contaminating your well water.
- After this, you’ll add your well pump, let the water run until it’s coming through clear, and have it tested for safety.
A&T Well and Pump also has a YouTube video demonstrating digging a well.
[Related Read: Emergency Water Storage]
Get access to premium content and more!