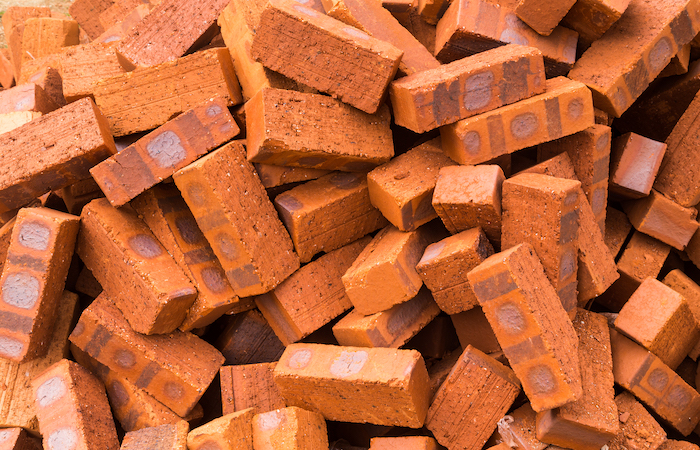
Do you remember the story The Three Little Pigs? The first little pig built his house of straw. The second little pig built his house of sticks. The third little pig built his house of bricks. The Big Bad Wolf huffed and puffed, and he blew the house made of straw and the house made of sticks down. But the house made of brick didn’t fall.
Sure, it’s a children’s story. But there is some truth in it. Homes made of brick are sturdier than homes made of other materials.
That’s why brick has been a choice for homes for centuries.
Archeologists have even found remains of brick making in America in the early 1600s.
Obviously, the settlers didn’t have the tools and equipment modern bricklayers have, but they still found ways to make their own bricks for use as construction materials.
Our Colonial Forebears Were Master Brick Makers

If you’ve ever taken a trip to Colonial Williamsburg, you may have enjoyed visiting the brickyard. This popular site allows visitors to see what the earliest brick making process was like. The brave ones even get to participate by taking off their shoes and socks and stomping in the mudhole treading pit. Their stomping mixes the clay and the water to the consistency necessary for preparing bricks.
Our ancestors understood the necessity of sturdy construction materials, as well as the importance of using the supplies readily available.
In another example, the Blount Mansion in the Allegheny Mountains in Tennessee relied on nearby supplies, with bricks being made from the creek and fired on the property when it was built in the 1700s. This was necessary because it was impossible to transport construction materials to the remote mountain location.
Similarly, the early Western homesteaders also relied on what they had for construction materials. They could not build log cabins because they were in the land of plains and prairies. Instead, they turned to making building materials from the sod beneath their feet.
Whether you want to learn a new hobby or bolster your preparedness skills, brick making is a clever choice.
RELATED READ: Survival Construction: Adobe Blocks
Why You Should Make Your Own
There are many reasons why people make their own bricks.
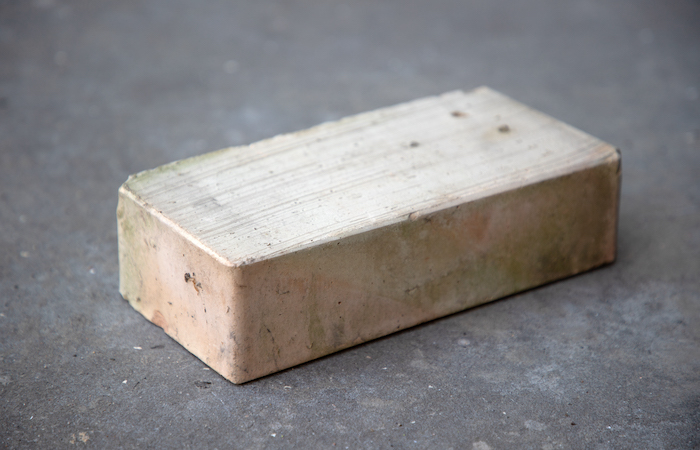
First, it is because of the quality of bricks. They are strong, durable, fireproof, forgiving, and water-resistant. This makes them an excellent choice for construction materials.
Second, the process is budget-friendly. Instead of spending the money on bricks, you can make them yourself using materials you source from your property.
Third, it is a fantastic hobby. You get to engage in a process that our ancestors enjoyed, and you get to enjoy the fruits of your labor.
Fourth, you will have a way to make sturdy building materials if you choose to (or are forced to) go off the grid.
Finally, the bricks you make can be used in a variety of ways, including:
- Home construction
- Sheds
- Perimeter walls
- Flower beds
- Grave markers
- Yard pavers
- Outdoor fire oven
The Basic Brick Making Process
While the process has evolved to use machinery, bricks can still be made by hand using the following process.
- Find your brick source (clay, soil, mud, concrete). NOTE – The brick source is the key ingredient. The material (such as soil composition) greatly affects the mixing ratios.
- Mix material with water.
- Mold the bricks. This can be done by hand, or you can make DIY brick molds.
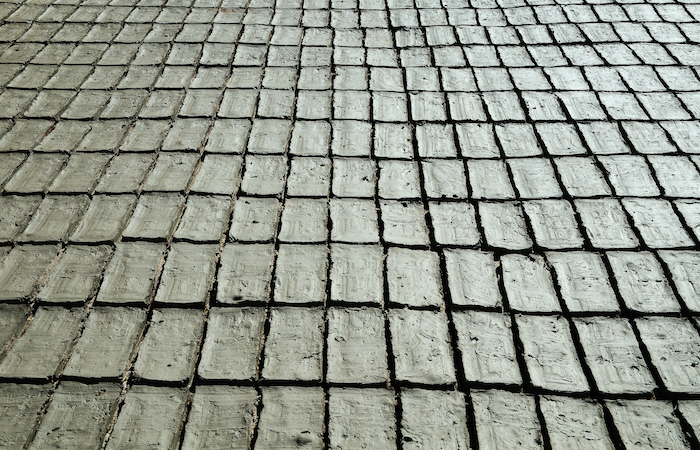
- Allow the bricks to dry completely. The drying process is lengthy, from a few days to a few weeks.
Some brick makers include a final step – firing the bricks in a kiln. This process “cures” the bricks, which is the same process used when curing pottery.
There are a few different brick making methods depending on the source material. We’ve provided three different examples below.
How to Make Clay Bricks
Here are instructions for making bricks using clay from eHow.
- Find decent clay in your area. Ideally, you want a 50/50 ratio for soil and clay.
- Make a mold to form your bricks using wooden planks and nails. Build a wooden box and leave the top (face) open for filling with clay. Ensure all edges are nailed tight to prevent the clay from leaking through.
- Mix all ingredients thoroughly. Add water slowly until the mix has the consistency of dough. It should retain its shape when formed but still be soft enough to use in molds. Use a table to knead the clay as you would when making bread until you get an even consistency.
- Lubricate the mold with water and sand before filling it with clay. Pack the clay into the mold and trim excess along the top edge with a stick. Let it set in the mold for about a half hour, then carefully flip it upside down to remove the wet brick onto a board and store it for drying. Let it set for about an hour if the clay is too wet.
- Dry the bricks by placing them on dry sand in the sun. Turn them as each side dries white in color. Dry the bricks for about three weeks to ensure that they are completely dry and ready to use.
YOU MAY ALSO LIKE: 10 Ways to Become More Self-Sufficient That Don’t Require Buying Supplies
How to Make Mud Bricks
Here are instructions for making mud bricks or adobe blocks from Heifer International.
- Mix soil and water into a thick mud.
- Add some sand, then mix in the straw, grass, or pine needles.
- Pour the mixture into your molds.
- Bake bricks in the sunshine for five days or so. Cover the bricks so they’re not in direct sunlight if cracks appear.
- Remove the bricks from the molds and let them dry for a few more days.
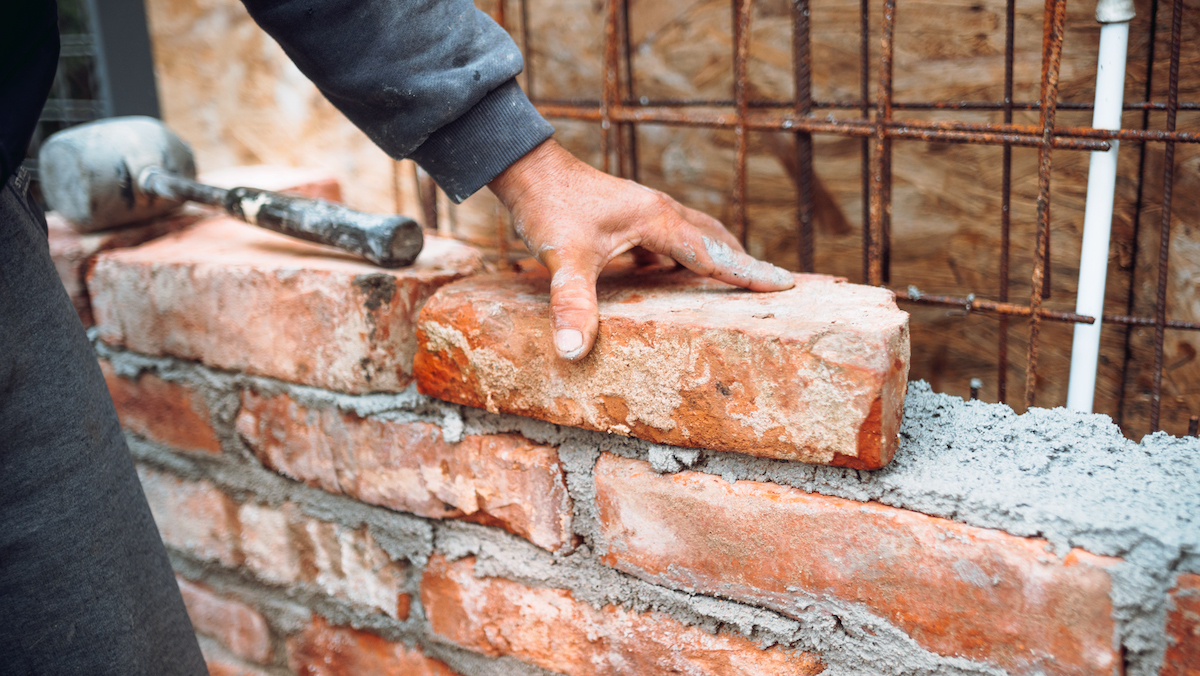
How to Make Concrete Bricks
Here are instructions for making bricks using concrete as your base material from Bright Hub Engineering.
- Find a wide open shaded space. The space should be wide enough to mix concrete and pour it into the mold.
- Make the mold: Use plywood planks and nails to make a one-side open box with an inner cavity of 300mm (length) x 200mm (width) x 150mm (thick). This is the standard size of a concrete brick.
- Prepare the concrete mix: Get a large container. The mix requires cement, sand, gravel, and water. First, put the cement, sand, and gravel in the container at a ratio of 1:2:3. Next, start mixing water in the container and stir the mixture continuously with a rod. Finally, pour water until the concrete mixture becomes pliable enough to pour into the mold.
- Make the raw concrete block. Pour the concrete mixture into the mold and stir the mold so that the concrete gets settled in the mold and reaches the extreme corners. Next, level the open surface smooth by running the plywood plank across it.
- The concrete block needs to be kept in the mold for 24 hours for drying. Then, remove the concrete block from the mold and put it in a water tank for curing. The curing process will provide the required compressive strength and will take around two weeks.
Get access to premium content and more!