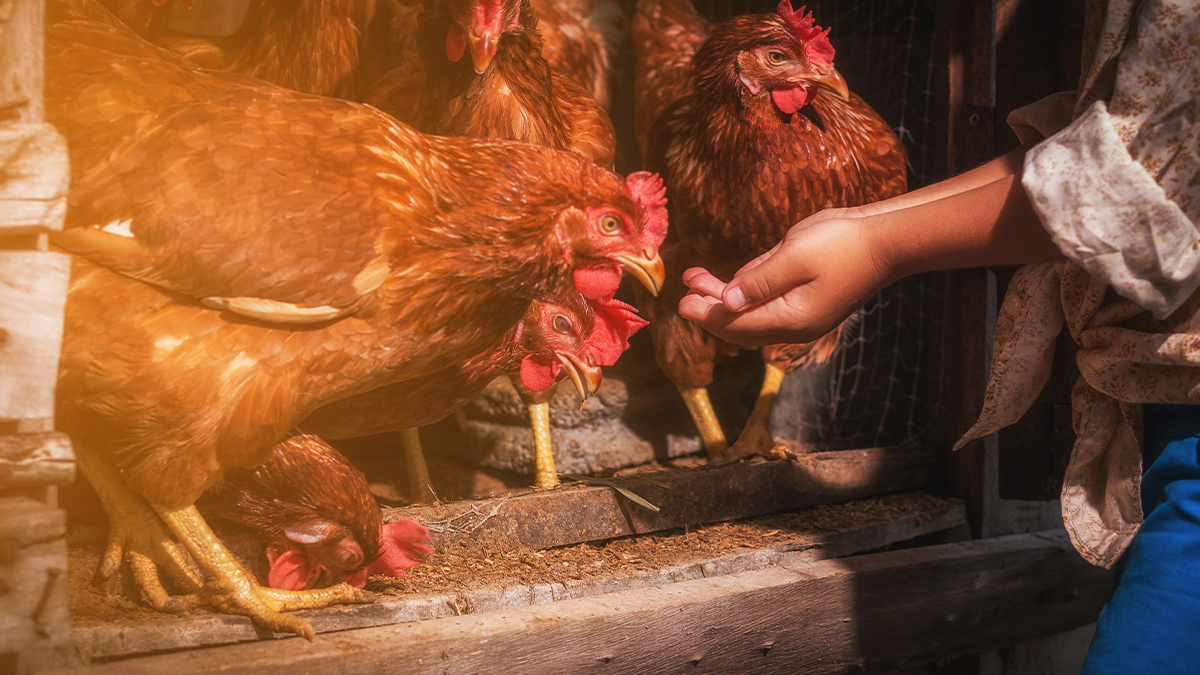
If you have chickens on the homestead, you need a DIY chicken feeder.
Not only will it save you time and energy, but it will also ensure your flock is fed well—an important factor considering egg-laying chickens should have constant access to feed.
Without an automated chicken feeder, you’ll be forced to constantly make sure there is enough feed for your chickens. This can mean making several trips a day to the coop to check and refill feed.
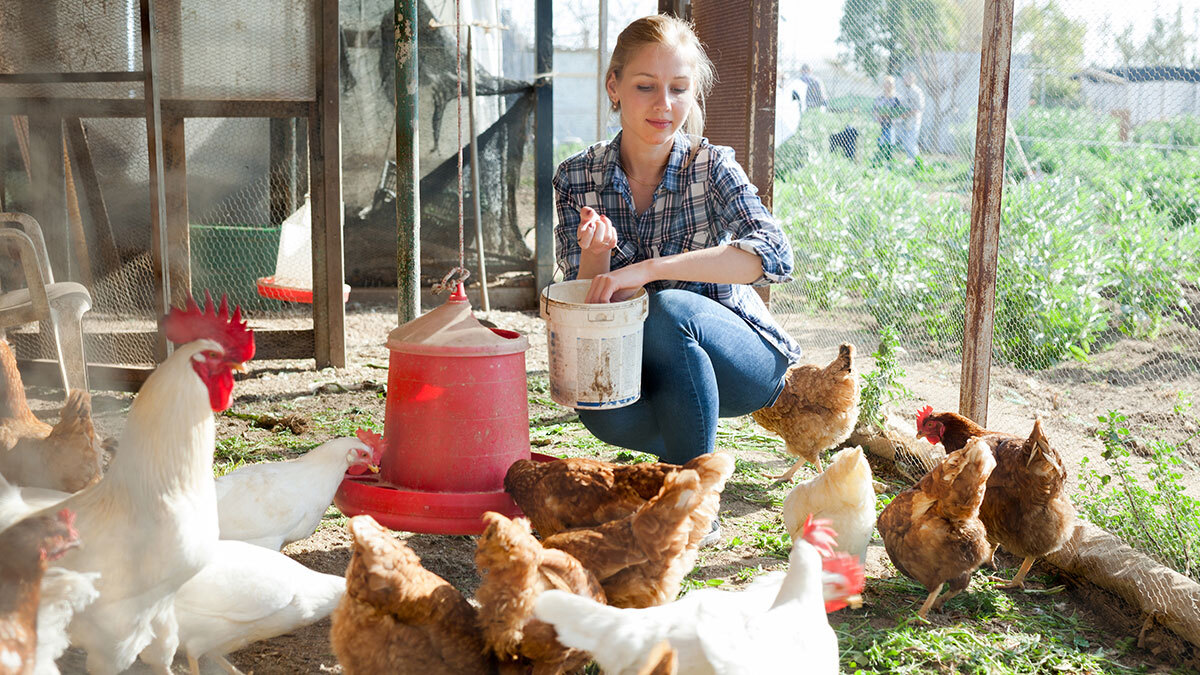
Plus, chicken feeders keep the feed within the feeder instead of spreading it all over the ground, which results in wasted feed and potential contamination.
DIY chicken feeders can be made inexpensively and in accordance to your flock’s unique needs.
Keep reading for examples of DIY chicken feeders to get started.
DIY Chicken Feeder Considerations
DIY chicken feeders can be easily customized to meet your flock’s needs.
Before you begin your DIY chicken feeder project, you need to keep a few things in mind.
Consider the following:
- Location: Will you place the DIY chicken feeder inside or outside the coop? If you plan to place it inside, you will not need to worry as much about water resistance; however, you may need to carefully consider space limitations. If you plan to place it outside, it will need to be water- and rodent-resistant.
[Related Read: How to Choose the Best Chicken Coop] - Size: No two chicken coops are the same. You may have plenty of space to build a large chicken feeder, but someone else may need to carefully consider size to make sure the chicken feeder doesn’t take up valuable, useful space in the coop or yard.
- Capacity: The idea of a DIY chicken feeder is to relieve some of your work; but just how much work do you want it to relieve? Are you looking for a chicken feeder that you can fill once a day or once a week? Additionally, you must consider the number of chickens you need to feed and which types of chicken feeders have the capacity to feed them all.
- Durability: Chickens are messy. They tend to knock things over and rough things up. For this reason, you want a sturdy, durable chicken feeder. If they can easily knock it over, it won’t be of much use.
- Ease of Use: DIY chicken feeders should make your life easier, not harder. You want to look for a chicken feeder that will make it easier for you to feed your chickens. Is it easy to fill? Easy to clean? If you plan to move it around, make sure it is portable.

Make a DIY Chicken Feeder
Now let’s look at a few different ways you can make a DIY chicken feeder.
Keep the above considerations in mind and customize your feeder as needed.
PVC Pipe No-Spill Feeder
Here are instructions for a simple PVC chicken feeder from The Art of Doing Stuff.
Materials
- Three feet of 3-inch PVC pipe
- One “Y” connector
- One end cap
Directions
- Cut a 26-inch to 27-inch length of PVC pipe.
- Cut the remaining pipe into a 6-inch and 3-inch length.
- Attach the long piece of pipe to one end of the “Y” connector and the 6-inch length of pipe to the opposite end.
- Attach the 3-inch piece of pipe to the portion of the “Y” connector that is sticking out at an angle.
- Add the cap to the very bottom of the feeder.
- Fill with feed.
Note: When making a DIY pipe chicken feeder, you can customize it by using larger or smaller pipes. You may also add additional connectors to make the feeder accessible to more than one chicken at a time.
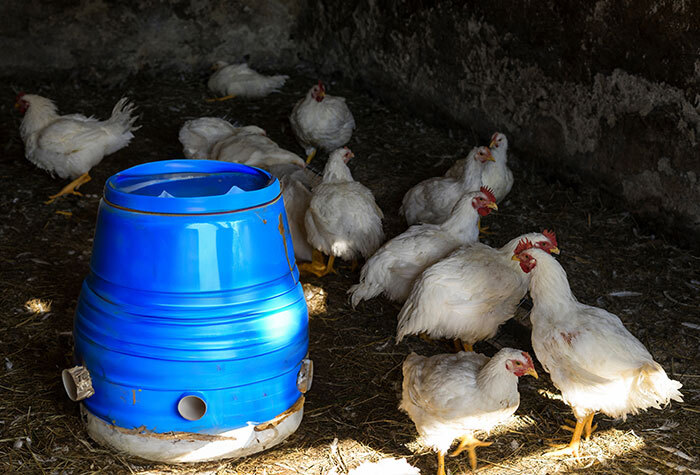
DIY 5-Gallon Bucket Feeder
There are several ways you can make a chicken feeder using a 5-gallon bucket.
Here’s a simple design from Bless This Mess:
Materials
- Two 5-gallon buckets with lids
- Drill
- 1-inch standard drill bit or paddle drill bit
- Two large foil roasting pans or large feed pans
Directions
- Clean and empty your 5-gallon bucket.
- Along the bottom edge of the bucket, drill 1-inch holes all the way around the bottom, spacing the holes about two inches apart.
- Place the bucket inside the foil roasting pan right-side-up (holes in the pan), then fill it with chicken feed.
- The feed will pour through the holes and into the pan; as they eat, more will come out.
- Replace the lid to the bucket so that the chickens can’t get to the food from the top.
Trash Can Feeder
If you are looking for an automatic chicken feeder that can hold a significant amount of feed, consider making one out of a trash can.
Here are directions from Wiki How for a trash can chicken feeder that can hold around 150 pounds of chicken feed:
Materials
- One 30-gallon plastic garbage bin
- PVC pipe fittings: six pipe elbows and six pipe end caps
- One hole saw for making holes in the garbage bin
- Caulk for waterproofing the cracks
Directions
- Mark the trash can where you want to make holes, toward the bottom of the trash can. Take a marker and outline your planned feeding holes by drawing circles of the same diameter as your PVC pipes.
- Create the holes at the bottom of the bin with a hole saw. When you pick up a hole saw, you should make sure the diameter matches the pipe you’re using. There should be six holes made for a 30-gallon trash bin.
- Cut the bottom two inches of the pipe, cutting about 150 degrees around. These windows will allow the grain to pour inside the bin.
- Once you’ve made the proper openings in the back of each pipe fitting, fit them to protrude out of the holes you made with the hole saw. Reach into the bin and fit them from the inside out.
- Make grain windows with pipe caps. A grain window should strike a balance between allowing the chickens accessibility to the grain and keeping the grain from pouring out of the feeder. Cut the top two-thirds out of each of your pipe caps. When it comes time, you will place them on the feeder holes with the remaining third of the cap placed on the bottom.
- Place modified pipe caps on the pipes. Fix them onto the fronts of your PVC feeder holes.
- Waterproof the edges with caulk.
- Place the bin atop concrete slabs. If you give the bin some elevation, you’ll be able to place the feeding openings at a relative head level with the chickens.
- Add a lid to the bin to protect the feed.
Be sure to see our guide on growing and making your own chicken feed, too!
Get access to premium content and more!