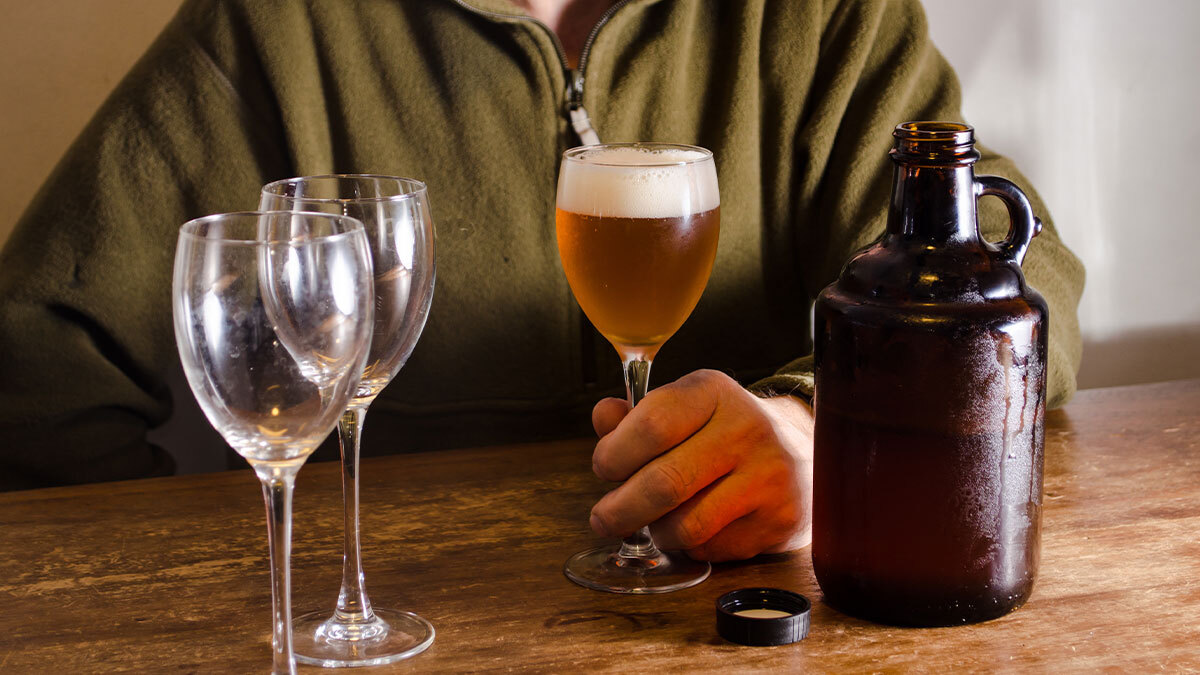
Want to be more self-sufficient as a homesteader? Consider homestead brewing.
Even if you don’t enjoy alcoholic beverages, it is still helpful to know the basics of homestead brewing. Because, if things get bad enough, you can always use your homestead beer, wine, or mead for bartering.
For those who do enjoy alcohol, you can play around with homestead brewing until you master a recipe just for your unique tastes.
In addition to making beverages according to your tastes, you can save a good amount of money homestead brewing instead of buying brews from the store.
It’s relatively inexpensive to buy the equipment needed for homestead brewing, some of which you likely already own. Plus, it will pay itself off in just a few batches.
According to The Today Show, “Based on the cost of a 12-pack of fizzy yellow beer, it’ll take less than four batches before your equipment costs are covered and you have a beer fridge stocked with craft-quality beers that you brewed at less than Bud Light prices.”
Today, we’re sharing some of the basics of homestead brewing to help get you started.
Disclaimer
While homestead brewing is relatively safe, you need to be extra careful when you begin the bottling stage.
Similar to canning explosions, bottles with too much sugar can burst or blow, which means shards of glass will fly through the air. Use carefully.
Also, while homestead brewing is legal in all states in the United States, individual states have regulations regarding the strength of the alcohol, ingredients used, and permits.
Do not try to sell your homestead brewing products! It is illegal.
Basic Equipment for Homestead Brewing
When it comes to homestead brewing, you are following a similar process for most beverages.
Essentially, you are combining a sugary liquid with a sugar-eating yeast and allowing it to ferment over time.
The differences between beer, mead, and wine come down to the ingredients you use and a few basic steps in the fermentation process. This is why much of the equipment can be used for different beverages.
Here is a list of basic equipment:
- Thermometer
- Hydrometer
- Kitchen scale
- Siphon
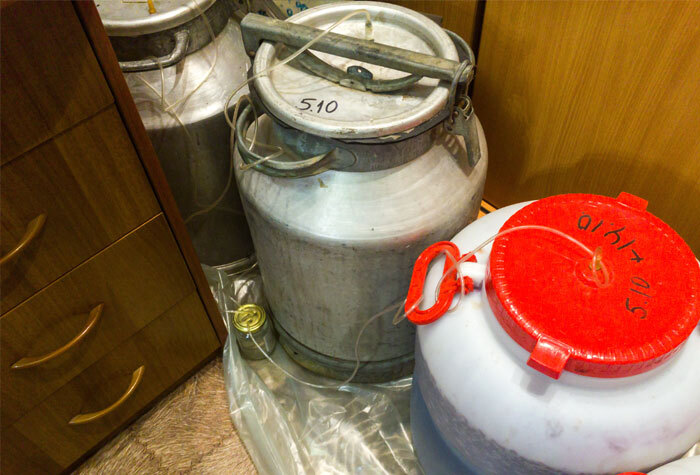
- Fermentation vessels (i.e., glass carboys, stainless-steel tanks, food-grade plastic buckets)
- Airlock
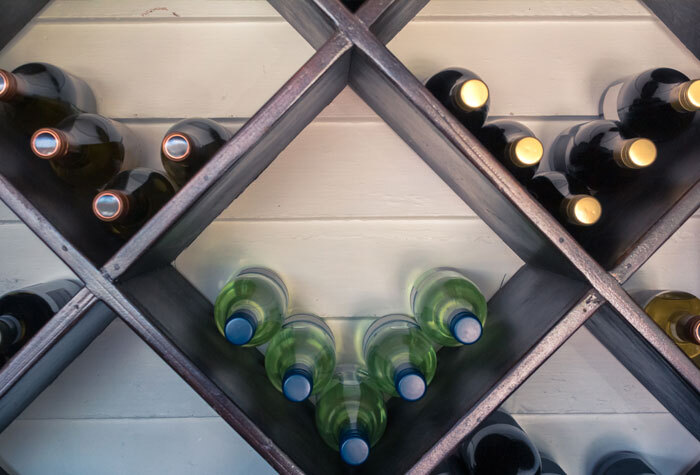
- Bottles
- Bottle capper and caps
- Sanitizers such as Star San
- Cleaner such as PBW
- Chemicals for improving shelf life, preventing bugs, and clarifying such as potassium metabisulfite, potassium sorbate, and pectic enzyme
- Yeast (different types depending on what you are brewing)
- Large kettle
- Propane burner
You can also buy complete brewing kits for beer, wine, cider, and mead that include the necessary equipment and starter ingredients.

Crafting Your Own Beer
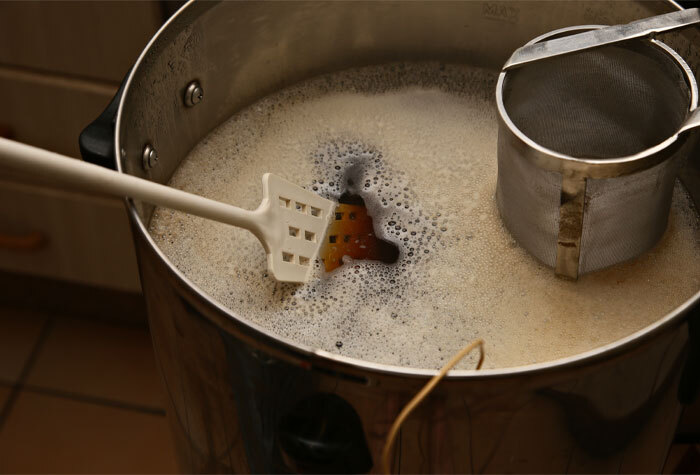
Brewing homestead beer involves four things: grain (malted barley), hops, yeast, and water.
In short, you add malt to water to make sugar water, also known as a “mash.” Then, you boil the mash and add hops. Cool and allow this mixture, known as the “wort,” to ferment with yeast. Wait a couple of weeks, and then you’ve got homemade beer.
Now, here’s a recipe from Men’s Journal for a simple SMASH (Single Malt And Single Hop) ale.
Ingredients
- Malt Extract:
8 pounds Maris Otter Liquid Malt Extract
- Hops:
1 ounce Cascade pellets (6.3% AA) boiled for 60 minutes
1.5 ounces Cascade pellets (6.3% AA) boiled for 10 minutes
1.5 ounces Cascade pellets (6.3% AA) boiled for 1 minute
- Yeast:
Wyeast 1056 American Ale Yeast or White Labs WLP 001 California Ale Yeast
Directions
- Heat six gallons of water. As it approaches the boil, add the malt extract.
- Once boiling, add your first hop charge.
- After 50 minutes, add your second hop charge. After nine more minutes, add your third hop charge, boiling for one more minute.
- Chill to 68ºF and pitch your yeast.
- Allow a week to ten days for fermentation. Check your final gravity. If it has reached 1.013 (or is at least within a few points), proceed to bottling or kegging your beer.
[See Also: Healthy Homebrewed Beer]
Crafting Your Own Mead
Mead is known as the drink of the Medieval Ages and is often served at Renaissance fairs.
The brewing process for making mead is very similar to brewing beer, but you will have to wait a good bit longer to enjoy it. The key difference is that mead substitutes honey for malt extracts and doesn’t always use hops.
Here is a recipe for English Mead from Misfit Gardening.
Ingredients
- 2 kilograms (4 1/2 pounds) honey
- 4.5 liters (1.2 gallons) water
- Juice of 2 lemons
- Juice of 2 oranges
- 1 sachet Champagne or sweet mead yeast
Directions
- Sanitize the fermentation vessel, bung (stopper), airlock, and spoon.
- Mix the honey with the water in a large pan and heat until the honey has dissolved.
- Carefully transfer to the fermentation vessel. (Take care if placing it into glass. Hot liquids and cold glass will cause breaks.)
- Add the fruit juices to the honey, top up the water to 4.5 liters (1.2 gallons) in the vessel, and leave to cool.
- Once cooled to the yeast packet temperature, sprinkle the yeast into the fermentation vessel and mix it in vigorously.
- Attach the airlock and bung (stopper) and leave somewhere cool and dark to ferment.
- After about two months, clean and sanitize another fermentation vessel.
- Rack (transfer) the mead into this new vessel using an auto-siphon and leave for six months.
- Clean and sanitize a fermentation vessel, airlock, and bung (stopper).
- Rack (transfer) the mead again using an auto-siphon into the clean vessel and leave it to ferment out (finish fermenting).
- Once fermentation is complete, clean and sanitize bottles (swing top, wine, or beer bottles) and bottle the mead by transferring into the sanitized bottle. Cap or cork the bottle and leave for at least a year.
Crafting Your Own Wine
A fun way to literally enjoy the fruits of your labor is to do some homestead brewing of your own fruit wine. If you grow strawberries, blueberries, raspberries, or even dandelions, you can turn water into wine.
Here is a recipe for Strawberry Wine from Wholefully.
Ingredients
- 3 pounds frozen, hulled whole strawberries
- 2 1/2 pounds cane sugar (this will make a semi-dry wine)
- 1/2 teaspoon pectic enzyme (optional)
- Non-chlorinated water
- 1/4 packet Red Star Premier Blanc yeast
- 1/8 teaspoon wine tannin OR 1 cup of strongly brewed black tea (2 teaspoons of loose-leaf tea to 8 ounces of water)
- 1 teaspoon acid blend OR 2 tablespoons lemon juice
Directions
Making the Wine
- In a big bucket, a large jar, or a specifically designed fermenter, add the frozen fruit, cane sugar, and pectic enzyme (if using). Cover and let sit out until the berries are defrosted, and the entire mixture is quite juicy; at least four hours, up to 24 hours.
- Using a potato masher or clean hands, mash the berries to crush them. No need for it to be a smooth puree.
- In a small bowl, combine about a cup of water with the yeast, then set aside to wake up for 10 minutes.
- Add the wine tannin or black tea and acid blend or lemon juice to the strawberry mixture. Add in enough water to bring the total volume of the mixture to about 1 1/3 gallons. (No need to be perfectly accurate.)
- Pitch the yeast water into the mixture and stir well to agitate. Close the lid on the fermenter and fit with an airlock.
Primary Fermentation
- Place the fermenter in a spot out of direct light, but where you can keep an eye on it. Agitate the mixture well at least once per day by stirring or swirling.
- The fermentation should start within one to three days. Continue to stir or swirl thoroughly throughout the entire primary fermentation stage.
- When the bubbles slow down considerably in the airlock—usually around the 10-day mark with this wine, but it’ll vary based on the heat of your house—your primary fermentation is done.
Secondary Fermentation
- Fit a funnel with a mesh sieve into the neck of a sterilized carboy. You can also use a special brewing funnel with a strainer if you choose.
- Using a large ladle, scoop out the whole and mashed strawberries and pour them through the sieve and funnel.
- Press the berry puree into the sieve to get as much of the early wine out as possible.
- When the sieve fills up, dump the spent must into the compost and replace it. Keep repeating until the majority of the fruit is out of the wine.
- Pour the remainder of the wine through the sieve and funnel.
- You want the wine to come to the bottom of the neck of the carboy. If you have too much, you can pour yourself a glass of not-yet-finished-but-still-delicious wine. If you have too little, you can top it off with more non-chlorinated water.
- Fit the carboy with an airlock. All this agitation will restart any sluggish fermentation quite actively, so I recommend placing the carboy in a place where you can keep an eye on it easily (but still out of direct sunlight).
- Once you know it’s not going to geyser wine everywhere, you can then move the carboy to a dark, out-of-the-way spot to do the longer secondary fermentation.
- Secondary fermentation is complete when the wine is “still,” meaning there is no carbonation in the wine, no bubbling in the airlock, and the wine has cleared. This can take anywhere from a couple of weeks to months, depending on a number of factors. Do not bottle until the wine is still.
Bottling and Aging
- Using a siphon, transfer the finished strawberry wine—leaving behind the sediment—from the carboy to the bottling bucket (or the primary fermenter if it has a spigot).
- Fit the bottling container spigot with a bottle filler if using.
- Fill clean, sanitized bottles using the bottle filler or just the spigot.
- Cap, cork, or close the top of the bottles. Label the bottles.
- Store in a cool, dark spot (if using corks, turn the bottles on their sides to keep the corks wet) and age for at least 30 days, but preferably six to 12 months for the best flavor.
Get access to premium content and more!