

There is no doubt, drinking too much beer isn’t healthy or wise, but the health benefits of beer in moderation has been proven. Beer contains antioxidants, fiber, protein, vitamin B, and is one of the richest sources of silicon.
These nutrients come from the ingredients used in the beer. The malt, yeast, hops, and other ingredients all play a part in the beer’s final nutrient makeup, but it doesn’t end here. Brewing practices also play a significant role, especially filtering. Filtering is something almost all commercial craft brewers do — unless creating a style where some haze is expected. The finer a beer is filtered the fewer of these nutrients make it into the finished beer. Brewing at home puts you in control. Don’t filter and you’ll have healthier beer.
But you can go a step further here. Ancient brewers used many herbs and other ingredients (raw honey for instance) that produced a product often much closer to a health tonic than a simple libation. Very few of these herbs have found a place in commercial brewing.
Nettles, Yarrow, Sage, Dandelion, Heather, Chamomile and many, many other plants with amazing health benefits are all options to the adventurous homebrewer. Just be sure you research the herb a bit before you brew with it; there are a few out there that can have negative effects.
How to brew your own
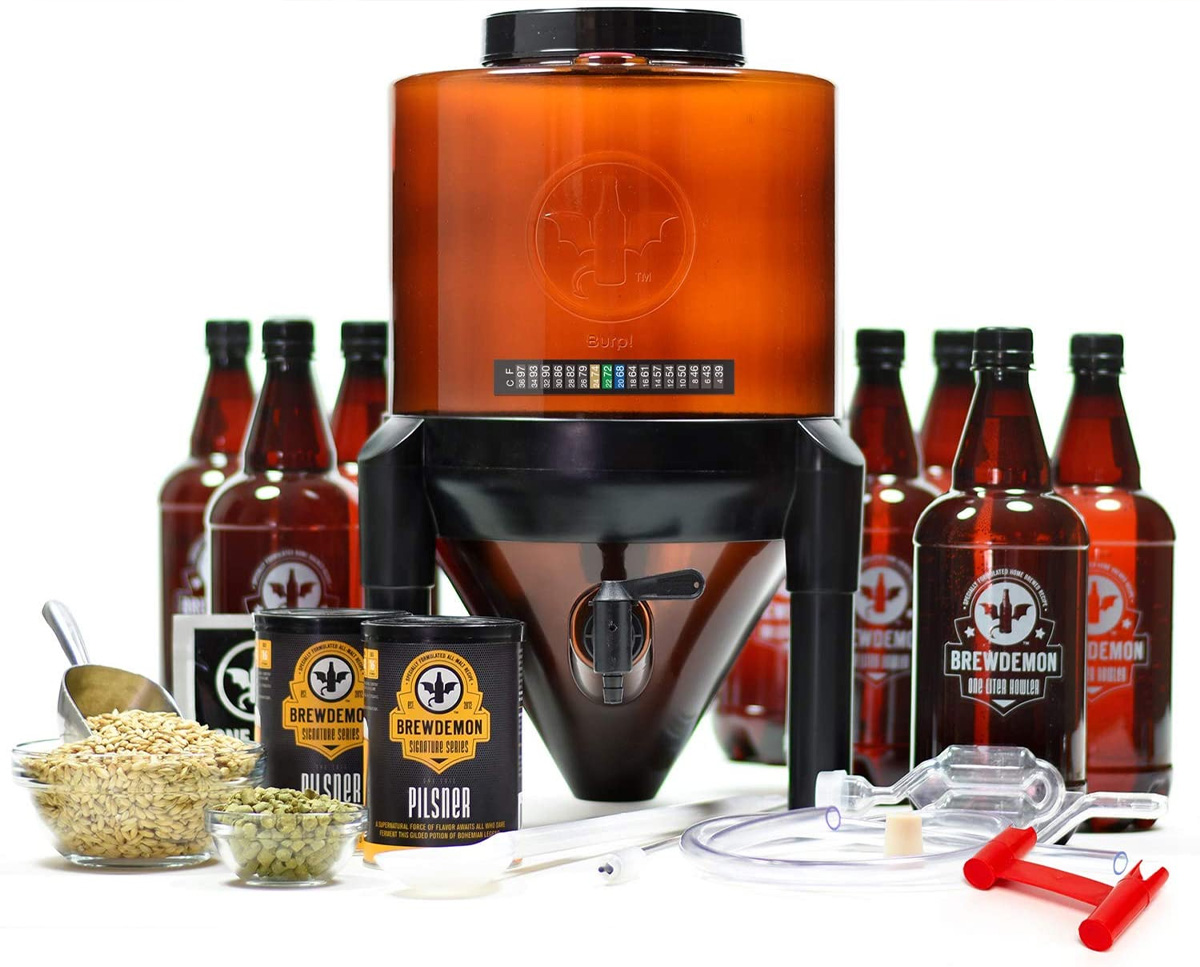
You can purchase a reusable home brew kit starting around $50 that include all the equipment and ingredients to brew 1 gallon of beer. This is a good way to see if brewing beer is a hobby you enjoy. Larger 5 gallon kits are also available, as are ingredient kits for future batches that are geared to producing a particular type of beer. However, you do not need to purchase a preassembled kit to brew your own beer.
Brewing beer with malt extract is the starting point for most new homebrewers, and a great option for those with limited time, space, or money. All-Extract homebrewing requires minimal equipment and procedures while still producing quality, homebrewed beer.
1. Gather supplies
Ensure you have all the homebrewing equipment and beer ingredients necessary to brew.
You will need the following equipment:
- Boil pot (2+ gallons) a water bath style canner can work for this
- Spoon -long handle
- Thermometer
- Fermenter and airlock
- Siphon/tubing
- Bottles & Bottling equipment
- Hydrometer
2. Clean equipment
Using unscented cleanser, thoroughly clean all brewing equipment.
Debris on equipment can harbor microorganisms that can spoil a batch of beer, even with proper sanitation.
3. Heat water
Put 1 gallon (3.79 L) of water in the boil pot and bring it to a boil.
4. Add malt extract
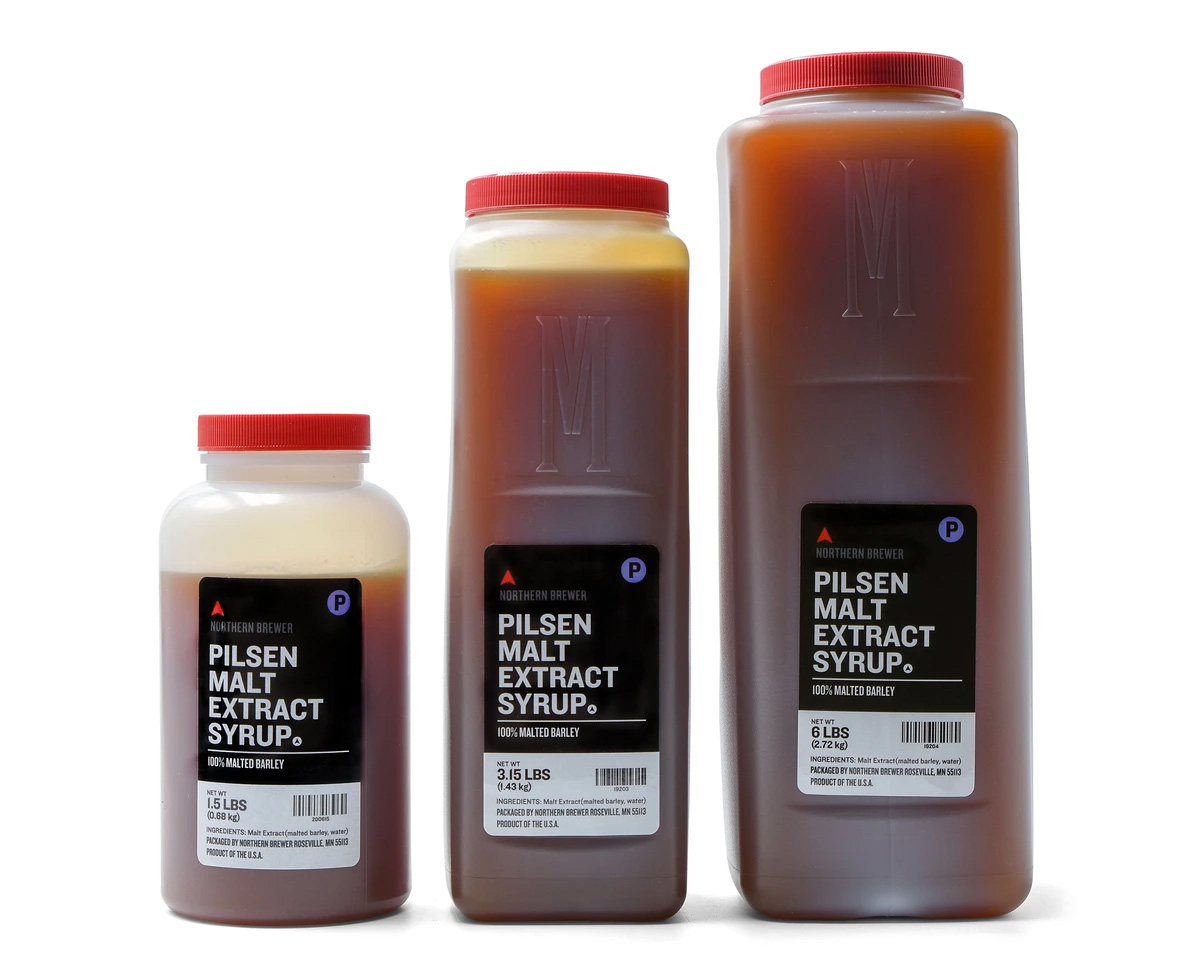
Once boiling, remove the pot from heat and stir in the malt extract, being careful that it does not collect on the bottom of the pot.
Stir until completely dissolved.
Note: removing the pot from the heat source prevents the malt extract from scorching.
5. Return to boil
Once the malt extract has dissolved, return the liquid to a boil.
6. Add hops
After the liquid reaches a rolling boil, add the bittering hop addition.
Note: hop additions are typically labeled with the time left until the end of the boil.
7. Sanitize equipment
Everything that comes into contact with the wort after the boil must be sanitized to prevent risk of infection that could spoil a batch of beer.
8. Chill wort
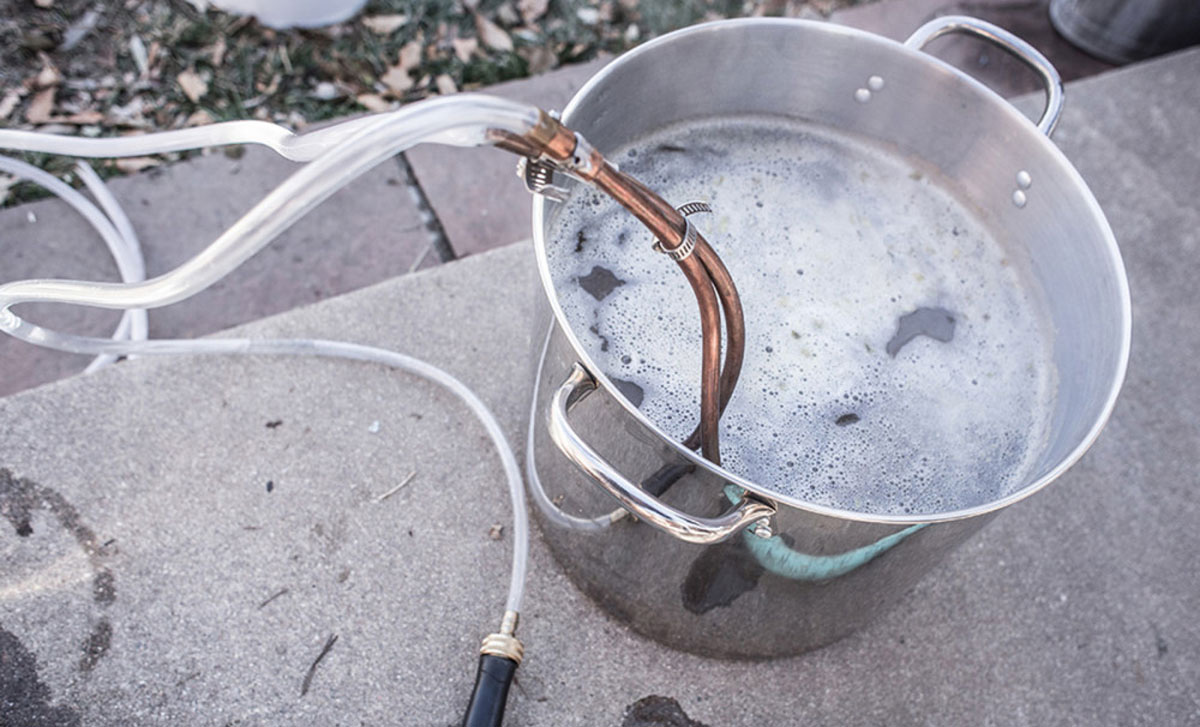
After the 30 minute boil is complete, you have successfully created wort, the unfermented liquid that will turn into beer.
Fill the clean and sanitized fermenter half way with cold water.
Add the hot wort after it has sat for 5 minutes.
Fill the fermenter with cool water to reach 5 gallons, and allow the wort to sit until it drops in temperature to 70-75°F (21-24°C).
Note: if using a glass fermenter, do not add wort over 100°F (37.8°C), as it could shatter.
9. Pitch yeast
When the wort temperature has dropped, sanitize your yeast package and add (pitch) the yeast.
Note: If using a Wyeast smackpack, it is advised to activate the yeast at least 2-3 hours before pitching into the fermenter.
10. Seal fermenter
Seal the fermenter with a clean and sanitized airlock and bung.
If using a bucket fermenter, a carboy bung is not typically needed.
The airlock can be filled with no-rinse sanitizer or a high proof alcohol.
11. Shake fermenter
After sealing, give the fermenter a vigorous shake for a minute or two to provide some oxygen to the yeast.
After shaking, prevent the liquid from splashing as much as possible until the beer is enjoyed.
12. Store fermenter
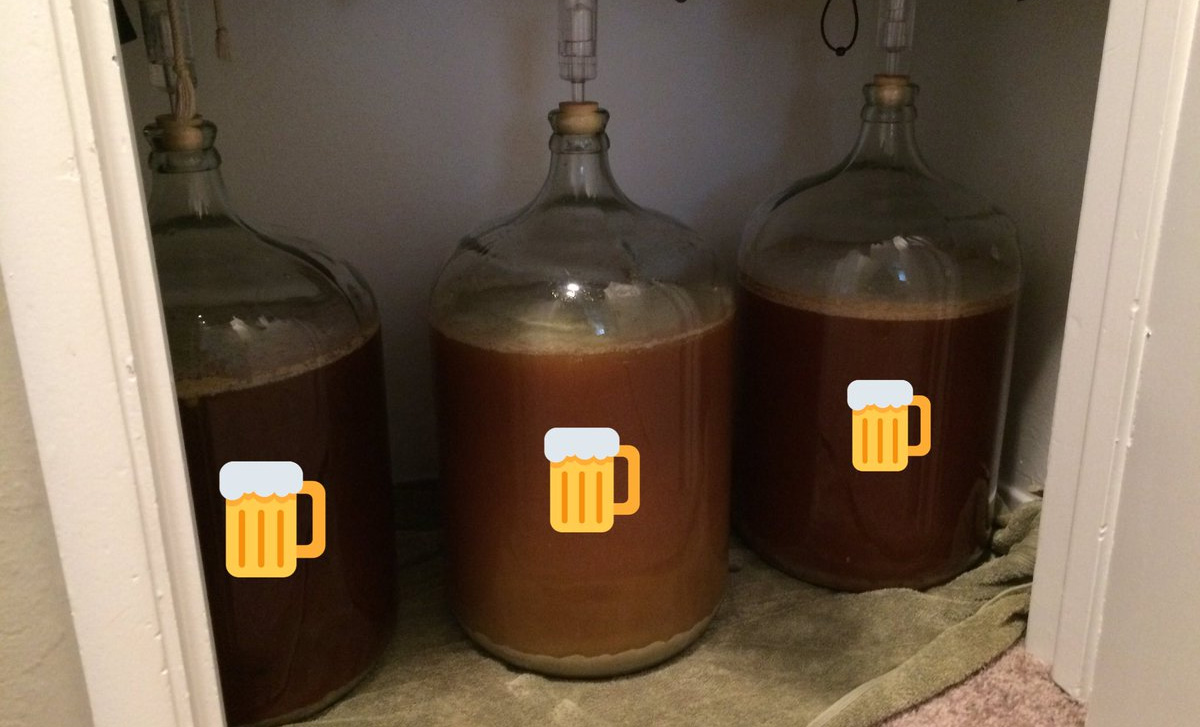
In the next 1-2 weeks, the yeast will be converting the fermentable sugars from the malt extract into CO2 and alcohol, a process known as fermentation.
Pick a location that holds temperature within the range called for by the specific yeast, allows for minimal disturbance (splashing) and prevents any light from reaching the wort
For this specific recipe, keep the fermenter on the lower end of the 65-75°F (18.3-23.9°C) range.
13. Monitor fermentation
Signs of fermentation should be visible via a bubbling airlock after 12-72 hours.
The bubbling is caused by CO2, a byproduct of fermentation. If the bubbling slows down or stops, it doesn’t necessarily mean fermentation is complete.
Another visible sign of fermentation is the formation of frothy foam on top of the wort called kraeusen.
The sure-fire way to know if fermentation has ceased is to use a hydrometer.
14. Boil water
After 3-4 weeks in the fermenter, your beer is ready to be packaged. Now that fermentation has stopped, the un-carbonated beer needs to be primed in order to carbonate.
To do this, a small amount of sugar (dextrose) will be added to the beer. The yeast will ferment the sugar, creating CO2, which cannot escape the capped bottle and subsequently carbonates the beer. Bring two cups (473 mL) of water to a boil.
15. Add priming sugar
Once boiling, add 5 ounces (141.7 g) of priming sugar (dextrose), and boil for 10 minutes.
If you’ll be bottling less than 5 gallons (18.9 L), a good rule of thumb is to use 1 ounce of priming sugar for every gallon being bottled.
16. Add to bucket
After the 10 minute boil, remove from heat and add the priming sugar solution to your already clean and sanitized bottling bucket.
17. Transfer beer
Using clean and sanitized equipment, such as an auto-siphon or racking cane, transfer (rack) the beer from the fermenter into the bottling bucket.
Note: create a whirlpool in the bottling bucket in order to evenly mix the sugar without splashing.
Avoid transferring the solid contents (trub) at the bottom of the fermenter into the bottling bucket.
18. Attach bottle filler
Attach the bottle filler to the spigot of your bottling bucket with a small piece of food-grade tubing.
Note: be sure to sanitize all these pieces of equipment thoroughly.
19. Fill bottles
Fill the clean and sanitized bottles up to the very rim of the bottle neck.
When you remove the bottle filler, the volume should be perfect—about one inch from the top of the bottle—and consistent from bottle to bottle.
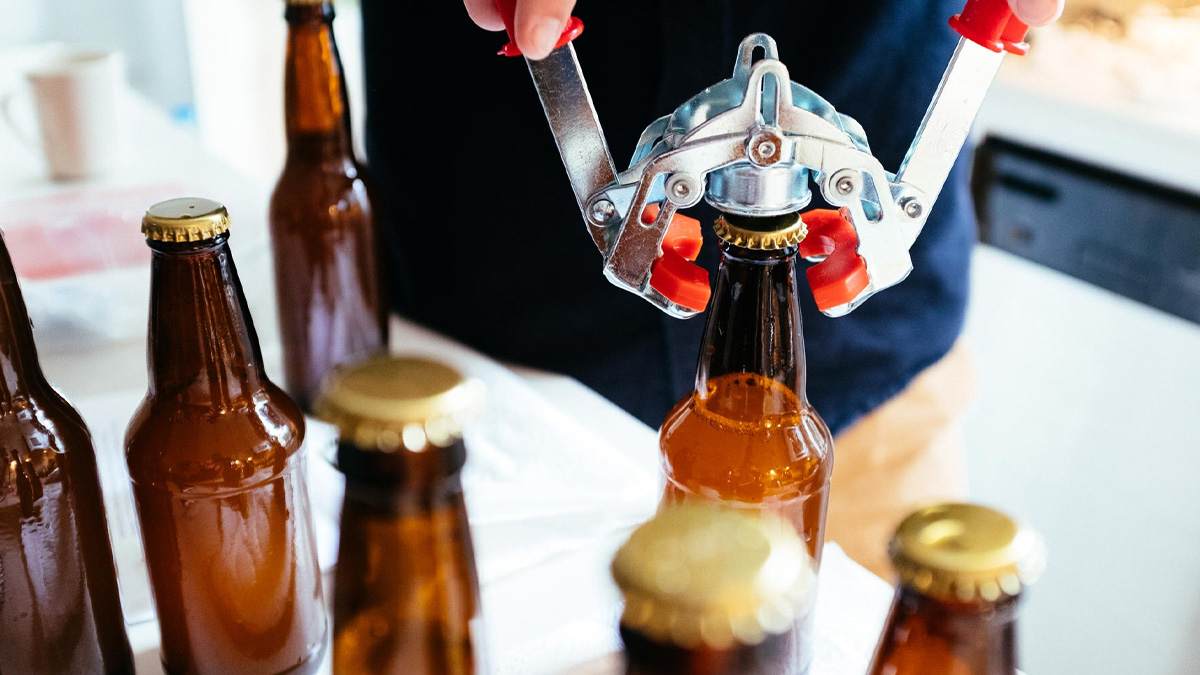
20. Cap bottles
Carefully cap the bottles with sanitized caps using a sanitized bottle capper.
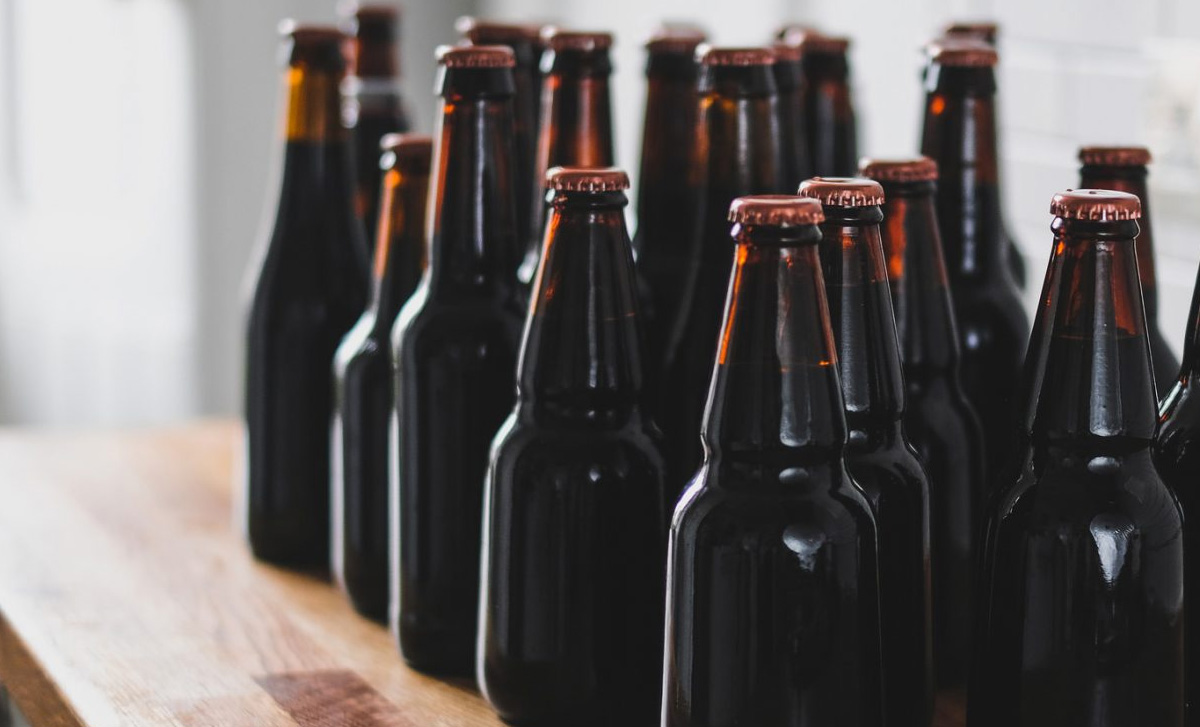
21. Store bottles
Place bottles in a room-temperature area, around 70°F (21.1°C), and let them sit to allow carbonation to take place.
22. Drink up!
After 2-3 weeks, open a bottle and enjoy the fruits of your labor!
For more information:
To learn more about home brewing and for resources on equipment, ingredients and different recipes check out the American Homebrewers Association.
Get access to premium content and more!

