


Bushcrafters and backpackers are often fans of using the versatile tarp instead of a tent. Improvising a basic tarp shelter can keep your head dry, it will help you conserve heat and it provides a sense of comfort and safety and is often easier and lighter to pack than a tent.
A good tarp is lightweight, durable, draft-proof and waterproof. They come in a variety of sizes and colors, and a variety of prices too. From less than $20 to over $500 for custom tarps.
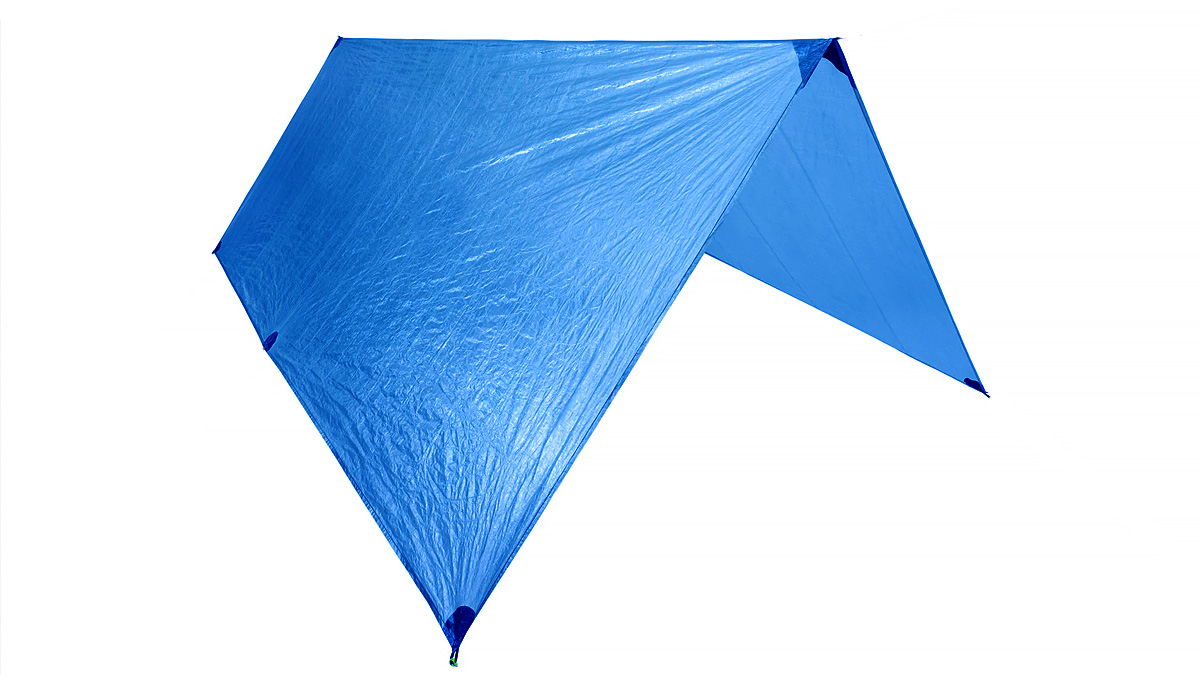
For our purposes here we are going base these instructions on a square tarp that is 10’x10′ (or 3 meters x 3 meters). You can use a polypropylene tarp like you would find at a Harbor Freight, but they are noisy, stiff and usually do not have as many tie-out points. A tarp such as the one from DD Hammocks provides center tarp tie-out points that make the tarp much more versatile and it is priced well under $100.
Making a tarp shelter is easy and there are dozens of different ways and patterns to construct a suitable shelter with only a single tarp.
Before you make your tarp shelter you must consider the following:
- The location of your shelter is very important and you should stop and think about it before building your shelter.
- The direction from which the wind is blowing should be taken into account or your shelter will sail away.
- The ground should be comfortable enough if you plan to get some sleep. Pointy rocks will keep you awake.
- The ground should slope slightly for the water to runoff.
- If there is no slope, you will have to dig some trenches around your shelter to aid drainage.
- Take into account the purpose of the shelter and make it as large as it needs to be.
- Consider the weather and chose a model that is stable and won’t collapse if rain or snow are expected.
Here are three basic shelters that are relatively quick and simple to build.
‘A’ Frame Shelter
This is the most basic shelter you can build, and even little kids grasp the basic concept. It can be made by stringing the paracord between two trees. Draping the tarp over the ridgeline and staking it down are the final steps required to make this common shelter. The 30-degree angle of the tarp’s roof will create a ten foot-long living area. The shelter will be 8.6 feet wide and 2.5 feet tall. This shelter provides a good rain and snow runoff and a good wind deflection. The downside of the A-frame shelter is that there is no floor and if you haven’t stretchered the paracord tight enough, there will be sagging in the middle.
The pros to this style of shelter is it is quick and easy to set up and allows for air flow which is important in warm weather. However this does not provide as much protection from wind and rain as the next shelter does.
Plough Point Shelter
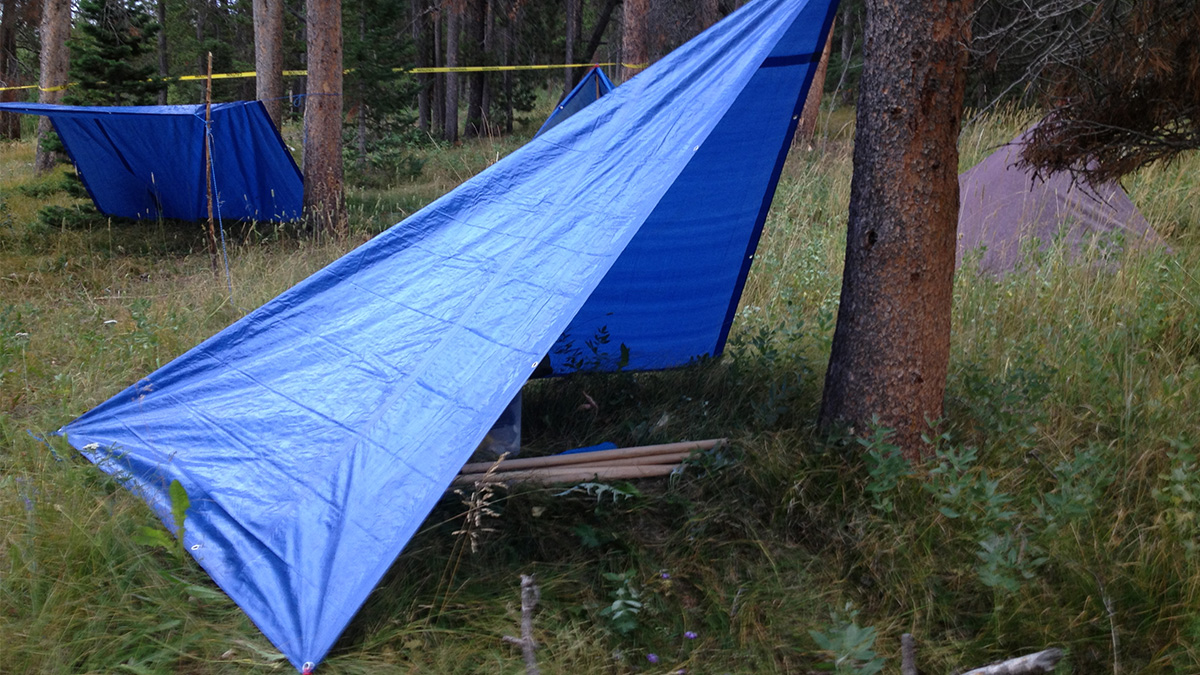
The Plough Point or Diamond Fly shelter is suitable for two persons and it’s easy to make. You will need to secure the paracord to a tree and the ground and drape over the tarp at a diagonal. The length of the paracord and the angle with which it is tied to a tree will determine the overall headroom and width of the shelter. The steep walls will shed rain and will deflect wind if they are well staked.
You want that center ridgeline to be as taut as possible without damaging the tarp and for it to be facing into the wind. How high you place the ridgeline on the tree determines the level of coverage inside your shelter, The higher it is the more open your shelter is however, lowering the ridgeline at the tree below head height will mean you won’t be able to stand-up in your shelter.
The cons of this shelter are the lack of a floor and flaps so it won’t keep out the elements if the wind changes direction frequently.
Adirondack Wind Sheleter
Like the plough-point shelter, this is based on using your square tarp in a diamond shape. And like the A-frame it requires a ridgeline strung between two trees or poles.
A 10′ x 10′ Tarp creates an Adirondack with 45° walls, 5 high, with floor space of 5 x 7.071.
It isn’t terrible complicated to build, but describing it in writing is tough to do so here is a video of an Adirondack Wind Shelter being constructed by lone_woodsman.
Once you are confident in building these three simple shelters you can move on to more complicated shelters or modifications of these that best suit your environment and needs.
And when it comes time to pack up your tarp – here is an easy way to fold up your tarp quickly and neatly in just one move.
Get access to premium content and more!

