

Whether your make your own butter or just stock up on a good sale at the store there are ways to preserve it. The simplest method is to freeze it. However, freezing anything leaves you dependent on a power source.
A better way to preserve butter for 3 years (some sources say even longer than that) is to can it. Always pressure can butter instead of water-bathing it. Butter is dairy and non-acidic so the water bath method will not stop botulism.
By removing the water from the butter you are essentially making clarified butter also known as ghee. This is a shelf-stable butter that stays soft and spreadable and does not need to be refrigerated when opened unless you want firmer butter.
Materials list:
- Butter – salted or unsalted or a combo
- 1/2 pint widemouth jar for every 1 3/4 sticks of butter
- Pots for melting butter, boiling lids etc..
- Pressure canner
- new lids
- pot holders
- cookie sheet
- jar lifter
- white vinegar
Directions:
Step 1 – Set your oven to 250°F and let it warm up while you prepare your jars on a baking sheet. Heat the jars at 250°F for at least 20 minutes to sterilize. You can use the boiling method or dishwasher method if you prefer. Boil some water in a small pot and lower heat to simmer the lids.
Step 2 – Prepare your canner as recommended by the canner manufacturer
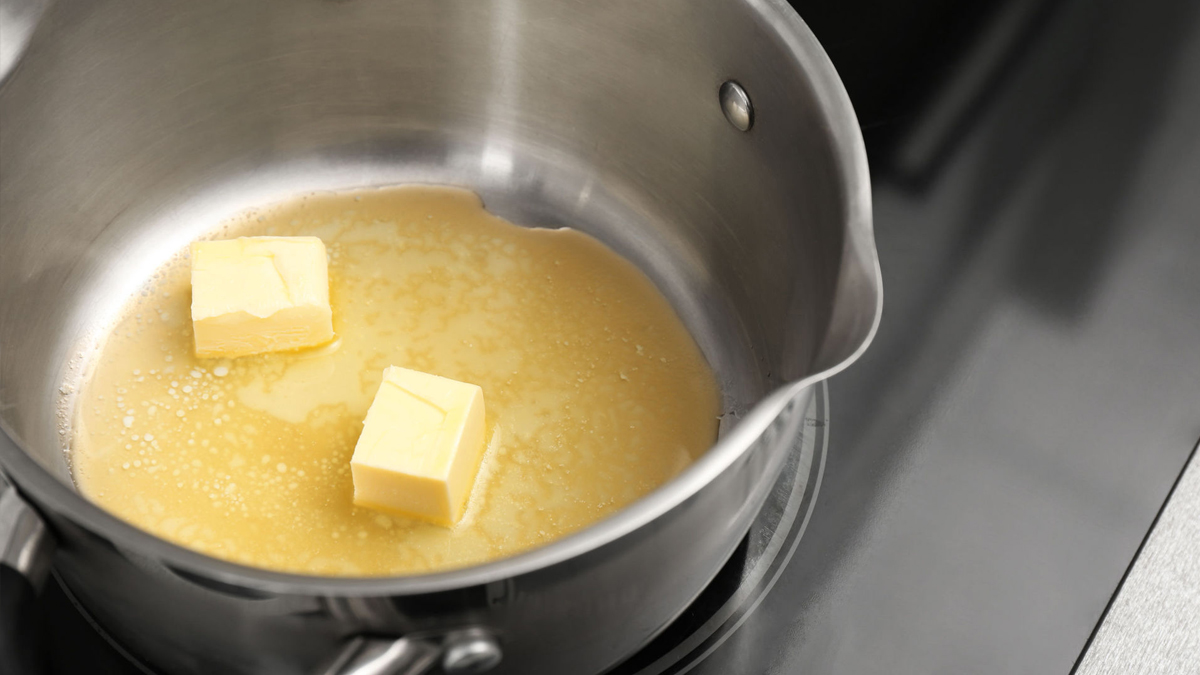
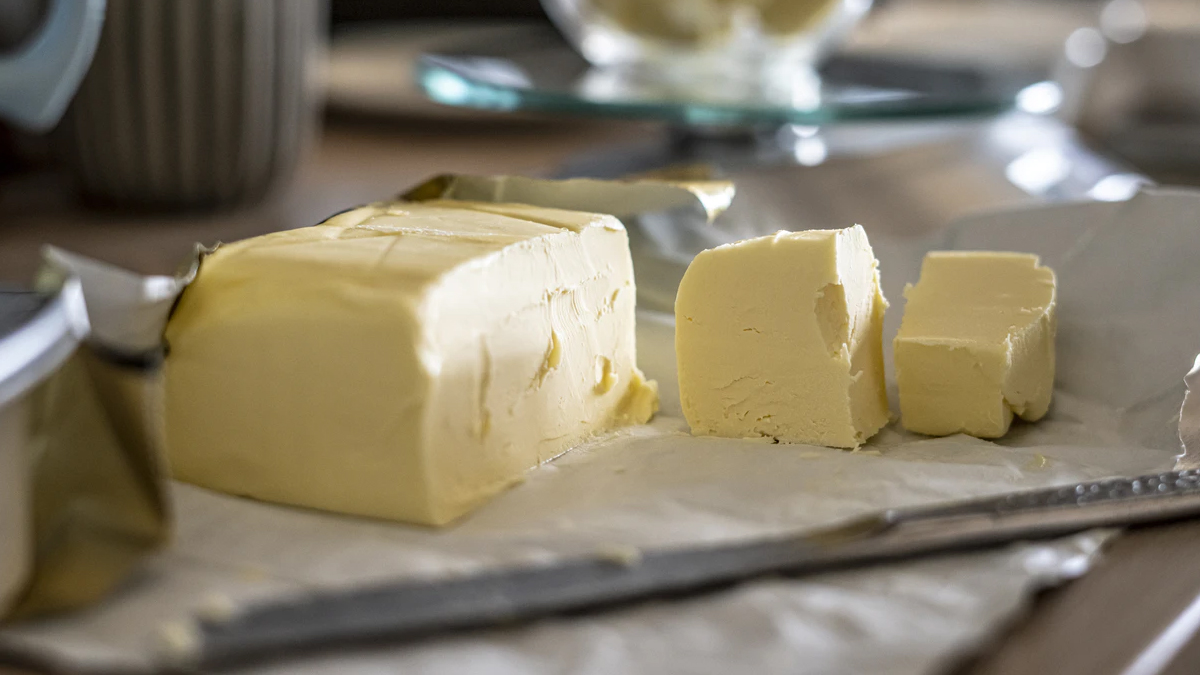
Step 3 – Cut your butter into smaller chunks so it will melt faster. Add butter to the pot over low/medium heat as you cut it to allow for it to melt while you continue working.
Step 4 – while stirring your butter continuously bring it to a boil. Once it has boiled for a few minutes you can reduce it to a simmer. Simmer it for 20 minutes while continuing to stir so it does not scorch.
Step 5 – You will get a foamy white layer on top of the butter. Scrape the foam off. You can save it for recipes or discard it but I like to keep it and use it very sparingly when I want salt and butter in something. It can be very salty so you may want to give it a try before you decide what you want to do with it.
Step 6 – Once you have skimmed your butter and it has simmered 20 minutes begin quickly ladling it into the jars leaving a 1 inch head space.
Step 7 – Once the jar is filled up to the proper headspace make sure to wipe the rim clean with your vinegar dampened towel. With the fat in the butter if you do not get a clean rim you will not get a good seal and your efforts will be wasted.
Step 8 – If you have a large enough canner you can double stack the jars and get them all in one batch but if not your will have to process them in two batches.
Step 9 – Process the butter for one hour at 10 pounds of pressure (please adjust for your elevation).
Step 10 – Once jars are processes and the canner depressurizes remove jars from the canner and let them sit until completely cooled. DO NOT OPEN CANNER UNTIL IT IS COMPLETELY DEPRESSURIZED!
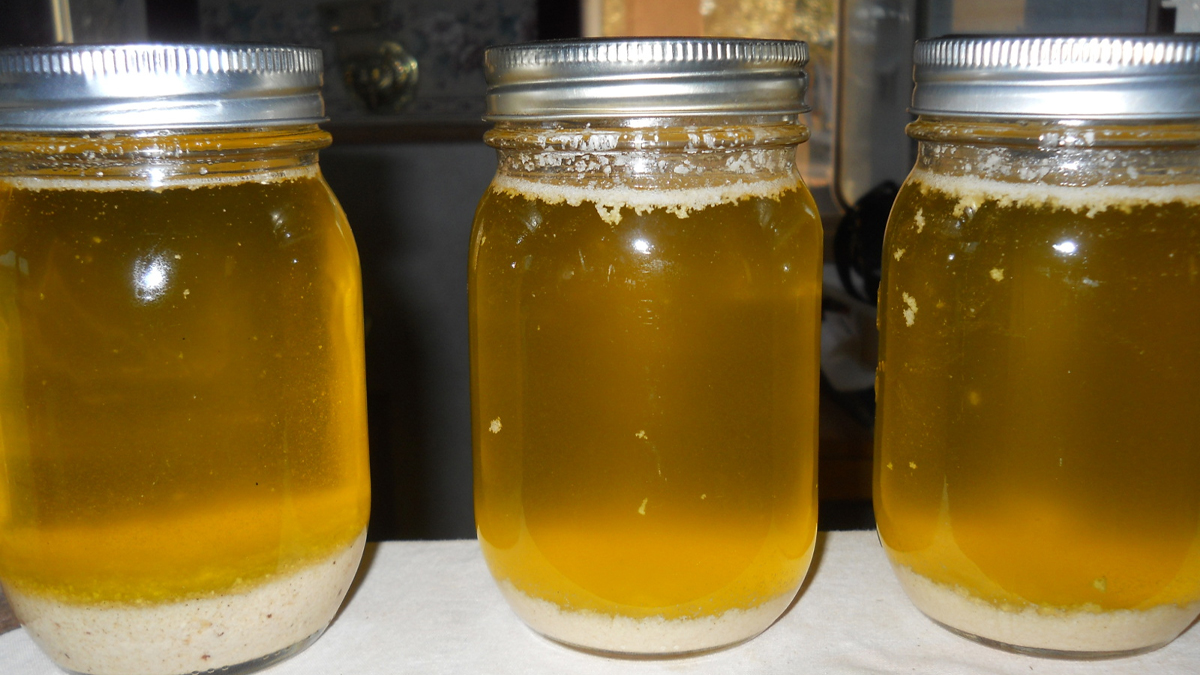
Once the jars start to cool you will want to shake the jars gently to mix the milk solids and the ghee back together. Shake gently about every 10-15 minutes until it looks like butter again.
As the butter solidifies, the solids will be dispersed throughout the liquids and it will look like you expect butter to look.
Check for seals after jars are completely cool. Store canned butter in a cool, dry, dark place. Properly stored your butter should last for 3 -5 years.
Options:
You can try creating flavored butters as well, such as garlic butter, honey butter, herbed butter – not only can they flavor your bread, but they go great on popcorn so don’t be afraid to experiment.
Get access to premium content and more!

