

Are you facing a short growing season or the prospect of living in a “food desert,” where fresh, affordable produce is almost impossible to come by? Then sprouted seeds might be a viable solution. You can grow these tiny nutrition powerhouses in just a few days, on just a few inches of counter space, with an investment of only a few dollars.
“Sprouts are the young greens, typically only days old, whose seeds have just germinated and begun to develop stems and leaves only a couple of inches in length,” says William Li, MD, a physician-scientist and author of Eat To Beat Disease: The New Science of How Your Body Can Heal Itself.
Sprouts are rich in a number of important nutrients. While the specific ratio of nutrients varies depending on the type of sprout, they generally contain high levels of folate, magnesium, phosphorus, and vitamin K. In fact, they have higher amounts of these nutrients than fully-grown versions of the same plants.
Health Benefits
Here are just a few of the many health benefits you can obtain from eating spouts.
✔ Improved Digestive Health
Eating sprouts may improve your digestive health. According to many studies, sprouting a seed significantly increases the amount of fiber it contains. Much of this fiber is “insoluble” fiber, which means it doesn’t dissolve in your stomach. Instead, it acts as a prebiotic and feeds the “good” bacteria in your intestines. These bacteria are important for maintaining a stable, healthy digestive system, and can help reduce symptoms like bloating and gas.
✔ Improved Heart Health
Adding sprouts to your diet also may have benefits for the health of your heart. Several studies have shown that consuming sprouts can lower cholesterol levels in people with diabetes or obesity. One study showed an increase in “good” HDL cholesterol as well as a drop in triglycerides and “bad” LDL cholesterol. Lower levels of cholesterol are connected to a lower risk of heart disease and atherosclerosis.
✔ Builds your immune system
Sprouts have a high vitamin C content that makes it a powerful stimulant for the white blood cells in the body to fight off infections and diseases and thus, building your immunity system. It also has abundant vitamin A. Vitamin A has a number of antioxidant properties that make a great source of immune system strength. Make sure you sprout well to reap the maximum profits.
✔ Boosts blood circulation
Sprouts help in boosting your blood circulation by maintaining your red blood cell count with significant amounts of iron and copper. This further helps in supplying oxygen to various organs and cells to optimize their performance. Sprouts tends to repair capillaries to get strong and thick hair too. A healthy blood supply is a good stimulant for hair growth. It helps generate new blood vessels and increases circulation to the scalp and follicles.
✔ Good source of antioxidants
The antioxidants content of sprouts is very high and has many health benefits. Because of their ability to reduce oxidative stress, sprouts have even been researched as a beneficial dietary addition for astronauts, who are at risk of oxidative stress from radiation. Antioxidants protect the body from free radicals, which can damage cells and increase the risk of developing cancer, cardiovascular disease, and more. Sulforaphane, an antioxidant found in broccoli sprouts, has been researched considerably for its cancer-prevention benefits and is believed to help lower insulin levels and maintain blood-sugar content, reducing the risk of developing type 2 diabetes.
Types of seeds you can sprout
Many different types of seeds can be sprouted. Here is a list of the most common types of sprouts available on the market:
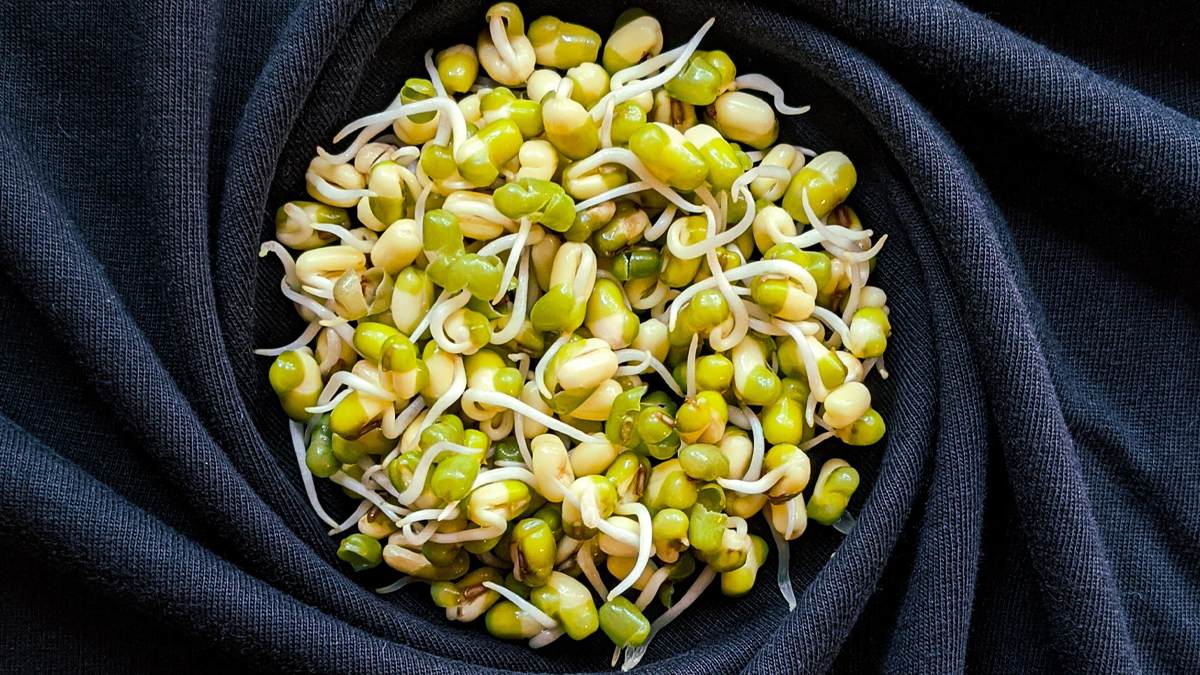
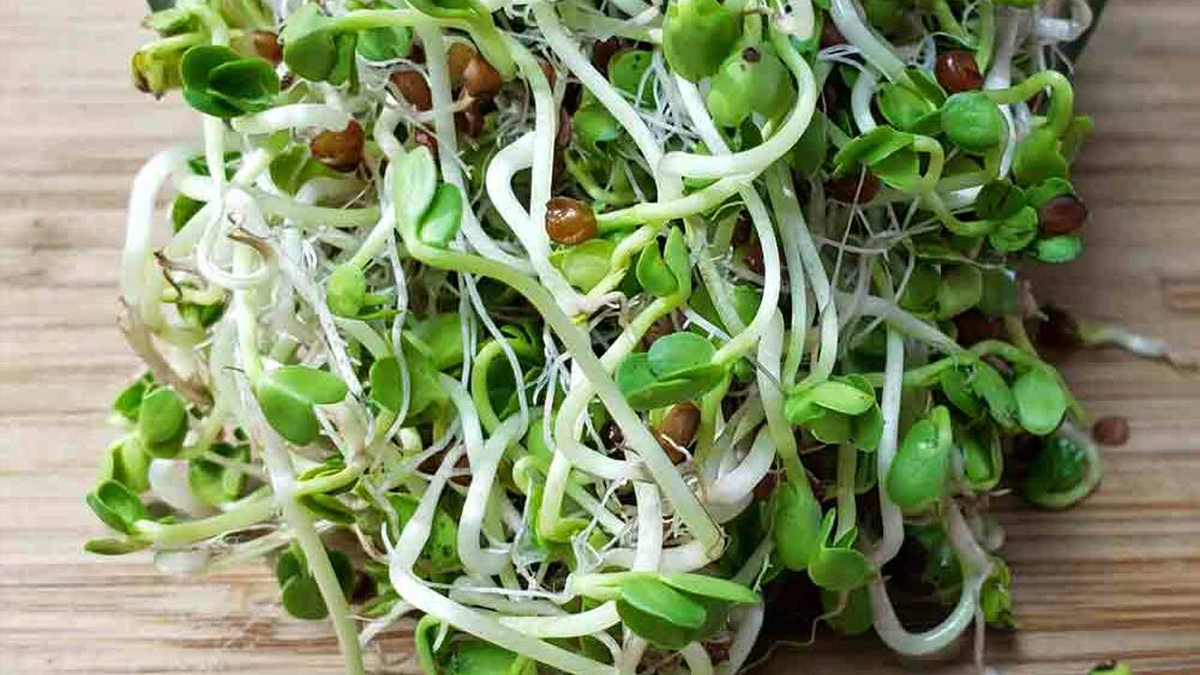
- Bean and pea sprouts: Such as lentil, adzuki, garbanzo, soybean, mung bean, black bean, kidney bean, green pea and snow pea sprouts.
- Sprouted grains: Such as brown rice, buckwheat, amaranth, kamut, quinoa and oat sprouts.
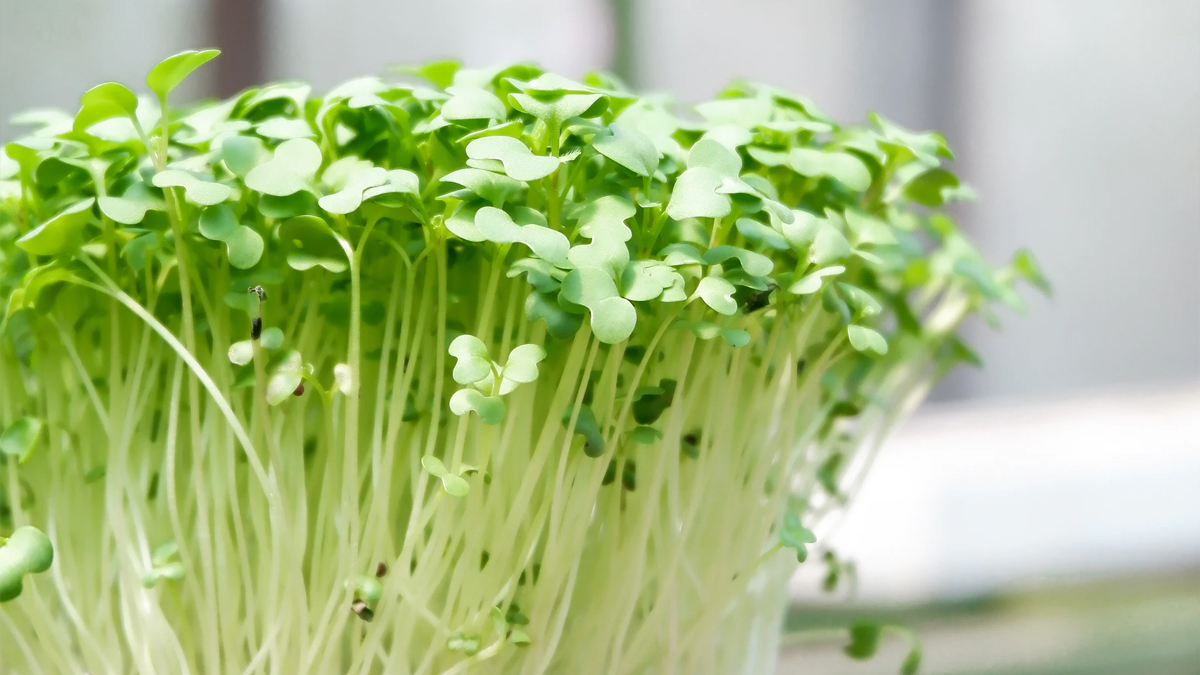
- Vegetable or leafy sprouts: Such as radish, broccoli, beet, mustard green, clover, cress and fenugreek sprouts.
- Nut and seed sprouts: Such as almond, radish seed, alfalfa seed, pumpkin seed, sesame seed or sunflower seed sprouts.
While you can technically sprout just about any seed, it is best if you use organic seeds packaged for sprouting. Sprouting seeds are all tested and verified to be free of e.coli and salmonella. Growers of sprouting-specific seeds take great care to make sure the seeds they sell are very clean—meaning they are free of harmful bacteria and other pathogens that can thrive in the sprouting environment. That bag of lentils you picked up from the grocery store? The packagers of that were assuming your plan was to boil them at high heat—which would kill any pathogens. Sprouting seed providers know that isn’t the plan for their seeds and adjust their growing and packaging processes accordingly.
How to sprout seeds
To get started, all you need is a large clear jar (you don’t even need a lid), a small piece of natural, breathable fabric (cotton and cheesecloth both work), and a rubber band. That’s it. We tend to use wide mouth quart Mason jars for most sprouts, but sometimes we’ll also do wide mouth half-gallon Mason jars if we want a lot of sprouts. They do sell sprouting-specific jars, but honestly, they are a lot of markup for pretty much the exact same thing you get if you buy a $2 Mason jar.
If you find yourself enjoying sprouting, then I do recommend getting a couple of sprouter lids that fit on wide-mouth Mason jars. They make the rinsing and draining process ever so slightly easier.
Good drainage and aeration are important for seed sprouting. It is important to keep in mind that the temperature and humidity needed to sprout seeds can also lead to the growth of pathogens–so always work with sterile seed sprouters or jars.
STEPS FOR SPROUTING SEEDS:
- Fill a jar partway with warm water–enough to swish and clean the seeds (use about 1½ tablespoons seeds for a quart jar); clean the seed and then pour away the water.
- Fill the jar with 3 times the water needed to cover the seeds and then let the seeds soak water overnight–that is 8 to 12 hours.
- Drain away the water and remove any chaff from the seeds.
- Wash the sprouting jar, colander, or basket with boiling water–sterilize the sprouter.
- Spread the soaked seeds evenly in a single layer in the sprouting jar, colander, or basket–don’t try to sprout too many seeds at once. Let the seeds sit for 3 to 4 hours.
- Place the jar in a cool spot indoors with plenty of air circulation and away from direct light. The ideal sprouting temperature is about 70 degrees F.
- Re-rinse the seeds with cool water and drain twice a day. Keep the seeds damp but not wet. Be sure to spread the seed out after each rinsing. Drainage is important to avoid mold and rot.
- The seeds are ready for “harvest” when the hulls or seed covers drop or float away during rinsing; harvest usually comes in about three days. Grain sprouts will be about the length of the grain itself. Mung bean sprouts will be about 2 inches long other bean sprouts will be up to 1 inch long.
- Rinse the seed a final time in fresh water to remove any remaining seeds hulls. (Some seed covers can be eaten with the sprouts, but others such as sunflowers will be too tough–so remove them before eating.)
- Take the sprouts from the sprouting container and place them in indirect sunlight to that they will begin to green with chlorophyll and carotene
- Sprouts are ready to eat or refrigerate. Store sprouts in a clean, perforated container that allows for air circulation or loosely pack in a plastic bag. Sprouts will keep for about 3 to 7 days in the refrigerator.
Making sprouted grain flour
Follow the process above for whatever grain you want to use (wheat, rye, etc.), but only let your seeds just begin to sprout—you’re looking for at most 1/4” of a sprout. Then place them in a food dehydrator on the lowest setting until completely dry—about 24 hours. Grind in a grain mill, and voila, homemade sprouted grain flour! You’ll probably want to do a larger volume of sprout (using a half-gallon jar works) to make enough for baking.
Other uses for sprouts
Lots of people like using sprouts during the winter to get the benefit of some fresh veggies, and just like us our livestock will enjoy spouts. Chickens in particular will perk up and sometimes even increase egg output if they are getting some nice fresh spouts. Anything that eats hay is going to love them too, even if there is only a mouthful or two for them. Our goats go nuts anytime we bring them some sprouts.
Sprouting safety precautions
Like any fresh produce that is consumed raw or lightly cooked, sprouts can carry a risk of foodborne illness if they are contaminated. Unlike other fresh produce, the warm, moist conditions required to grow sprouts are ideal for the rapid growth of bacteria, including salmonella, listeria, and E. coli.
› 7 Tips for growing sprouts safely at home
1. Sanitize Your Sprouting Container. Be sure to properly clean whatever jar or container you are going to use to sprout your seeds. Soak it in a bowl with hot water and a splash of bleach for 2 minutes to ensure that it is free of any bacteria.
2. Use Filtered or Bottled Water. During the sprouting process, the only ingredient other than the seed itself is water. Using tap water might introduce potential contaminants into the process. Be sure to use bottled or filtered water that is safe and clean for both the soaking and rinsing process.
3. Rinse Your Sprouts Frequently. Seeds from legumes and grains have a high carbohydrate content, which can be a perfect place for bacteria to grow and reproduce. Help prevent bacterial growth by rinsing your sprouts at least twice a day. If you plan to eat your sprouts raw, you may want to rinse as often as every 6 hours.
4. Avoid Standing Water. Bacteria thrive in moist, humid environments. Once your grains have sprouted, be sure to empty any standing water from the container after rinsing. This standing water can become a pool for bacterial growth.
5. Store Your Sprouts in a Dry, Cool Location. Bacteria prefer to grow and reproduce the fastest between 70° to 125° F. Make sure to keep your sprouts in a cooler, darker portion of your kitchen away from direct sunlight.
6. Wash and Wait. Don’t rinse your sprouts right before you put them in the fridge as the extra water can reduce their shelf life. After the last rinse, wait 8 to 12 hours to place them in the fridge, so they have had a little bit of time to dry. You also can lightly dry them in a clean paper towel after the final rinse before placing them in the fridge. This will help to keep them fresh longer once they are refrigerated.
7. Enjoy Within 7 Days. Sprout only enough seeds that you will be able to eat within a week. Do not let your sprouts sit in the fridge for longer than 10 days, as this increases the risk of bacterial growth. In our family, the rule of thumb is “use by day 5 or the chickens get them.” Yes that is erroring on the side of caution, but it also keeps the chickens happy too.
Get access to premium content and more!

