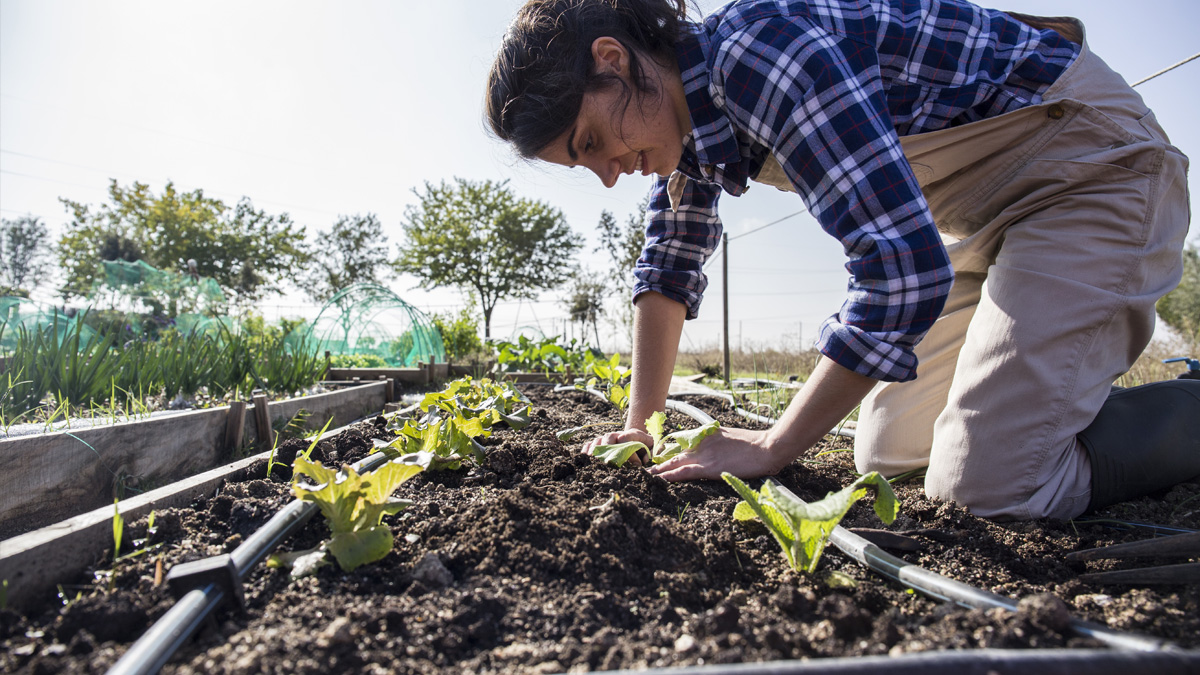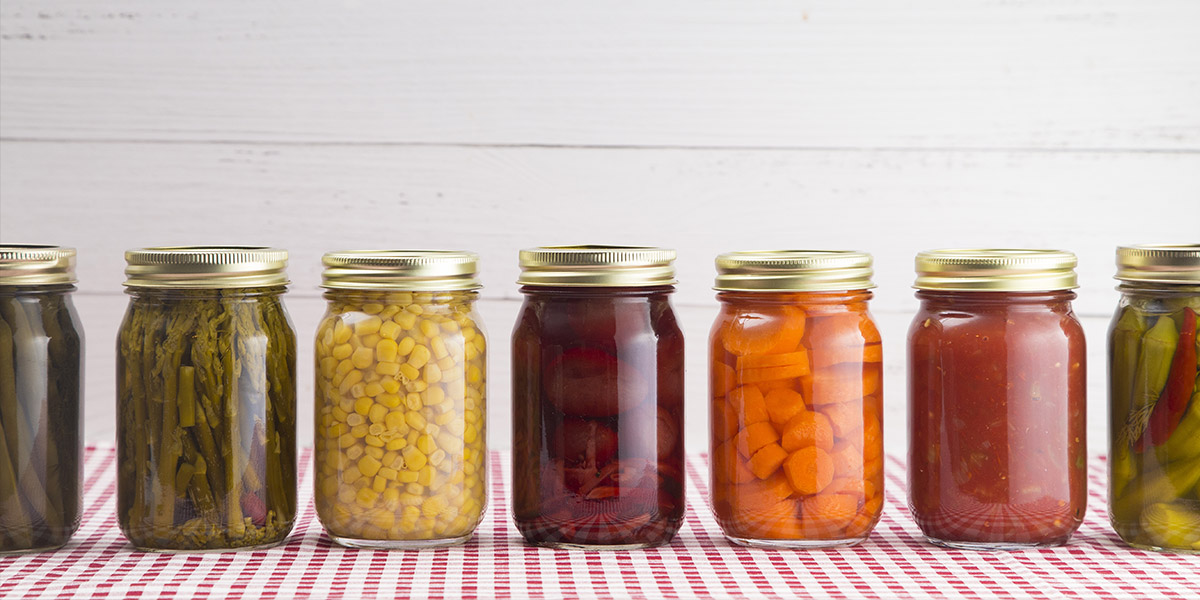
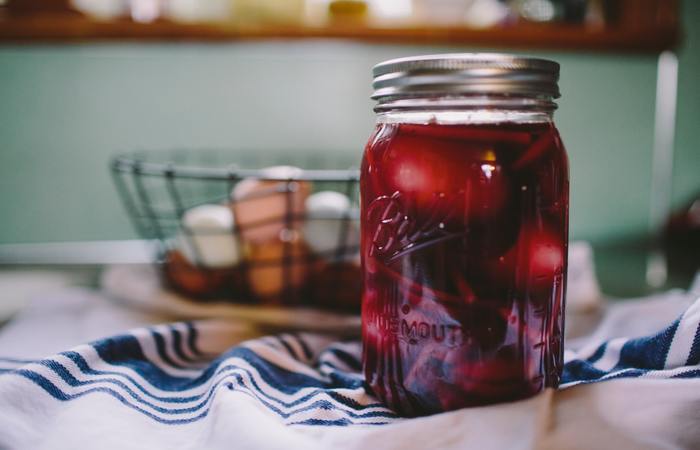
There’s a good chance you’ve at least dipped your toes into canning (and if not, check out this beginner’s guide). Maybe you’ve canned some jellies and jams. You might even have bottled fruits or veggies.
But are you leveraging your canner to its fullest?
We’ve got a stellar way to get more out of your canner that saves time and space: canning whole meals.
The process is super similar to the canning you may have already done. The big difference is you get complete meals you can store away for years. Here’s why these meals are a must-have:
- They last five times longer than frozen foods.
- They make great last-minute meals for unexpected company.
- They’re easy emergency foods.
- They’re very thoughtful (and practical) gifts.
Just One Arrow in Your Preparedness Quiver
As much as we love canned meals and canned foods in general, we don’t recommend relying on them exclusively in a disaster. A great emergency supply is a varied emergency supply. Make sure to stock your canned foods alongside freeze-dried and dehydrated meals that last even longer and can retain more nutrients.
First Step: Start Simple and Work Your Way Up
If you haven’t canned at all, we recommend getting some practice first. Before you do full meals, start out by canning simple, one-to-two-ingredient items. These will hep you get your feet wet and will teach you critical lessons.
Most importantly, you’ll know the pitfalls to avoid before you can more elaborate and expensive foods (like meat, for example).
Having said that, there are primarily two ways to can whole meals: with raw ingredients or pre-cooked ingredients.
Raw-Ingredient Meal Canning
In raw ingredient meal canning, you simply prep your ingredients as you would if you were cooking in the oven or stove. You stack them raw into the jars and leave one inch of headroom for the food to expand. You then fill the jars with the liquid called for in the recipe (hot water, hot broth, etc.) and then place the jars in the pressure canner. The canning process itself fully cooks the food.
Here are a couple of important things to remember when you’re canning raw.
Layering. When you’re cooking raw you may want to layer each ingredient individually. For example, with a beef stew, give the sliced beef its own layer, the onions their own layer, the carrots their own layer, etc.
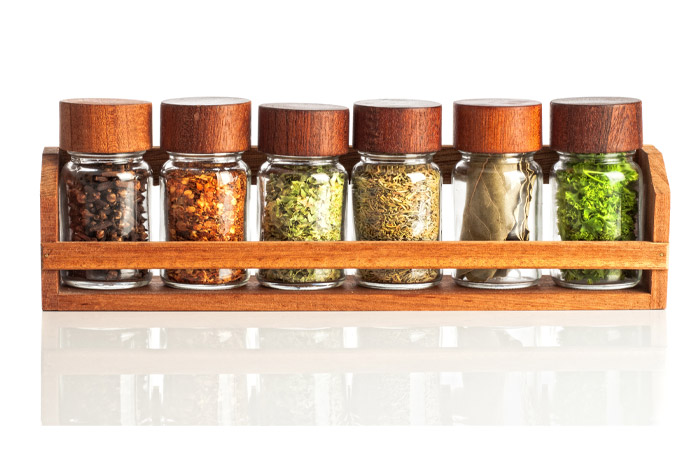
Add herbs and spices…if you’d like. You can add herbs and spices to your food before you place it in the pressure cooker—just the herbs their own layer. We advise making herbs and spices your top layer. Placing herbs at the bottom can results in them gumming or burning.
Also, be careful using strong herbs. Sage, for example, goes bitter over time—better to avoid it. Too much oregano can do the same thing.
Finally, for certain recipes, feel free to simply flavor with salt and nothing else. You can always add spices right before you eat the meal.
Peel potatoes, if they’re included in your recipe. You don’t want root vegetable skins in your jar.
Pre-Cooked Meal Canning
You can also pre-cook your meal and then place it in the canner. Certain foods, like chili or spaghetti sauce, need time to simmer in their own juices and combine. These are great candidates for pre-cooked meal canning.
Pre-cooked meal canning works much like raw canning. You place your food in the can, allow about an inch of headspace for expansion, seal it up, and place it in the pressure canner.
One thing to note is that you should use a wooden or plastic implement (chopsticks, a spoon handle, etc.) to settle the food in the jar and make sure there aren’t any air bubbles. Just place the implement in and stir it slowly around the circumference of the inner jar.
Foods You Should Not Can
Of course, you can’t just throw anything in a can and expect it to last for years. There are certain foods to avoid. Here’s a list of the big ones. (This is not comprehensive, but should help):
- Rice
- Pasta
- Olives
- Wheat/flour
- Cornstarch/cornmeal
- Oats
- Lard
- Refried beans
- Cooking oil
- Artichokes
- Mayonnaise
- Broccoli
- Cauliflower
- Lettuce
- Eggplant
- Squash
And that’s it! Try out canning your own meals and let us know how it goes in the comments below.
Get access to premium content and more!