Beehives are popping up everywhere, from rooftops to suburbs, and now you want to start keeping bees yourself.
First, thank you! Investing time and money into keeping bees helps make our world a better place.
According to the U.S. Department of Agriculture, “Pollinators, most often honey bees, are responsible for one in every three bites of food we take, and increase our nation’s crop values each year by more than $15 billion. However, honey bees have been in serious decline for more than three decades in the United States.”
We need bees!
People who keep bees help the honey bee population and our food sources.
But, you don’t have to get a productive beehive going for philanthropic purposes. Selfishly, it’s really cool to be a beekeeper.
Not only do you get to experience watching your beehive grow, but you also get to enjoy delicious honey and a more lush, fully-pollinated garden.
Sounds good, but how exactly do you get a productive beehive going in just a few short weeks?
Let’s break it down.
1. Do Your Research
You shouldn’t get a productive beehive going until you know what you are getting into – especially upfront.
While beekeeping only requires about an hour a week of your time, you will need to invest significantly more time in the first few weeks.
Beekeeping for Newbies explains, “A high percentage of beginning beekeepers quit after a year or two. Higher than anticipated costs (in dollars and time), hive mortality problems, failure to understand the work required, and unrealistic expectations are issues that cause beginners to give up early.”
You can avoid being one of those beginning beekeepers who quit in the first couple of years by taking the time to research beekeeping.
In other words, don’t rush out and order a hive and beekeeping supplies until you have a basic idea of what is to be expected.
You May Also Like: “Twelve Books to Add to Your Prepper Library“
2. Learn the Laws of the Land
Before you spend money on beekeeping equipment, you need to make sure you can keep bees on your property.
Your county or municipality may have restrictions on beekeeping, such as how many hives you can keep. Some areas may even prohibit beekeeping.
It is also important to verify that beekeeping is allowed in your neighborhood with your HOA.
If you are allowed to start keeping bees, it is wise to register your hives with the Department of Agriculture or the Department of Natural Resources. Doing so provides you the chance to receive valuable, free advice from state bee inspectors.
3. Get Educated before You Get a Productive Beehive Going
Now that you have some basic ideas about beekeeping and know you are allowed to have hives on your property, it’s time to delve a little deeper into your education.
Yes, this is still needed before you get the first hive on your property. Beekeeping is a fun hobby, but like every other hobby, there is a sharp learning curve.
Consider enrolling in a beekeeping class, finding a local beekeeper to mentor you, or joining a beekeeper’s association. Better yet – do all three!
4. Purchase the Right Beekeeping Equipment
There is an initial financial investment to get a productive beehive going.
Fortunately, most of the costs are upfront, and you can enjoy keeping bees for years to come using much of the same equipment you purchased your first year.
You will need the following basics:
- Woodenware or Hive: Most beginning beekeepers in America use a Langstroth hive because it is easy to use and easy to find supplies.
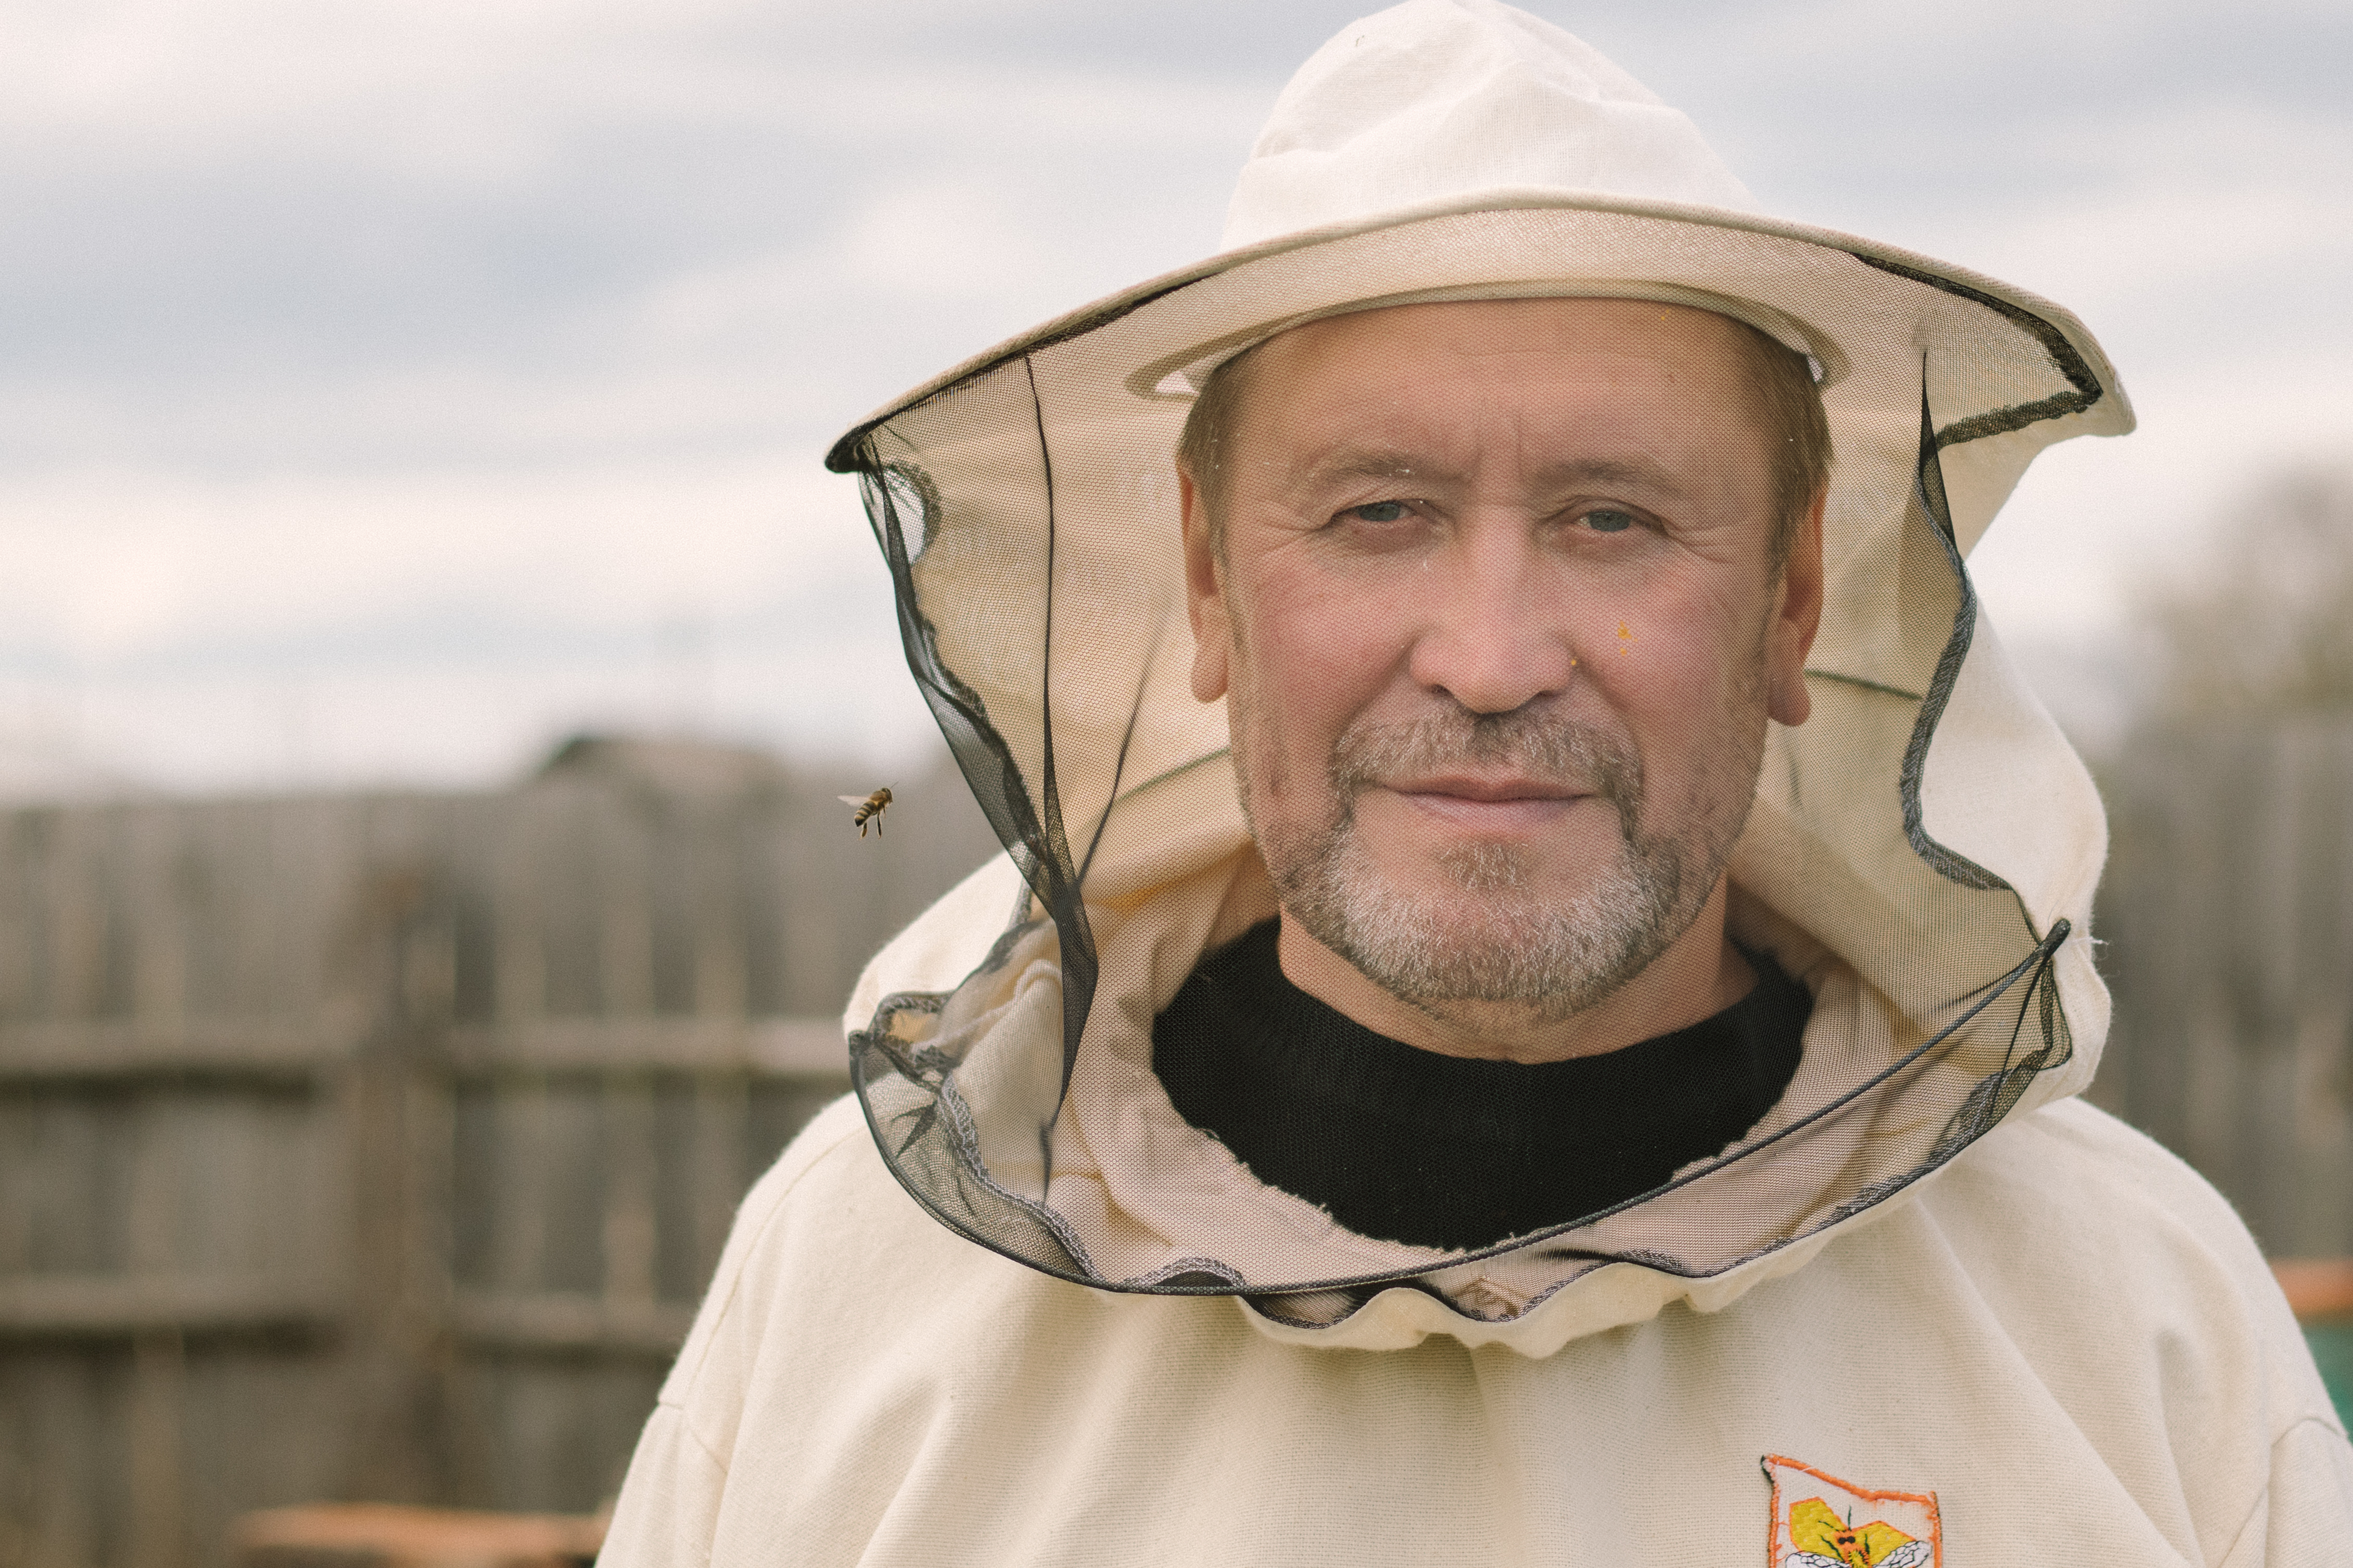
- Protective veil and gloves: You can also opt for a full bee suit. The goal of protective clothing is to keep you from being stung by your bees.
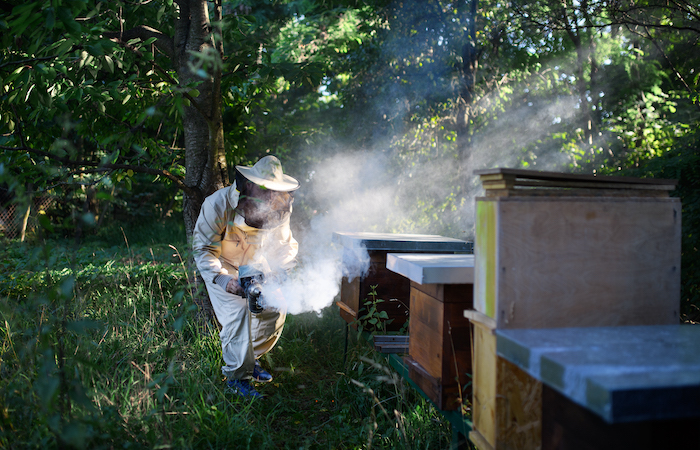
- Smoker: The smoker helps calm and distract the bees while you’re inspecting and working within the hive.
- Hive tool: A hive tool is designed to separate and lift stuck boxes or frames.
- Bee brush: This tool allows you to move bees out of the way during the inspection. If you don’t have a bee brush, you can use a large feather.
5. Choose a Location
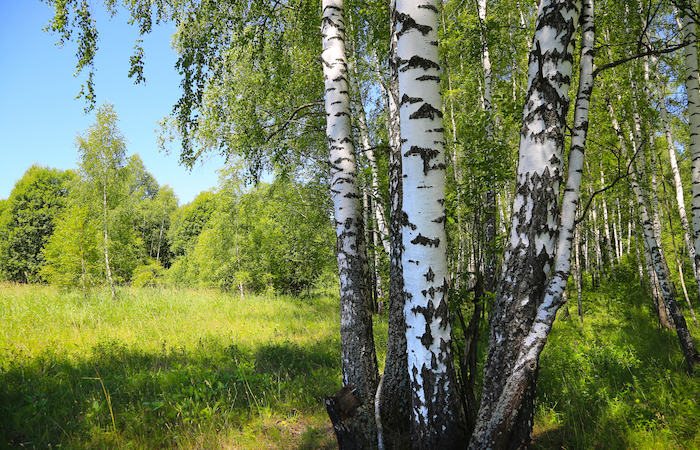
Before you bring your bees home, you need to carefully choose the location for your hives.
Bees can live almost anywhere, but choose the proper location if you want your bees to thrive.
Sunset explains, “Bees need four things. First, they need sun, or afternoon shade if your weather is hot. Second, they must have access to fresh water near the hive. […] Third, the hive must be protected from wind, which can blow rain (or snow) into the hive, making it harder for the bees to keep the hive warm. Finally, bees need privacy. Don’t put the hives near high-traffic areas, play areas, swimming pools, or pet areas.”
You also want to choose an area that is free of pesticides.
Almanac states, “Pesticides on flowers are a major cause of death for honey bees. Be sure that no large areas around you are being treated with commercial insecticides. If a worker bee is not killed on site by the poison, it is possible for her to bring it back to the hive, killing the other bees and even the queen.”
Related Read: “3 Best States to Find Free Land Today“
6. Prepare the Location
Once you know where you plan to place your hives, you need to prep the area.
Your hives should be kept off the ground to protect them from critters and other dangers. Clear the area and level the ground where you plan to place the hives.
It is also good to use some ground covering, such as mulch or gravel.
7. Construct a Hive Stand
Since hives cannot go on the ground, they need to be placed on a hive stand.
A hive stand will make it easier and more convenient for you to inspect your hives. Hive stands can be made out of wood, concrete blocks, metal, plastic, etc. You can find several DIY plans online or in beekeeping journals.
8. Set Up Beehives
You’ve got your gear, and you’ve got your hive stand. Now it’s time to set up your beehives.
If you have any plans to paint or decorate your beehives, now is the time. (You don’t want your bees to arrive and be stuck in their packaging while you are getting the hive ready.)
Once you have everything in its place, you are ready to get a productive beehive going.
9. Buy Your Bees
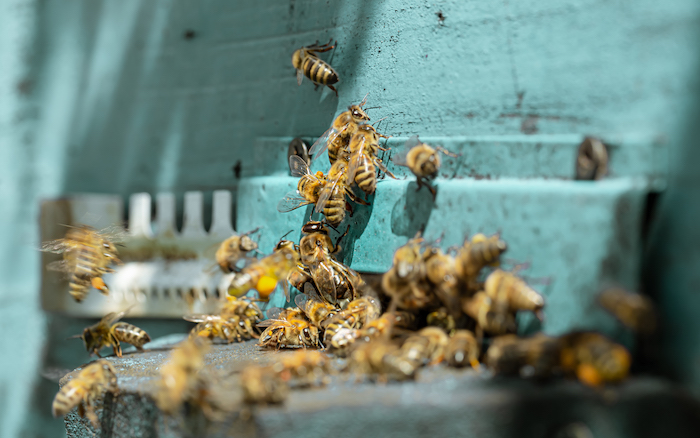
You’ve reached the point when it is time to buy your bees.
You have different options, but it is important to understand different ways to buy bees.
Country Living explains, “The most common route is called a package—a small screen box with about 10,000 loose bees. The queen, which typically bears no relation to the other honeybees, stays separated in a cage. On the other hand, you can buy a nucleus colony, which is essentially a mini colony. Each already contains an actively-laying queen and five frames of comb. Nuc colonies cost about $50-$75 more than packages but, developmentally, they’re about six weeks ahead.”
So if you want to start keeping bees and growing your colony in just a few weeks, it is better to purchase a nucleus colony.
Moreover, it is faster if you purchase bees locally.
Contact your local beekeeper’s association or state university to see where you can purchase live bees from a local breeder.
10. Introduce Bees to the Hive
The day is here! It’s finally time to introduce your bees to the hive and get a productive beehive going. You’re ready to go as long as you know the queen is alive and healthy.
Whether you purchased a package or a nucleus will determine how you introduce the bees to the hive.
If you purchase the nuc, you simply place the frames inside the hive.
If you purchase a package, you have to introduce the queen to the hive first. Then, you will introduce the worker bees.
11. Leave Them “Bee”
Once your bees are in the hives, leave them alone for a few days. They need time to adjust. You need to watch and wait.
12. Feed Your Bees
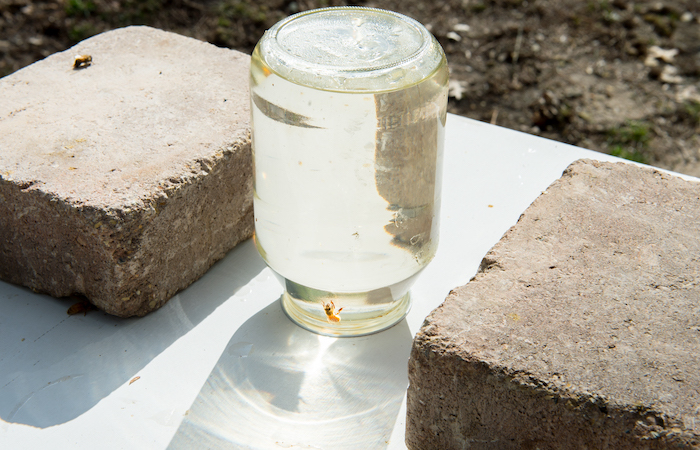
Feed your busy bees some homemade nectar.
Sunset recommends, “Dissolve equal parts granulated sugar and water and use to fill the quart jars. Top with the feeder lids and invert the jars into the holes. The lids should not drip; they should be barely moist.”
Once you’ve done all that, it’s official: You’re a beekeeper!
Get access to premium content and more!