Fermentation fell out of popularity in America – until recently. Now, everyone from chefs to homesteaders has re-discovered the joys of fermenting food.
Fermentation is a process that transforms sugars in foods into something new through chemical reactions and microorganisms.
Essentially, fermenting food changes the taste and allows you to enjoy foods long after they’ve been plucked from your garden.
Hence the reason why many homesteaders are beginning to include fermentation in their food preservation process.
Before we begin, it’s important to understand that there are different fermentation techniques.
- Lacto-fermentation: Breaks down sugars in foods and produces lactic acid
- Alcohol fermentation: Yeast converts sugars to ethanol
- Vinegar fermentation: Using vinegar instead of salt and brine for fermentation
Today, we are talking about using fermentation for food preservation, so we are focusing on lacto-fermenting.
Let’s get fermenting.
The Benefits of Fermentation
If you Google fermentation, you will quickly discover that eating fermented foods is really (really) good for you.
Fermented foods basically act as a much-needed probiotic for your gut.
When fermenting food, you are using a process known as lacto-fermenting. This means it produces lactic acid bacteria, which restore balance in your gut.
Fermented foods also make it easier to break down hard-to-digest foods, like those with lactose.
Fermented foods help your body make much-needed vitamins, including B1, B2, B3, B5, B6, B12, and K.
Plus, studies have shown that those who eat fermented foods have a lower risk of heart disease.
[Related Read: The Art of Fermenting & Pickling]
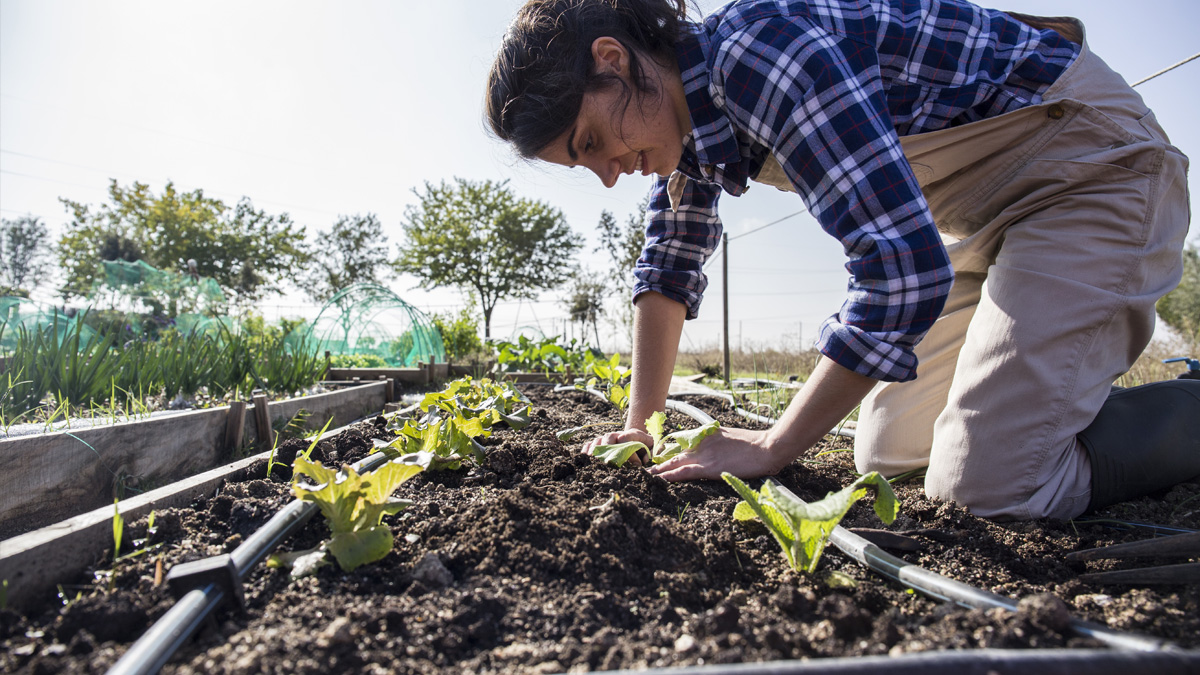
Why Fermentation Is Ideal for Self-Sufficient Living
In addition to the health benefits of fermentation, it is also a fun and easy way to preserve food.
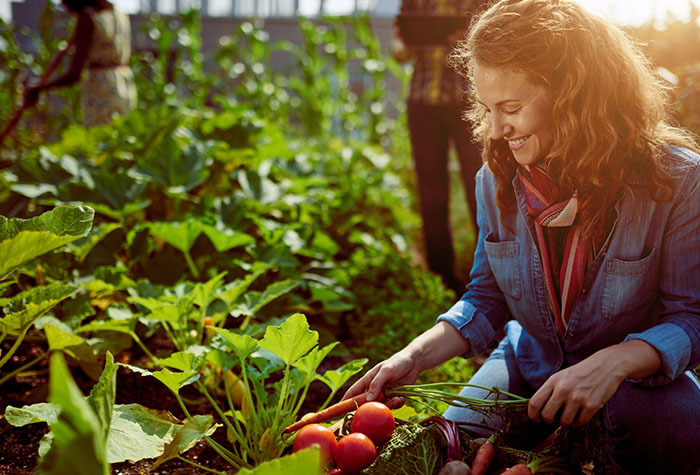
If you have an overabundance of vegetables in your harvest and you don’t want to waste them, you can ferment them!
Fermentation is also a good choice for self-sufficient living because it doesn’t require many additional supplies or take much time.
Here are the basic steps for lacto-fermentation.
- Pack your produce into the jar (ceramic or glass).
- Make a salt brine (3 tablespoons of salt to one quart of water).
- Cover the produce with salt brine.
- Weigh the produce down, so it stays covered by the brine liquid.
- Place a lid loosely on the jar.
- Leave it out at room temperature for the fermentation process (anywhere from 3 days to two weeks). Fermentation is complete when you no longer see or hear activity from the jar.
- Place in cold storage.
You can complete the process using big batches of produce, saving you loads of time.
[Related Read: 15 Ways to Start an Urban Homestead]
Recipe for Yogurt
Here is a recipe for yogurt using fermentation from Fermenting for Foodies.
Ingredients
- 2 cups of milk (see notes)
- 2 Tbsp yogurt with live culture (*Note – It must have live culture.)
- Options: 2 Tbsp skim milk powder
Directions
- Slowly heat the milk on the stove to 180 F (80 C). Whisk occasionally to keep the milk from scalding on the bottom of the pot.
- Skim milk powder can be whisked in at this point. It is an easy way to add protein and richness to homemade yogurt, but it’s not necessary.
- Pour the hot milk into a glass jar. Leave it to cool to 105 F (40C).
- When the milk has cooled, stir in the culture. If you are using store-bought yogurt, you may want to add up to 4 Tbsp yogurt as they tend to have weaker cultures.
- Maintain at around 110F (40 C) until it is set to a pudding-like consistency (for at least 2 hours, and up to 24 hours for really sour yogurt.) Place the yogurt in the refrigerator. It will thicken as it cools.

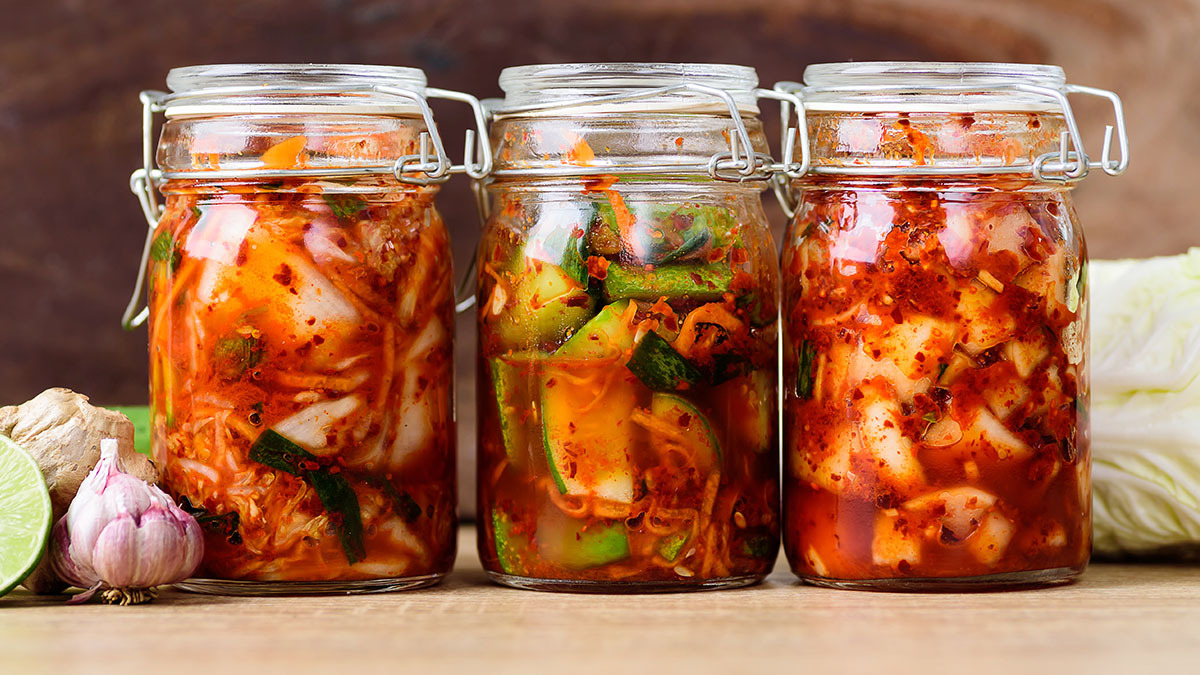
Recipe for Chopped Veggies
Here is a recipe for simple fermented vegetables from Homesteaders of America.
Supplies
- Airlock OR a Mason Jar Lid & Ring
- Quart-sized Mason Jar
- Chopped vegetables, enough to fill the jar to 1″ below the rim
- 1 ½ tablespoons salt
- 1 quart water
- 1 cabbage leaf
Directions
- Wash and chop the vegetables into bite-size pieces or sticks.
- Once your jar is filled with vegetables 1” from the top, mix the salt and water (the brine) well and pour over the vegetables, being sure to leave 1” headspace at the top.
- Tuck the cabbage leaf on top of the vegetables to hold them all down, completely under the surface of the brine. Alternatively, a few thin, longer carrot sticks crossed over and tucked in may be used. The point is to keep all the vegetables totally covered with the brine and not exposed to oxygen.
- Cover with the ring and lid, or the airlock.
- If you are using a regular lid and ring, be sure to “burp” the jar every day or two to release the pressure (CO2). To do this, simply twist the lid a little until you hear or feel the pressure releasing (this may not happen the first time or two). To avoid as little air as possible from getting in, do not take the lid off all the way, just quickly twist only enough to release the pressure and then tighten again.
- Now you wait! Pay close attention to the changes your ferment makes each day. The first few days there will not be much going on; however, by the end of the second or third day, and as more time goes on, you should see noticeable changes. The vegetables will get duller and duller in color. Bubbles will start to form at the top along the brine edge. Bubbles will also start forming throughout the ferment; you will see some trapped between the vegetables and some going up to the surface. When you ‘burp’ the jar, you will notice a mass exodus of bubbles to the top. All these things are good and normal.
- Allow the vegetables to ferment for 3-4 days or until they are the desired flavor and texture before transferring them to cold storage.
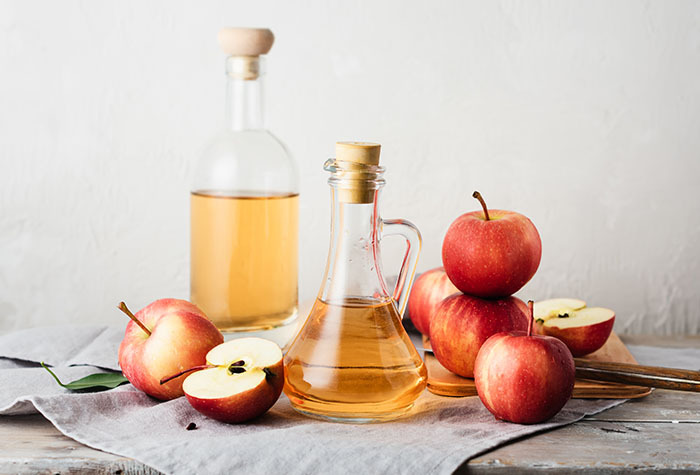
Recipe for Apple Cider Vinegar
The fermentation process can also be used to make your own apple cider vinegar.
Here is a recipe from Farmers’ Almanac.
Supplies
Quart canning jar
Canning lid and ring, and muslin cloth (or substitute with a clean coffee filter)
Apple cores and peels, spring water, and sugar
Directions
- Fill the quart canning jar with apple peels, cores, and scraps.
- Add enough filtered water to cover the apple scraps.
- (Optional) Speed up the fermentation process by stirring in ¼ cup of sugar.
- Cover the filled jar with a muslin cloth and secure it with a canning lid or a rubber band.
- Place the jar away from direct sunlight but near a heat source, such as a hot water heater.
- After a few days, you should notice the substance thickening and bubbling.
- After two weeks, remove the apple scraps and pour the liquid into a new clean jar. Cover the jar as before.
- Store in the pantry.
- After a few weeks, the “mother” should appear. This is the film on the surface of the cloudy liquid.
- By six weeks, the fermentation process should be complete. You can use the ‘mother’ to make future batches.
Get access to premium content and more!