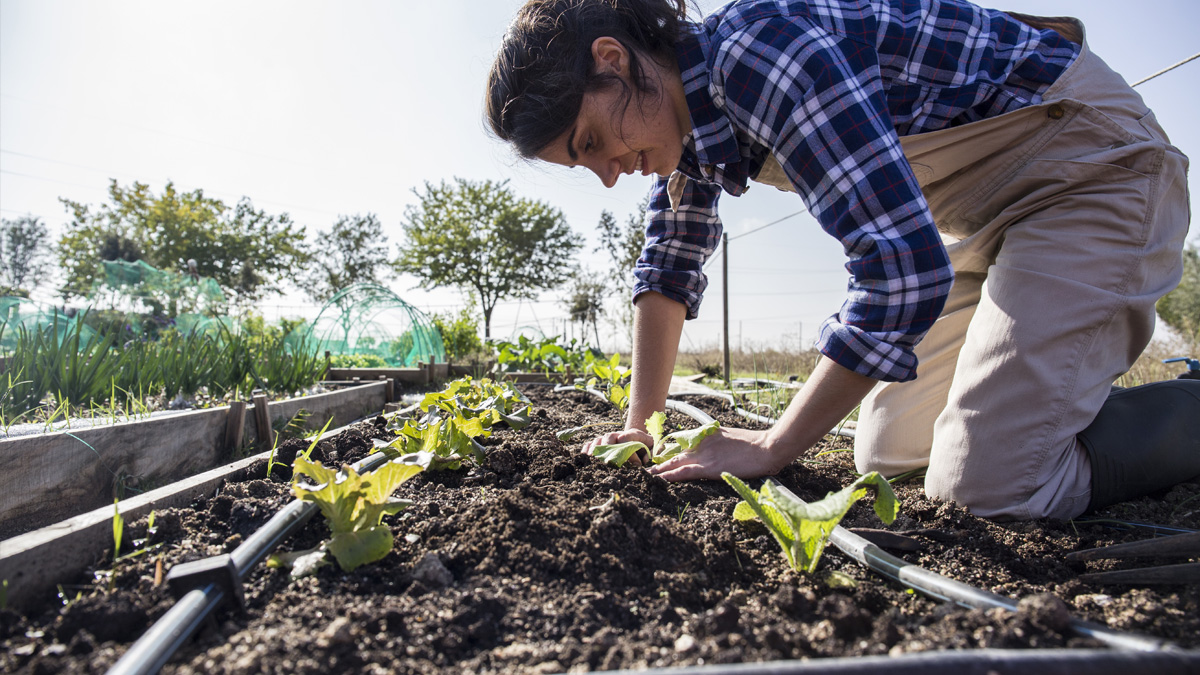
Looking for an inexpensive and easy way to fertilize your garden? Start a worm farm!
Whether you are looking for an environmentally-friendly hobby, a side hustle, or a way to boost your composting, worm farming (also known as vermiculture) is an excellent choice.
It doesn’t have to be a big to-do – you can start a worm farm indoors or outdoors, in large or small spaces.
Worm Farm Benefits
The #1 benefit is the worm poop!
Sure, it sounds gross. But ask anyone with any gardening knowledge, and they will tell that worm poop (aka vermicompost) is the go-to fertilizer.
It improves soil structure and increases yield. Instead of paying for fertilizers, you can get this amazing nutrient-rich fertilizer easily with your own worm farm.
Plus, it is an earth-friendly way to get rid of food waste.
How to Start a Worm Farm in 9 Easy Steps
Starting a worm farm and maintaining it is easy. Once you get your inexpensive worm farm going, it takes little work and money to keep it going.
Here are the steps you need to start a worm farm and keep it producing nutrient-rich fertilizer (vermicompost).
1. Purchase the Building Supplies

You have two options for purchasing supplies to start a worm farm.
You can purchase a worm farm kit from a supplier. Or you can take the DIY route.
The DIY route tends to be cheaper than buying a full kit, and the DIY steps are easy enough for even kids to do.
Here are the supplies you’ll need for a DIY worm farm.
- Two rubber or plastic bins — one taller bin with a lid and a shorter, bottom bin without a lid
- An electric drill
- A scrap of screen (window screens work if there is not any metal)
- Waterproof glue
- Newspaper
- Trowel
- Food scraps
2. Prepare Your Worm Farm Bins
Now that you’ve got your supplies, it’s time to start building and preparing your worm farm bins.
Here are instructions from the EPA:
- Drill a 1-inch hole about two inches from the top of the taller bin on one side. Drill another hole on the opposite side. Drill four 1/8-inch holes near the bottom corners of the bin.
- Cover each of the holes with vinyl screening and glue the screening in place with the waterproof glue. Be sure the glue is completely dry before continuing to the next step.
- Place the tall bin inside the short bin. Do NOT drill any holes in the short bin.
RELATED READ: 10 uses for diatomaceous earth in your garden
3. Get Some Worms
In addition to the above-listed supplies, you need worms, of course! You can purchase them online or at gardening centers or bait shops.
It is important to purchase the right kind of worms.
Experts recommend red wigglers, Eisenia fetida, for worm farms.
According to Modern Farmer, “Eisenia fetida, are the most common type of worm used for vermicomposting. […] You don’t need a lot to start a home worm bin. One pound of these guys is equivalent to 1,000 worms. They reproduce like crazy and regulate their numbers based on the amount of food available.”
4. Fill the Bin with Your Bedding Mixture
Before you place the worms in the bins, you need to fill the bin with bedding material.
Add several moistened strips of newspaper and some soil. You can also use torn-up corrugated cardboard.
5. Add the Worms
Once the bedding is ready, it’s time to add your worms.
You want to add your worms to the bedding mixture in the bins and let them get used to their new environment for a day before you implement feeding.
6. Feed the Worms

Now you’re ready to start feeding your worms.
The good news is that it is easy to do and requires nothing extra from you – except the scraps from your table.
Food scraps, such as vegetables, fruit, and coffee grounds, make good worm food.
Note – Avoid animal by-products (fat, bone, dairy, meat, waste), citrus fruits, onions, and garlic.
7. Tuck in the Worms
Once you’ve added food scraps to your worm bin, you need to tuck the worms in.
To do so, place a piece of wet newspaper on the top of the bedding where the worms have buried themselves. Add more rolled up, moist newspaper along the edges.
This will keep the fruit flies away and keep the worms in.
RELATED READ: The ultimate raised garden bed?
8. Let the Magic Happen
At this point, you get to sit back, relax, and let the worms work their magic.
Give them a few days and then watch as they eat their weight in food scraps.
For example, if you put one pound of worms in your bin, they’ll eat about a pound of food scraps a day.
Add food scraps every few days. You want to be sure to add food when their food disappears.
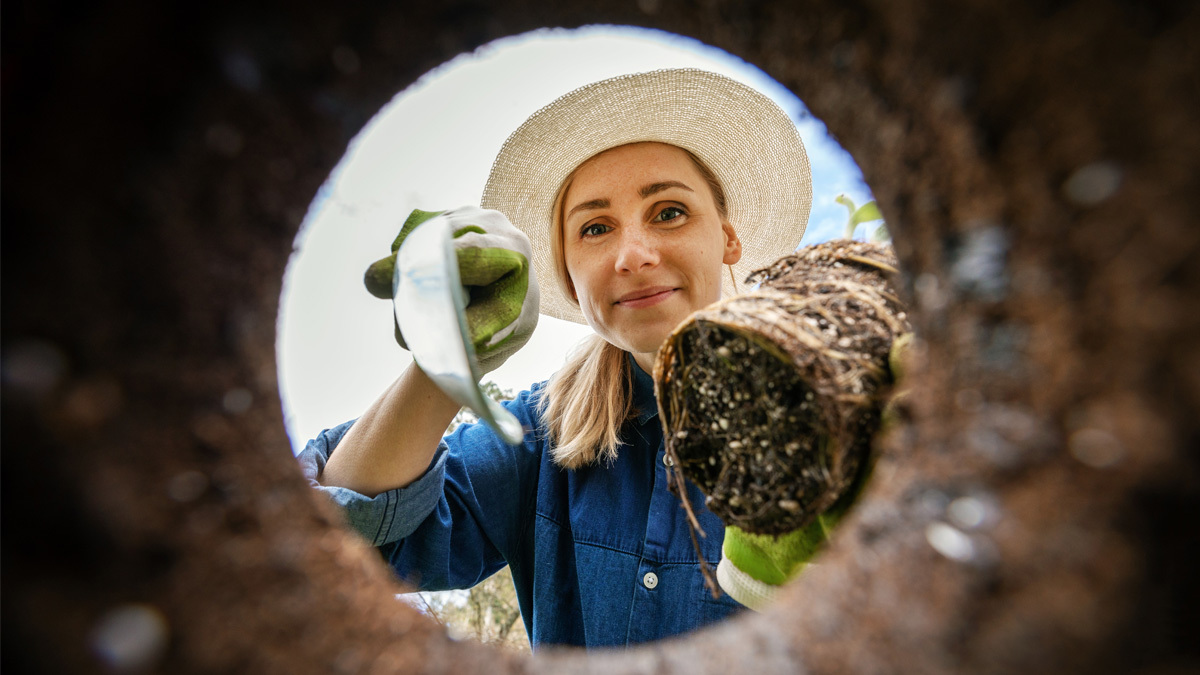
9. Harvest the Compost
Your worms aren’t just eating – they are working to make vermicompost.
You’ll know their work is done when you notice it in the bin. It looks like dark brown coffee grounds.
To harvest the vermicompost, you’ll want to lure the worms to one side of the bin. Continue feeding them on this side.
Once all the worms are on one side, harvest the compost on the other side and use it in pots, your garden, or sprinkle it across your yard.
After you’ve harvested the vermicompost, you can start the process again.
As long as you keep the bin ventilated and provide moist bedding and a steady diet of food scraps, your worm farm will continue to flourish.
Get access to premium content and more!